Decoding the Signs of Clutch Failure: A Root Cause Analysis
As we navigate the 2026 automotive landscape, the manual transmission has largely transitioned from a mass-market necessity to a specialized tool for enthusiasts, heavy-duty commercial fleets, and dedicated track cars. However, the fundamental physics of friction-based power transfer remain unchanged. Recognizing the early signs of clutch failure is the difference between a scheduled weekend maintenance job and a catastrophic $4,500 drivetrain teardown. A failing clutch rarely gives up without warning; it communicates its degradation through specific tactile, auditory, and olfactory feedback loops. Understanding these failure modes and their root causes is essential before you invest in a replacement kit.
1. Friction Material Attrition (Slipping Under Load)
The most universally recognized of all the signs of clutch failure is slipping, characterized by a flare in engine RPMs without a proportional increase in vehicle speed, particularly in higher gears (3rd through 6th) under wide-open throttle (WOT).
- Root Cause: Normal wear of the organic friction material, aggressive 'riding' of the pedal, or insufficient clutch master cylinder (CMC) return stroke preventing full diaphragm spring engagement.
- Measurement Protocol: A new standard organic clutch disc typically measures between 8.2mm and 9.0mm in total thickness. According to Car and Driver's technical archives, if the friction material measures less than 0.5mm above the flush rivets, or total thickness drops below 7.0mm, the clamping force is mathematically insufficient to handle peak engine torque.
2. Hydrodynamic Contamination (Chatter and Grabbing)
If you experience violent shuddering, aggressive grabbing, or a 'chatter' upon initial engagement from a stop, you are likely dealing with fluid contamination. This drastically alters the coefficient of friction (μ) on the disc face.
- Root Cause: A leaking engine rear main seal (RMS) or a weeping transmission input shaft seal. Engine oil or gear oil saturates the porous organic friction material. Once oil bakes into the disc, it creates localized high-friction and low-friction zones, causing the aggressive chatter.
- Diagnostic Edge Case: Before condemning the clutch, inspect the bellhousing inspection cover. If you see a misting of gear oil (smells like sulfur) on the flywheel, the input seal is the culprit. If it's black and smells like burnt motor oil, the RMS is failing. Replacing the clutch without fixing the seal guarantees a repeat failure within 2,000 miles.
3. Thermal Overload and DMF Collapse (Vibration and Noise)
Modern manual vehicles heavily rely on Dual-Mass Flywheels (DMFs) to dampen torsional vibrations from high-compression and turbocharged engines. A clattering noise at idle that disappears when the clutch pedal is depressed is a massive red flag.
- Root Cause: Internal arc-spring fatigue within the DMF, or thermal warping of the pressure plate diaphragm fingers due to excessive slipping (often seen in track-driven vehicles like the Porsche 718 Cayman or Ford Mustang Shelby GT350).
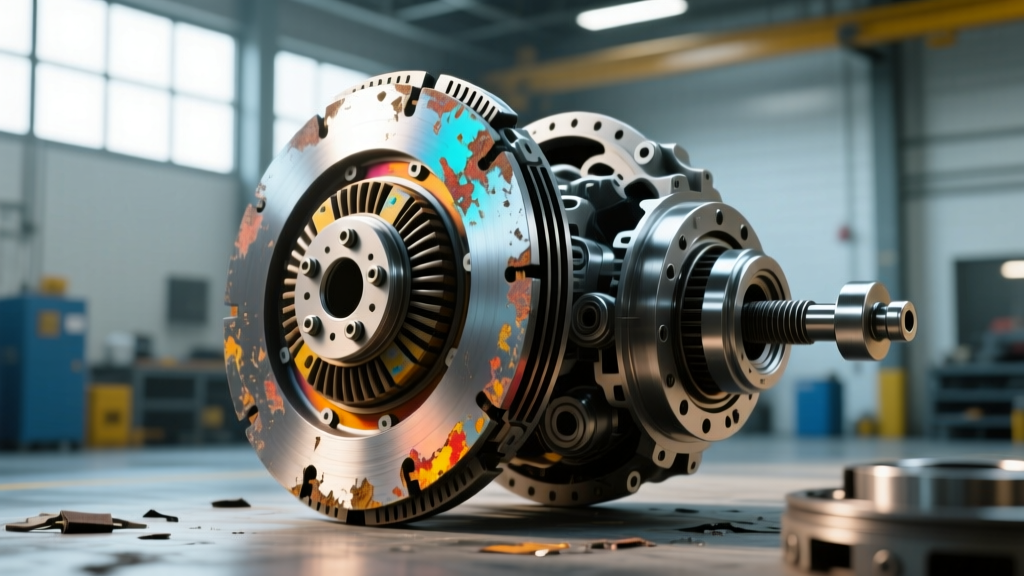
- Expert Insight: Hagerty Media's technical experts frequently note that heat 'bluing' on the flywheel friction surface indicates temperatures exceeding 600°F, which destroys the metallurgical temper of the steel, leading to localized hard spots and permanent judder.
Pro-Tip for 2026 Diagnostics: Never attempt to resurface a Dual-Mass Flywheel. The internal damping springs and internal grease packs cannot be serviced. If the rotational free-play between the primary and secondary masses exceeds 20 degrees, or if there is visible radial play, the DMF must be replaced as a complete assembly.
2026 Buyer's Guide: Matching Replacement Kits to Failure Modes
Once you have isolated the root cause of your clutch failure, selecting the correct replacement kit is paramount. The aftermarket has evolved significantly, offering distinct compounds tailored to specific driving profiles. Below is a comparison of the top-tier replacement strategies for common manual platforms in 2026.
| Brand / Kit Type | Reference Part Number | Torque Capacity | Est. Price (2026) | Best Application & Root Cause Fix |
|---|---|---|---|---|
| LUK RepSet (OEM DMF) | 624 3096 00 (Ford 5.0L) | OEM (420 lb-ft) | $550 - $750 | Daily driving; fixes DMF rattle and restores factory pedal feel. |
| Sachs Performance (Organic) | 2290 601 005 (VW EA888) | +15% over OEM | $480 - $620 | Stage 1 tuned street cars; fixes slipping from mild ECU tunes. |
| Exedy Stage 2 (Cerametallic) | 05808A (Subaru WRX) | 480 lb-ft | $750 - $950 | Track use / heavy boost; resists thermal fade and high-heat bluing. |
| South Bend Con-O (Heavy Duty) | 1947-6 (Cummins 5.9L) | 650 lb-ft | $900 - $1,200 | Towing / Commercial; fixes premature wear from high-torque loads. |
Decision Framework: When to Upgrade vs. Replace OEM
If your root cause analysis points to normal wear on a stock vehicle, stick to an OEM-equivalent LUK or Sachs kit. Upgrading to a cerametallic or puck-style disc on a stock daily driver will result in an overly aggressive engagement, increased transmission gear rattle, and accelerated wear on the engine's thrust bearings due to the stiffer pressure plate diaphragm. However, if your root cause was thermal overload from track days or towing, you must upgrade the friction material to a sintered iron or cerametallic compound to raise the thermal threshold.
Critical Installation Specs: Torque and Clearances
Identifying the signs of clutch failure and buying the right kit is only half the battle. Improper installation is the leading cause of 'new clutch' chatter and premature release bearing failure. Adhere strictly to these engineering tolerances:
- Bellhousing Alignment (Runout): Use a dial indicator to measure the bellhousing bore runout relative to the crankshaft centerline. Maximum allowable Total Indicator Runout (TIR) is 0.005 inches. If it exceeds this, install offset dowel pins (available from Lakewood or RobbMc) to correct the misalignment. Ignoring this will destroy the input shaft bearing and cause severe release bearing wear.
- Flywheel Torque Sequencing: Flywheel bolts are almost universally Torque-to-Yield (TTY) and must be replaced. For example, the GM LS-series flywheel requires a star-pattern torque of 15 lb-ft, followed by 37 lb-ft, and finally a 90-degree turn.
- Pressure Plate Clamping: Tighten the pressure plate to the flywheel in a crisscross pattern, typically to 18-22 lb-ft (verify specific OEM service manual data). Do not use impact wrenches, as uneven clamping will warp the pressure plate fingers, causing incomplete disengagement.
- Clutch Master Cylinder (CMC) Pushrod Gap: Ensure there is a minimum of 0.040 to 0.080 inches of free-play between the CMC pushrod and the clutch fork (or hydraulic release bearing). Zero clearance will keep the clutch slightly disengaged, guaranteeing a repeat 'slipping' failure within 5,000 miles.
Final Thoughts on Drivetrain Preservation
Ignoring the subtle signs of clutch failure—like a slightly higher engagement point, a faint burning odor under hard acceleration, or a new rattle at idle—will inevitably cascade into secondary damage to the flywheel, pilot bearing, and transmission synchros. By performing a rigorous root cause analysis, measuring component clearances with precision tools, and selecting a replacement kit that matches your specific torque and thermal requirements, you ensure your manual transmission survives the rigorous demands of modern driving. Always consult the factory service manual for your specific transmission model (whether it's a Tremec TR-3160, a Porsche G50, or a Honda H-series) before applying torque to any fastener.