The Hidden Link Between Cable Routing and Clutch Noise
While modern automotive engineering has largely transitioned to hydraulic and drive-by-wire clutch actuation, mechanical cable-operated clutches remain prevalent in classic restorations, specific commercial fleets, motorcycles, and legacy performance platforms like the Ford Foxbody/SN95 Mustangs and early Porsche 911s. When drivers of these vehicles report clutch noise—specifically chirping, squealing, or grinding—the immediate instinct is to condemn the release bearing or the pressure plate. However, as seasoned drivetrain diagnosticians know, the root cause frequently lies in improper cable routing, binding, or incorrect free-play.
Consulting the factory clutch cable diagram is not merely a step for initial installation; it is a critical diagnostic tool. A deviation of just half an inch from the engineered routing path can alter the friction coefficient inside the Bowden tube, leading to incomplete disengagement (grinding) or constant pre-load on the release bearing (chirping and squealing). In this expert guide, we break down how to leverage OEM routing schematics to isolate and resolve mechanical clutch noises.
The Physics of Bowden Cables and Friction Points
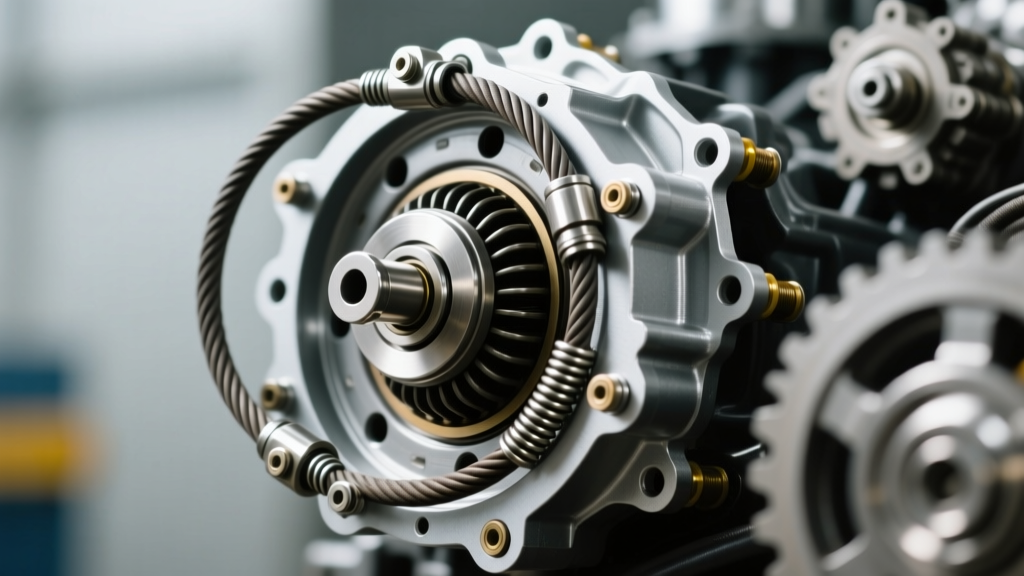
To understand why a misrouted cable causes noise, you must understand the physics of a Bowden cable. A standard clutch cable consists of a steel inner wire (typically 1.5mm to 2.0mm in diameter) sliding inside a PTFE-lined or nylon-lined outer housing. According to engineering principles outlined by SAE International, the friction inside a cable housing increases exponentially as the bend radius decreases.
If an aftermarket cable is installed without referencing the OEM clutch cable diagram, technicians often zip-tie or clamp the housing too tightly against the chassis or exhaust. This creates micro-kinks. When the driver presses the pedal, the inner wire stretches unevenly. This results in a 'spongy' feel and, more importantly, prevents the clutch fork from returning fully to its resting position against the bellhousing stop. If the fork does not rest fully, the release bearing maintains contact with the spinning pressure plate fingers, generating a high-pitched chirp or squeal that varies with engine RPM.
Acoustic Diagnostic Matrix: Identifying the Noise
Before tearing into the bellhousing, use this diagnostic matrix to correlate the acoustic symptom with potential cable and linkage faults. This methodology is widely endorsed by drivetrain specialists featured in Transmission Digest.
| Noise Type | Pedal Position | RPM Dependency | Probable Cable / Linkage Fault |
|---|---|---|---|
| Chirping | Released (foot off pedal) | Increases with RPM | Cable routed with excessive tension; missing firewall return spring; binding in lower cable quadrant causing bearing pre-load. |
| Squealing | Mid-travel engagement | Constant pitch | Cable housing rubbing against firewall grommet or chassis bracket; dry pivot ball due to misaligned cable pull angle. |
| Grinding | Fully depressed (shifting) | Gear engagement only | Stretched inner wire or seized housing preventing full fork travel; incorrect free-play adjustment ignoring diagram specs. |
Step-by-Step Cable Routing & Free-Play Verification
When diagnosing a squealing or grinding clutch on a cable-operated system, follow this expert-level verification process.
1. Verify the Firewall Grommet and Bulkhead Seating
The clutch cable diagram will always specify a bulkhead pass-through point. On vehicles like the classic Porsche 911 (using the famous Bowden tube setup, Part # 911-424-111-00), the tube must sit flush in the chassis tunnel. If the grommet is degraded or pushed inward, the cable housing flexes under load. This flex absorbs pedal travel, leading to incomplete disengagement and severe gear grinding during shifts. Inspect the firewall seating and ensure the retaining clip is fully engaged.
2. Inspect the Bellhousing Pivot Geometry
The angle at which the cable pulls the clutch fork is paramount. The factory diagram illustrates the exact lateral offset required. If an adjustable aftermarket cable (such as a Maximum Motorsports or Steeda unit for Ford Mustangs) is tightened too far, it pulls the clutch fork off its lateral axis. This causes the fork to scrape against the pivot ball stud, creating a metallic squeal that mimics a failing throwout bearing.
Torque Spec Alert: When inspecting the pivot ball inside the bellhousing, ensure it is torqued to factory specifications. For most Ford V8 bellhousings, the pivot ball stud requires 25-30 ft-lbs with a medium-strength threadlocker. A loose pivot ball will chatter and squeal under cable tension.
3. Measure True Free-Play
Ignoring the free-play specs detailed in the service manual is the leading cause of premature release bearing failure.
- Ford Foxbody/SN95 Mustang (Motorcraft Part # F1ZZ-7553-A): Requires 1.0 to 1.5 inches of pedal free-play before the cable begins to pull the quadrant. At the firewall adjuster, there should be a precise 1/16-inch gap between the adjuster nut and the firewall when the pedal is fully released.
- Heavy-Duty Commercial Trucks (e.g., older Mack/Volvo mechanical linkages): Often require 1.5 to 2.0 inches of cab pedal free-play to ensure the internal brake-assist over-center spring fully retracts.
Expert Best Practice: Never use wet lithium grease or motor oil to lubricate a binding clutch cable. Wet lubricants attract silica and road grit, turning into a lapping compound that destroys the inner nylon lining. Always use a PTFE (Teflon) dry-film lubricant, such as Tri-Flow or DuPont Dry Lube, sprayed directly into the housing while cycling the pedal.
When to Replace: Beyond the Diagram
Sometimes, the routing is perfect according to the clutch cable diagram, but the noise persists. How do you know when the cable assembly itself has suffered catastrophic internal failure?
Look for hysteresis. Have an assistant press the clutch pedal while you observe the clutch fork at the bellhousing. When the pedal is released, the fork should snap back instantly. If the fork returns sluggishly, or 'sticks' midway before popping back, the inner wire has suffered from strand failure (bird-caging) inside the housing. The broken strands act like a wedge, creating immense friction. At this point, no amount of adjustment or PTFE lubrication will save it.
Cost Expectations (2026 Market Rates):
Replacing a mechanical clutch cable is relatively inexpensive compared to hydraulic bleeding or transmission removal. An OEM replacement cable typically ranges from $80 to $150, while high-end Teflon-lined aftermarket performance cables can cost between $180 and $250. Labor for routing and adjusting generally takes 1.5 to 2.0 hours, putting the total shop bill between $250 and $450 depending on regional labor rates.
Summary Checklist for Technicians and DIYers
Before ordering a new clutch kit or dropping a transmission to chase a squeal or grind, run through this diagnostic checklist:
- Pull up the factory clutch cable diagram and trace the entire routing path from the pedal box to the bellhousing.
- Check for bend radii tighter than 4.0 inches (100mm), which cause internal housing binding.
- Verify firewall grommet seating and ensure the housing is not flexing under load.
- Measure pedal free-play and firewall adjuster gap to the exact millimeter specified by the OEM.
- Inspect the clutch fork pivot ball for lateral wear caused by improper cable pull angles.
- Apply PTFE dry lube to the cable housing if minor binding is detected.
By treating the clutch cable diagram as a vital diagnostic blueprint rather than just an installation guide, you can accurately isolate the source of clutch noise, save hundreds of dollars in unnecessary parts, and restore the crisp, quiet engagement that defines a properly sorted manual transmission. For more deep-dive diagnostics on legacy and modern drivetrains, consult the archives at Hagerty Media and manufacturer-specific service portals.