Interconnected Failure Modes: Why Vibration Leads to Slipping
In the realm of manual transmission diagnostics, drivers frequently report clutch pedal vibration as an isolated annoyance, often dismissing it as a worn engine mount or a quirky characteristic of their vehicle's drivetrain. However, as a core tenet of preventive maintenance, automotive technicians must recognize that pedal vibration and clutch slipping are deeply interconnected failure modes. When the friction interface between the flywheel and the clutch disc becomes compromised, the resulting uneven clamping force generates high-frequency harmonics that travel through the hydraulic or cable linkage directly to the driver's foot.
Ignoring these vibrational telegraphs inevitably leads to catastrophic friction material failure, macro-slipping, and eventual damage to the transmission input shaft or pilot bearing. This comprehensive diagnostic guide bridges the gap between identifying clutch slipping symptoms and addressing the root causes of pedal vibration, ensuring your drivetrain remains reliable through precise preventive maintenance.
The Physics of Clutch Slipping and Pedal Feedback
A properly functioning clutch system relies on uniform pressure distribution across the friction disc. According to engineering principles outlined by Schaeffler Clutch Systems, the diaphragm spring within the pressure plate must exert consistent force to lock the engine and transmission together. When clutch slipping occurs, it is typically due to one of three mechanical anomalies: glazing of the friction material, oil contamination, or a warped mating surface.
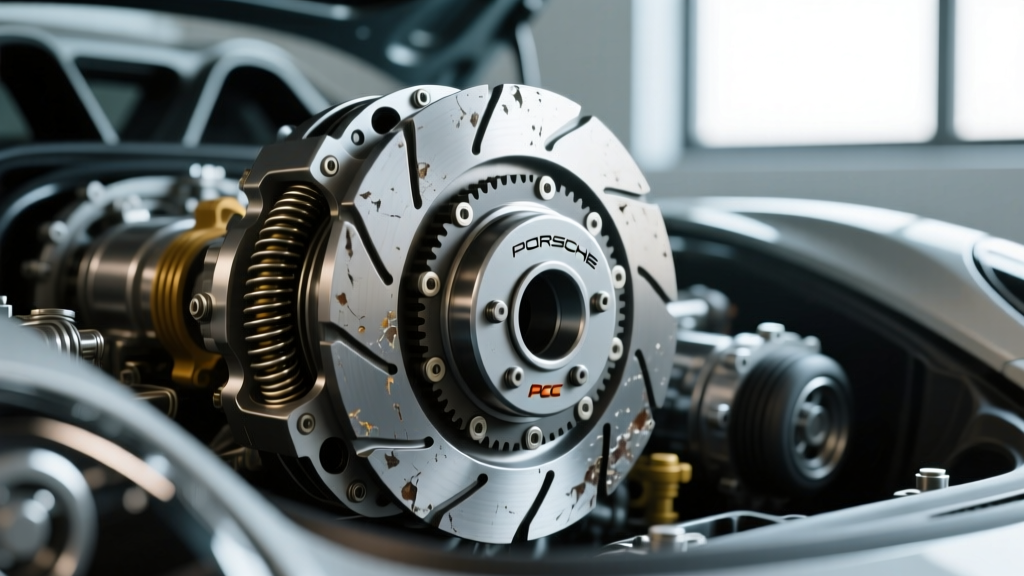
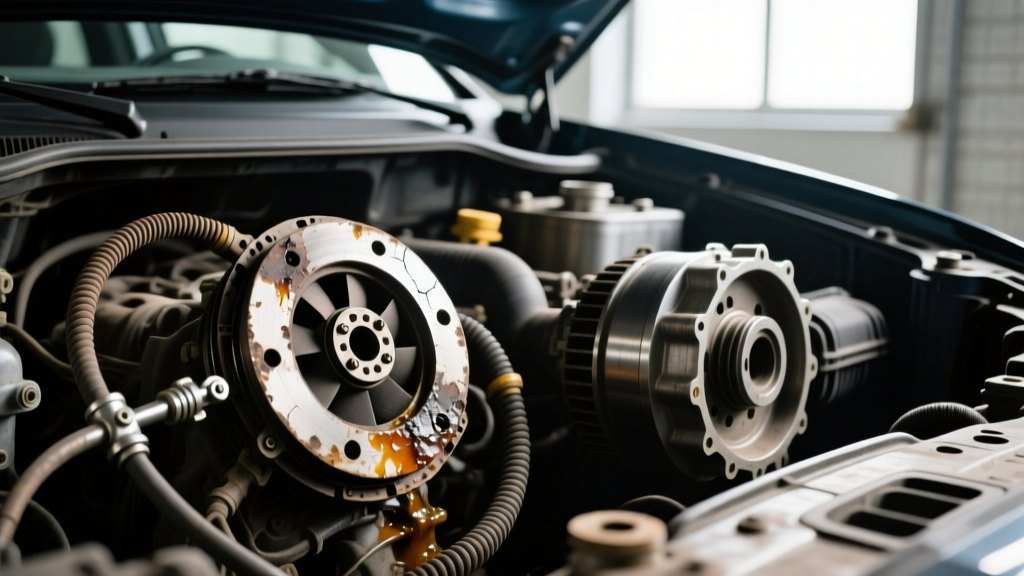
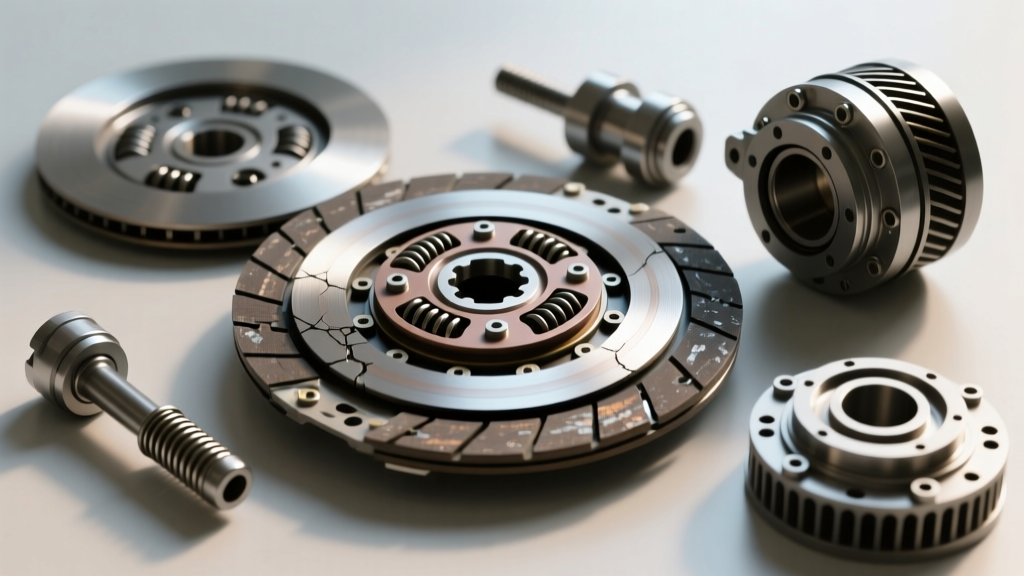
When a flywheel develops hot spots or exceeds maximum runout tolerances, the clutch disc cannot seat flush. As the pressure plate attempts to clamp down on an uneven surface, the disc micro-slips and grabs rapidly. This phenomenon, known as clutch chatter, manifests as clutch pedal vibration during engagement. Over time, this micro-slipping generates excessive heat, baking the organic friction material into a hardened, glass-like state (glazing). Once glazed, the disc loses its coefficient of friction, transitioning from vibrational chatter to full-blown clutch slipping under load.
Step-by-Step Diagnostic Protocol
To accurately diagnose clutch slipping symptoms while accounting for pedal vibration, technicians must employ a systematic approach that isolates hydraulic, mechanical, and friction-based variables.
Step 1: The High-Gear Stall Test
The stall test is the definitive method for confirming clutch slip. Find a safe, open road and accelerate to 40-50 mph. Shift into your highest gear (4th, 5th, or 6th, depending on the transmission). With the engine at approximately 2,000 RPM, apply wide-open throttle (WOT). If the engine RPMs flare or climb rapidly without a proportional increase in vehicle speed, the clutch is slipping. Caution: Limit WOT to 3-5 seconds to prevent severe thermal damage to the friction disc and flywheel.
Step 2: Hydraulic System and Pedal Free-Play Verification
A common misdiagnosis of clutch slipping is actually a hydraulic restriction or improper pedal adjustment. If the clutch master cylinder pushrod is adjusted too tightly, or if the pedal stop switch is misaligned, the release bearing may remain in partial contact with the diaphragm spring. This prevents full clamping force, causing slip, and can induce a low-frequency clutch pedal vibration as the bearing rides the spinning pressure plate.
- Cable Systems: Verify 1.0 to 1.5 inches of free-play at the top of the pedal travel.
- Hydraulic Systems: Check for 0.25 to 0.5 inches of free-play before the master cylinder piston engages. Ensure the fluid reservoir (using DOT 4 fluid like Motul RBF 600 for its 600°F dry boiling point) is at the MAX line and free of air bubbles.
Step 3: Flywheel Runout and DMF Diagnostics
If the hydraulics are sound and slipping is confirmed, the transmission must be removed to measure flywheel runout. Using a dial indicator mounted to the engine block, measure the lateral runout of the flywheel friction surface. The industry standard maximum runout is 0.005 inches (0.127 mm). Anything exceeding this spec will cause both chatter (vibration) and uneven wear (slipping).
For vehicles equipped with a Dual-Mass Flywheel (DMF), internal torsional spring degradation is a primary culprit. As noted in ZF Sachs technical documentation, DMF internal springs are designed to absorb engine torsional vibrations. When these springs fatigue or break, the primary and secondary masses become desynchronized, resulting in severe clutch pedal vibration at idle and erratic clamping force during engagement.
Symptom vs. Root Cause Matrix
| Observed Symptom | Primary Mechanical Suspect | Preventive Maintenance Action |
|---|---|---|
| RPM flare in high gear (Slipping) | Glazed friction disc or oil contamination from rear main seal | Inspect RMS for leaks; replace clutch disc and resurface flywheel |
| Pedal vibration during takeoff (Chatter) | Flywheel runout > 0.005' or warped pressure plate | Machine flywheel or replace; verify crank flange runout |
| Vibration at idle, neutral, clutch engaged | Failing DMF internal springs or worn pilot bearing | Replace DMF with OEM-spec unit; inspect input shaft bushing |
| Spongy pedal with intermittent slip | Boiling DOT 3/4 fluid or bypassing slave cylinder | Flush system with high-temp DOT 4; replace slave cylinder |
Precision Assembly: Torque Specs and Clearances
Preventive maintenance extends beyond diagnosis into precise reassembly. Improper torque sequencing is a leading cause of premature pressure plate warping, which reintroduces clutch pedal vibration and slipping shortly after a repair. Always consult Exedy's installation guidelines or OEM service manuals for exact specifications, but adhere to these universal best practices:
- Flywheel to Crankshaft: Clean the crank flange with brake cleaner. Apply a drop of blue threadlocker (Loctite 243). For GM LS engines, torque to 74 lb-ft plus 51 degrees. For Ford Coyote 5.0L, torque to 59 lb-ft. For Honda K-Series, torque to 76 lb-ft.
- Pressure Plate to Flywheel: Thread all bolts by hand to avoid cross-threading. Torque in a crisscross (star) pattern in three incremental steps (e.g., 10 lb-ft, 20 lb-ft, final spec of 25-35 lb-ft depending on application) to ensure the diaphragm spring is loaded evenly without distortion.
- Release Bearing Preload: Ensure the hydraulic system is bled using a pressure bleeder at 15 PSI to eliminate micro-bubbles that cause inconsistent bearing travel.
2026 Repair Cost Estimates and Component Sourcing
When preventive maintenance fails and component replacement is required, understanding the market landscape is crucial for shop estimators and DIY enthusiasts. Prices below reflect 2026 aftermarket and OEM-equivalent averages for standard passenger and light-duty truck applications:
- Flywheel Resurfacing: $75 - $120 (Must be performed on a dedicated flywheel grinder, not a standard brake lathe, to maintain the correct step height).
- OEM-Equivalent Clutch Kit (LuK RepSet / Sachs Advantage): $250 - $450. Includes pressure plate, organic disc, release bearing, and alignment tool.
- Dual-Mass Flywheel (DMF) Replacement: $400 - $850 for the part alone. Note: While Single-Mass Flywheel (SMFW) conversion kits are cheaper ($150 - $250), they transfer engine harmonics to the transmission, increasing gear rattle and cabin vibration.
- Hydraulic Slave Cylinder (Internal Concentric): $150 - $300. Always replace the internal slave when the transmission is dropped, as labor overlap makes preventive replacement highly cost-effective.
Conclusion: The Value of Proactive Diagnostics
Clutch slipping is rarely an overnight failure; it is the culmination of ignored mechanical feedback. By treating clutch pedal vibration as a critical diagnostic data point rather than a mere comfort issue, technicians and enthusiasts can intervene before the friction material is entirely destroyed. Regular hydraulic fluid flushes, precise pedal free-play adjustments, and strict adherence to flywheel runout tolerances are the pillars of a robust preventive maintenance strategy that ensures manual drivetrains operate smoothly for hundreds of thousands of miles.