The Olfactory Warning: Decoding the Burning Clutch Odor
Few automotive warnings are as universally recognized—and universally dreaded—as the acrid, suffocating stench of a burning clutch. Unlike the sharp tang of vaporized brake fluid or the sweet scent of leaking coolant, a burning clutch smell is deeply distinct. It is the olfactory signature of thermal degradation, specifically the vaporization of phenolic resins and organic binders used in friction disc manufacturing. When localized temperatures at the friction interface exceed 400°F (204°C), these resins begin to oxidize and burn off, creating a pungent odor that quickly infiltrates the cabin via the HVAC system.
While many drivers and even some novice technicians immediately assume that a burning smell necessitates a full transmission removal and clutch kit replacement, this is a costly misdiagnosis in a surprising number of cable-actuated manual vehicles. A misadjusted, binding, or heat-damaged clutch cable is a frequent, yet often overlooked, root cause of clutch slip and subsequent thermal failure. In this comprehensive diagnostic guide, we will explore the mechanical relationship between clutch cable tension and friction disc degradation, providing a precise, step-by-step protocol to isolate the fault before you ever put a wrench to the bellhousing bolts.
The Chemistry and Mechanics of Clutch Slip
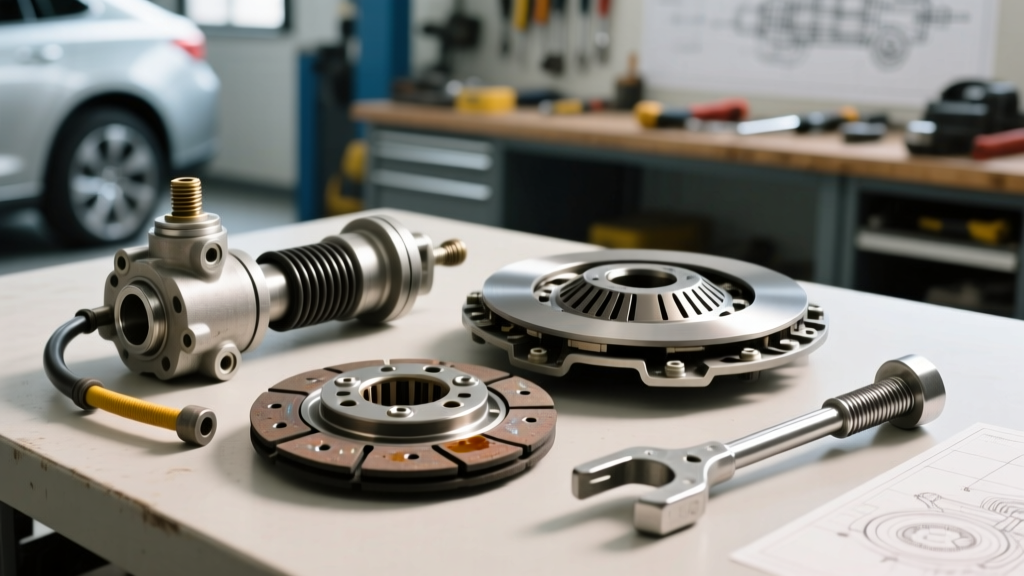
To understand why a faulty clutch cable generates this specific odor, we must examine the anatomy of the engagement system. Modern organic and Kevlar-blended clutch facings rely on complex phenolic resin binders to hold the friction material together and bond it to the steel backing plate. According to friction material engineering data cited by RepXpert by Schaeffler, these organic compounds maintain optimal friction coefficients up to roughly 350°F (176°C). Beyond 400°F, the resin begins to melt, vaporize, and glaze the surface of the flywheel.
Slip occurs when the clamping force of the pressure plate is insufficient to lock the friction disc to the flywheel under engine torque. In a hydraulic system, this is usually caused by a failing slave cylinder or a fluid leak. However, in vehicles utilizing a mechanical linkage or a clutch cable (common in classic Mustangs, older Honda Civics, VW Golfs, and many heavy-duty commercial applications), the cable dictates the resting position of the clutch fork.
The 'Zero Free-Play' Catastrophe
The most common clutch cable error is over-tightening. If the cable is adjusted with zero free-play, it exerts constant, low-level tension on the clutch fork. This forces the throwout bearing (TOB) to ride continuously against the spinning diaphragm fingers of the pressure plate. This constant pressure slightly lifts the pressure plate away from the friction disc, resulting in micro-slip during high-load scenarios (such as accelerating in higher gears or climbing a grade). This micro-slip generates immense friction, quickly pushing the disc temperature past the 400°F threshold, vaporizing the resin, and filling the cabin with that unmistakable burning smell.
Step-by-Step Clutch Cable Diagnostic Protocol
Before condemning the internal clutch assembly, perform this non-invasive diagnostic sequence to evaluate the health and routing of the clutch cable system.
Step 1: The Pedal Free-Play Measurement
Using a steel ruler or digital caliper, measure the clutch pedal free-play (the distance the pedal moves before you feel resistance from the clutch fork).
- Target Specification: 0.50 inches to 0.75 inches (12mm - 19mm) of free-play at the top of the pedal pad.
- Failure Indicator: Less than 0.25 inches of free-play indicates the cable is over-tensioned, preloading the throwout bearing and causing the slip that leads to the burning odor.
Step 2: Conduit Integrity and Heat Soak Inspection
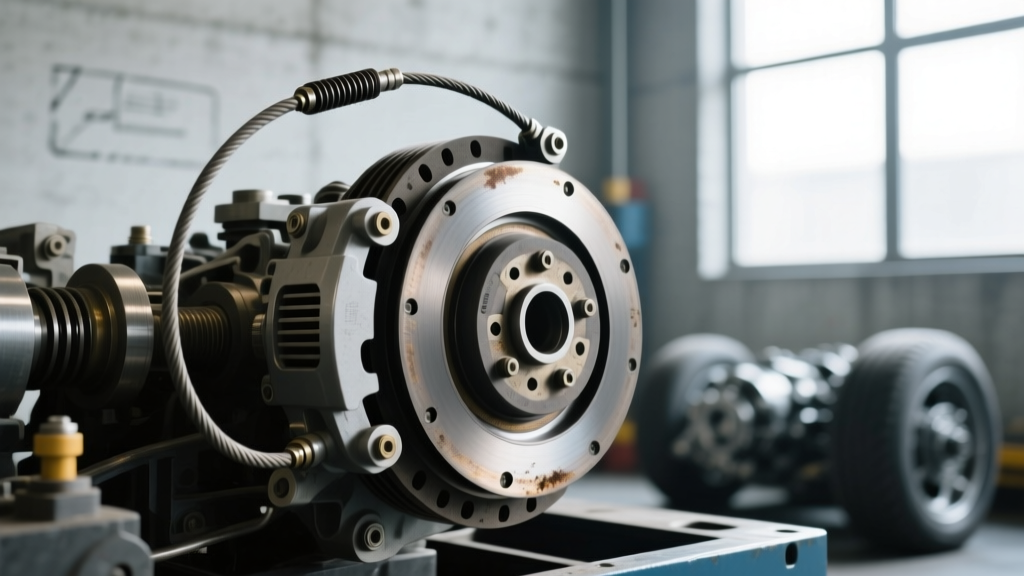
Modern clutch cables feature a multi-strand galvanized steel core housed within a PTFE (Teflon) lined conduit to reduce friction. Trace the cable routing from the firewall to the transmission bellhousing. Look for:
- Heat Melt: Is the outer plastic conduit routed too close to the exhaust manifold or downpipe? Heat soak can melt the PTFE liner, causing the inner steel cable to bind and fail to return to its resting position.
- Kinks and Fraying: Inspect the cable ends near the firewall adjuster. If individual steel strands are snapping, the cable will bind under tension, preventing full engagement.
Step 3: The Fork Return Spring Verification
The clutch cable only pulls the fork to disengage the clutch; it does not push it back. A heavy-duty return spring on the clutch fork is responsible for pulling the fork back to the resting position, creating the necessary clearance between the TOB and the pressure plate fingers. If this spring is broken, stretched, or unhooked, the cable may appear loose at the pedal, but the fork remains pulled forward. This mimics an over-tightened cable, resulting in continuous slip and burning.
Diagnostic Matrix: Cable Fault vs. Internal Failure
Use the following matrix to differentiate between an external cable adjustment issue and an internal mechanical failure requiring transmission removal. For deeper insights into linkage and hydraulic failures, AA1Car's Clutch Diagnostic Library offers excellent supplementary troubleshooting flowcharts.
| Diagnostic Symptom | Cable / External Cause | Internal Clutch Cause |
|---|---|---|
| Burning smell + RPM flare in 3rd/4th gear | Zero pedal free-play; TOB riding diaphragm fingers | Worn friction disc; oil contamination on flywheel |
| Pedal sticking to the floorboard | Frayed inner wire binding inside melted PTFE conduit | Failed hydraulic master/slave cylinder (if equipped) |
| Violent chatter upon initial engagement | Cable snapping back due to broken strand / bad firewall adjuster | Warped flywheel; broken hub torsion springs |
| Difficulty shifting into 1st or Reverse | Cable stretched or conduit compressed, limiting total travel | Worn synchronizers; damaged pilot bearing |
Adjustment Specifications and Hardware Replacement
If your diagnostic protocol reveals that the clutch cable is the culprit behind the burning smell, you have saved yourself hundreds of dollars in unnecessary labor. Correcting the issue requires precise adjustment and, often, hardware replacement.
Proper Adjustment Procedure
- Loosen the locknut on the firewall cable adjuster or the bellhousing equalizer bar.
- Adjust the cable until you achieve exactly 0.60 inches of free-play at the clutch pedal.
- Verify the clearance at the clutch fork. You should be able to wiggle the fork forward and backward by approximately 0.125 to 0.250 inches before the throwout bearing makes contact with the pressure plate fingers.
- Tighten the adjuster locknut to 12-15 lb-ft (depending on the specific hardware) to prevent vibration from altering the adjustment over time.
When to Replace the Cable Assembly
Cables are wear items. The internal steel strands fatigue, and the PTFE liners degrade. If the cable exhibits any notchiness when pulled by hand, or if the rubber bellows boots at the ends are torn (allowing dirt and moisture to compromise the liner), replacement is mandatory.
Common Part References & 2026 Pricing:
- Dorman C6001 (Universal/Ford-style adjustable cable): Typically retails between $45 and $65. Features a billet aluminum firewall adjuster for precise micro-adjustments.
- Sachs SK700023 (OEM Replacement for VW/Audi applications): Retails around $85 to $110. Includes the self-adjusting quadrant mechanism required for late-model manual conversions.
- Heavy-Duty Return Springs (e.g., Ford Motorsport M-7514-A): ~$15. Essential for ensuring the fork returns fully, eliminating TOB preload.
The Cost of Misdiagnosis: Cable vs. Clutch Kit
The financial difference between diagnosing a clutch cable issue and replacing a full clutch assembly is staggering, especially when factoring in 2026 shop labor rates, which average between $140 and $180 per hour.
Scenario A: The Cable Fix
Part Cost: $75 (Premium adjustable cable)
Labor: 0.8 hours @ $150/hr = $120
Total Repair: $195Scenario B: Unnecessary Transmission R&R
Part Cost: $350 (LuK RepSet Pro Kit including TOB and flywheel)
Labor: 6.5 hours @ $150/hr = $975
Total Repair: $1,325
Conclusion: Trust the Linkage Before Dropping the Trans
A burning clutch smell is an urgent warning of thermal degradation, but it is not an automatic death sentence for your friction disc. By understanding the mechanical relationship between clutch cable tension, throwout bearing preload, and phenolic resin vaporization, you can accurately diagnose the root cause of the slip. Always measure pedal free-play, inspect the PTFE conduit for heat soak, and verify the clutch fork return spring before reaching for the transmission jack. Proper cable maintenance and precise adjustment specs will ensure full clamping force, eliminate the dreaded burning odor, and extend the life of your drivetrain components for thousands of miles to come.