Understanding the Yamaha XMAX Dry Centrifugal Clutch
If you ride a modern maxi-scooter like the Yamaha XMAX 300 or 400, you are relying on a brilliantly simple but often misunderstood component: the dry centrifugal clutch. Unlike the wet, multi-plate clutches found on manual motorcycles that require a physical lever pull, the dry clutch xmax system operates entirely on engine RPM and centrifugal force. As of 2026, these systems remain the gold standard for twist-and-go urban commuters, but they are not immune to wear, glazing, and frustrating engagement issues.
For beginners, diagnosing a slipping or shuddering scooter clutch can feel like a mystery. Why does the scooter vibrate violently at stoplights? Why does the engine rev loudly before the bike actually moves? This guide breaks down the exact physics, symptoms, and repair procedures for Yamaha XMAX dry clutch engagement and disengagement issues, complete with OEM part numbers, torque specifications, and real-world diagnostic data.
The Physics of Engagement and Disengagement
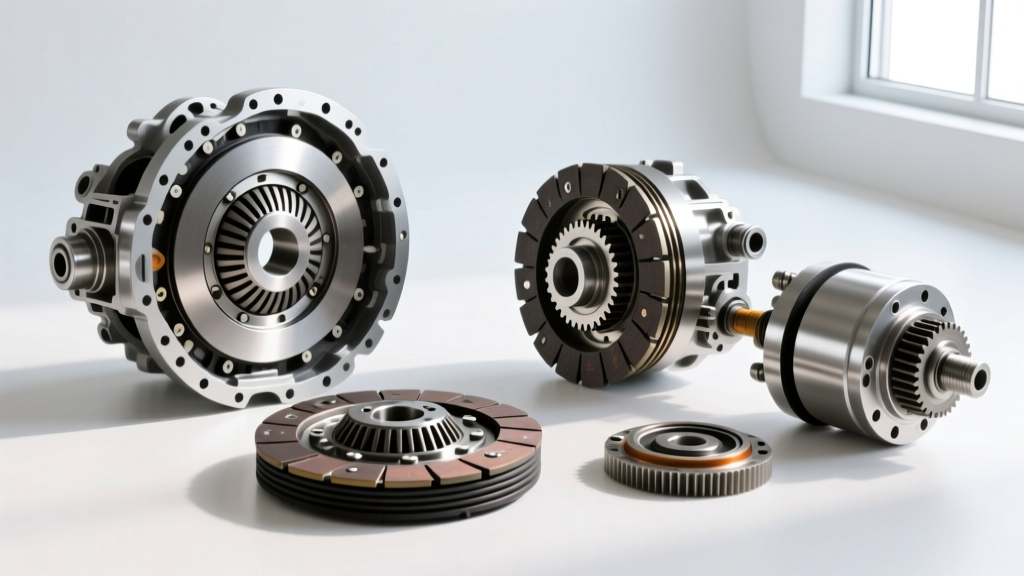
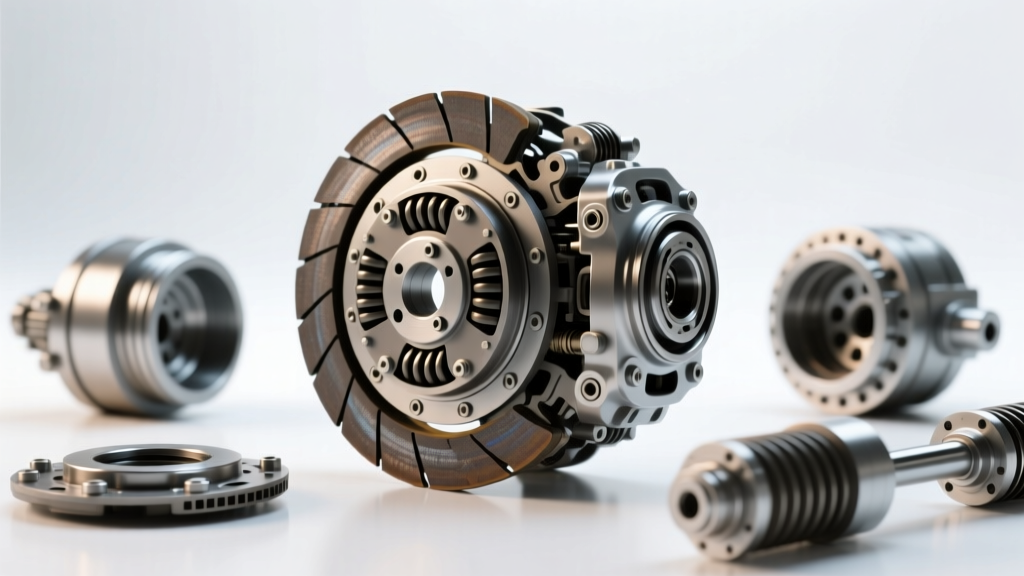
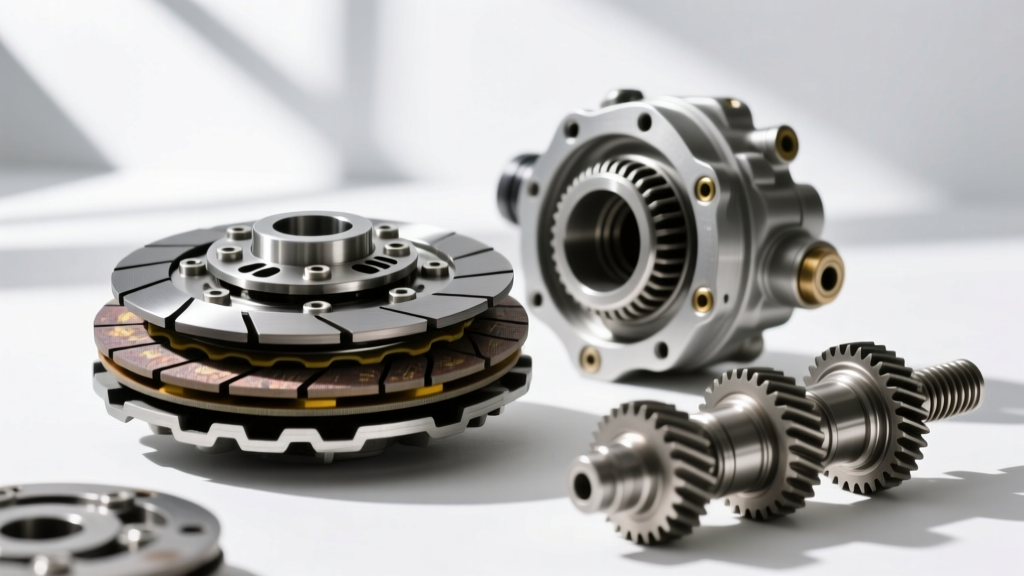
To troubleshoot the system, you first need to understand how a dry centrifugal clutch operates. The assembly consists of three primary components: the clutch boss (which holds the shoes), the clutch shoes (lined with friction material), and the clutch bell (bolted to the CVT rear pulley and input shaft).
The Engagement Phase (Takeoff)
When you are at a stop, the engine is idling (typically around 1,300 to 1,500 RPM). At this speed, the heavy clutch shoes are held tightly inward by tension springs. As you twist the throttle, engine RPM rises. The increasing centrifugal force eventually overcomes the tension of the springs, throwing the shoes outward until the friction pads make contact with the inner wall of the spinning clutch bell. This friction transfers rotational energy to the rear wheel, and the scooter moves forward.
The Disengagement Phase (Stopping)
Disengagement relies on a concept called hysteresis. Because the spinning clutch bell creates its own rotational drag and friction heat, the RPM required to keep the clutch engaged is actually lower than the RPM required to initially engage it. When you roll off the throttle and brake, the RPM drops. Once the centrifugal force falls below the spring tension threshold, the springs snap the shoes back inward, disengaging the drivetrain so the engine can idle without stalling.
Top 3 XMAX Engagement & Disengagement Symptoms
When the dry clutch xmax system begins to fail, it rarely does so silently. Here are the most common symptoms riders experience, ranked by frequency:
- Takeoff Shudder (The "Washboard" Effect): The scooter violently vibrates or chatters between 2,000 and 3,500 RPM during initial acceleration. This is almost always caused by uneven friction material wear, clutch bell warping, or severe pad glazing.
- Late Engagement (Slipping): You twist the throttle, the engine screams past 4,000 RPM, but the scooter barely creeps forward. This indicates worn clutch shoe linings, oil contamination from a failing rear gearcase seal, or fatigued springs that are allowing the shoes to slip against the bell without fully biting.
- Dragging / Creeping at Idle: The scooter wants to move forward even when you are completely off the throttle at a stoplight. This is a disengagement failure caused by broken springs, a warped clutch boss, or debris wedged between the shoes and the bell.
Diagnostic Data: OEM Specs vs. Worn Limits
Proper diagnosis requires measuring your components against factory service limits. Guesswork leads to repeated failures and wasted money. Below is the critical measurement chart for the Yamaha XMAX 300 dry clutch assembly. You can cross-reference these specifications with digital calipers during your teardown.
| Component | OEM Part Number | Factory Specification | Service Limit (Replace) | Est. Cost (2026) |
|---|---|---|---|---|
| Clutch Shoe Assembly | 2DP-16620-00-00 | Lining Thickness: 3.5 mm | Less than 1.5 mm | $115 - $130 |
| Clutch Bell | 13S-16611-00-00 | Inner Diameter: 150.0 mm | Greater than 150.6 mm | $85 - $100 |
| Clutch Shoe Springs | 90501-25003-00 | Free Length: 58.0 mm | Less than 54.0 mm | $18 - $25 (Set) |
| Clutch Boss Lock Nut | 95701-16000-00 | Torque: 50 Nm (37 lb-ft) | Replace if threads strip | $4 - $6 |
Step-by-Step Troubleshooting and Repair
If your measurements indicate wear, or if you are dealing with severe glazing, a teardown is required. Here is the professional workflow for addressing XMAX dry clutch issues.
1. Safe Removal and Disassembly
Remove the CVT cover and the drive belt. To remove the clutch bell, you must hold the clutch boss stationary. Never use an impact wrench without a holding tool, as the sudden shock can shatter the cast aluminum clutch boss. Use a universal CVT holding tool (or the OEM Yamaha tool 90890-04081) to grip the shoes, and use a breaker bar to loosen the 19mm clutch boss lock nut. Remember, unlike the variator nut on the front pulley, the rear clutch nut on the XMAX is standard right-hand thread.
2. Inspecting and Deglazing the Components
Glazing occurs when the clutch slips excessively, generating enough heat to bake the friction material into a hard, glassy surface. This causes the infamous takeoff shudder.
The Fix: You do not always need to buy new shoes if the thickness is above the 1.5mm service limit. You can often rescue a glazed clutch by scuffing the friction pads with a medium-grit Scotch-Brite pad or 120-grit sandpaper until the shiny surface is removed and the matte friction material is exposed. Simultaneously, clean the inside of the clutch bell with aerosol brake cleaner and a Scotch-Brite pad to remove embedded dust and burnt residue.
3. Reassembly and Precision Torquing
When reinstalling the clutch bell, ensure the mating surfaces of the rear pulley and the bell are completely free of oil and debris. Even a single drop of chain lube or gear oil will cause catastrophic slipping. Torque the clutch boss lock nut to exactly 50 Nm (37 lb-ft) using a calibrated torque wrench. Always use a new OEM crush washer or lock nut to prevent it from backing off under the high-torque load of aggressive acceleration.
⚠️ Safety Warning: When compressing the clutch shoes to slide the assembly into the clutch bell during reassembly, keep your fingers clear of the pinch points between the shoes and the boss. The heavy-duty springs exert immense pressure, and finger amputations are a surprisingly common injury among amateur scooter mechanics.
Upgrading for 2026: Aftermarket Clutch Springs
If you frequently ride in stop-and-go urban traffic or carry a passenger, the OEM engagement RPM might feel too sluggish. Many riders in the scooter tuning community opt for stiffer aftermarket clutch springs (often color-coded, such as yellow or red springs from brands like Malossi or Polini).
Installing stiffer springs increases the RPM required to overcome the spring tension, raising the engagement point from the stock ~2,500 RPM to roughly 3,500 or 4,000 RPM. This keeps the engine in its peak torque band during takeoff, completely eliminating low-RPM shudder and providing a much more aggressive, confident launch from a dead stop. However, be aware that this will slightly reduce your low-speed maneuverability and increase fuel consumption in heavy traffic.
When to Seek Professional Help
While cleaning and measuring a dry clutch is a beginner-friendly weekend project, certain issues require a dealership or specialized CVT shop. If you find deep scoring (grooves deeper than 0.5mm) on the inside of the clutch bell, or if the needle bearing inside the clutch boss feels gritty or has lateral play, the entire assembly must be replaced or machined. Furthermore, if you find a thick, milky sludge inside the CVT case, your rear gearcase oil seal has failed, allowing gear oil to migrate onto the dry clutch shoes. In this scenario, simply cleaning the clutch is a temporary band-aid; the root-cause seal must be replaced to prevent immediate re-contamination.
Authoritative Resources for Further Reading
To ensure your XMAX is maintained to factory standards, always consult official documentation and experienced communities. The following resources are invaluable for maxi-scooter drivetrain diagnostics:
- Yamaha Motor Corporation USA - Official portal for OEM part diagrams, service bulletins, and genuine replacement components.
- ADVrider Scooter Forum - The largest community of maxi-scooter enthusiasts, featuring extensive teardown threads, torque spec debates, and aftermarket CVT tuning data for the XMAX platform.
- ManualsLib - A massive repository where you can search for and download official Yamaha XMAX service manuals in PDF format to verify model-year-specific clearances and wiring diagrams.