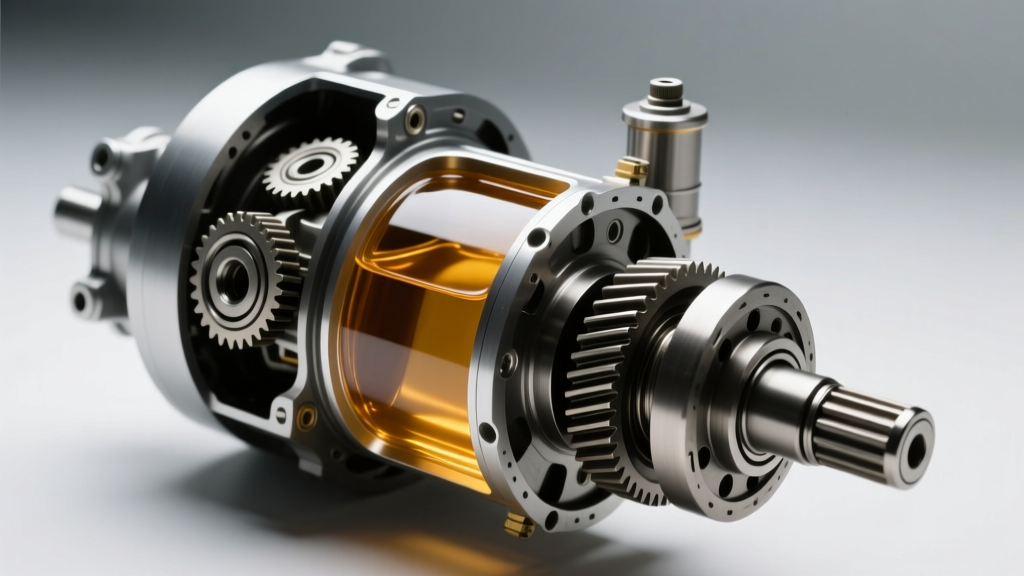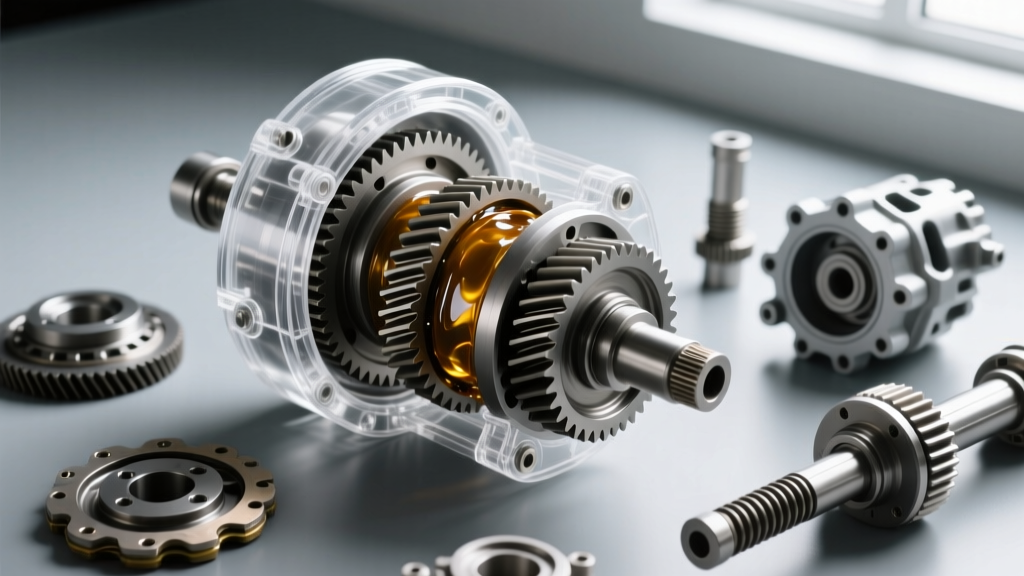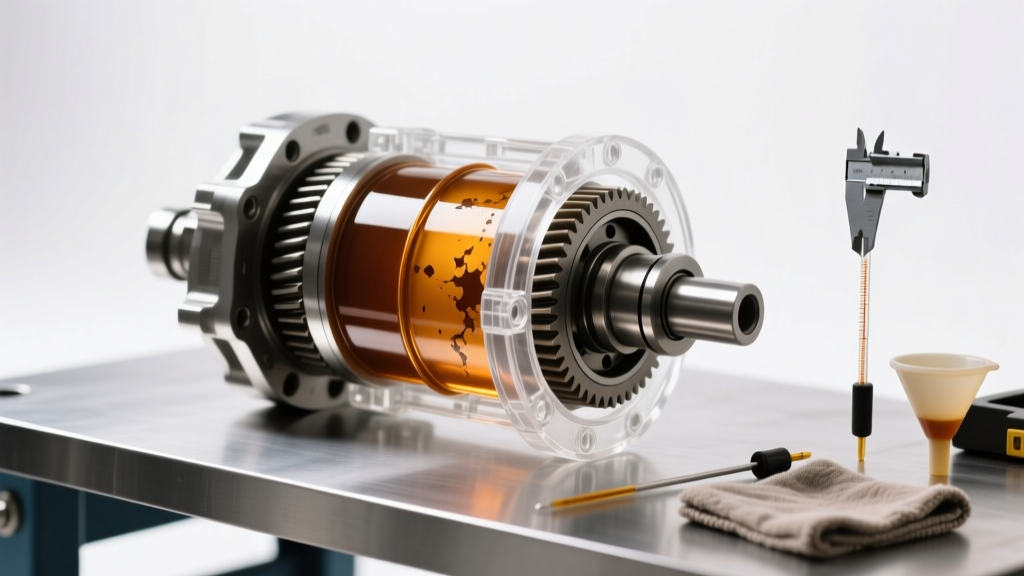
As of 2026, the off-road and fleet maintenance communities have increasingly adopted visual-first diagnostic mods to reduce downtime and prevent catastrophic gear failure. One of the most effective upgrades for the ubiquitous Dana 44—and its modern Jeep JL/Gladiator M220 variant—is the installation of a clear differential cover. Machined from high-impact polycarbonate or cast acrylic, these covers transform a sealed, blind iron housing into an observable diagnostic window. However, swapping from stamped steel to transparent polymers introduces unique mechanical and chemical challenges that can shatter your new cover or ruin your ring and pinion if ignored.
The Diagnostic Advantage of a Clear Differential Cover
Traditionally, detecting a differential leak meant crawling under the vehicle, wiping down grimy steel housings, and looking for wet spots. By the time gear oil pools on the ground or splatters onto your exhaust, the fluid level has often dropped below the pinion bearing, leading to rapid heat degradation and spalling. A clear differential cover allows for 10-second visual inspections of:
- Fluid Level and Condition: Instantly verify the oil line without removing the fill plug.
- Water Intrusion: Spot the milky emulsion that occurs when water bypasses the axle tube seals during deep crossings.
- Catastrophic Wear: Identify large metallic shards or broken ring gear teeth resting in the sump before they jam the pinion.
- Gasket Weeps: Pinpoint the exact origin of a perimeter leak without degreasing the entire axle housing.
Anatomy of a Leak: JL Wrangler M220 / Dana 44 Rear Axle
While the aftermarket still colloquially refers to the Jeep JL Rubicon rear axle as a Dana 44, engineers recognize it as the Spicer M220. Despite the nomenclature, the leak profiles and repair procedures remain fundamentally aligned with traditional Dana 44 architectures. According to the Spicer Parts technical archives, the three primary failure points for fluid egress are:
1. Pinion Seal Failure (Part #68252290AA)
The pinion seal endures the highest rotational velocity and thermal cycling in the axle. On the M220, a leaking pinion seal will sling 75W-140 gear oil directly onto the exhaust crossover, creating a distinct burning odor. If you see fluid pooling at the yoke interface through the lower quadrant of your clear cover, the pinion seal is your primary suspect.
2. Axle Tube Seal Weeps (Part #68293388AA)
When axle tube seals fail, gear oil migrates outward past the wheel bearings and contaminates the brake pads. While a clear differential cover won't directly show the tube seals, it will reveal a dropping fluid level and an air bubble forming at the top of the housing, indicating that fluid is escaping toward the wheel ends.
3. Cover Perimeter Seepage
The mating surface between the differential housing and the cover is prone to leaks due to thermal expansion mismatches and improper torque sequencing during previous fluid services.
The Polymer Hazard: RTV vs. Acrylic Crazing
Critical Warning: Never use standard acetic-cure RTV silicone (like standard Permatex Ultra Black) on an acrylic or polycarbonate clear differential cover. The chemical off-gassing during the curing process will cause 'crazing'—a network of micro-fractures that clouds the plastic and compromises its structural integrity, leading to sudden blowouts under axle pressure.
When resealing a clear differential cover, you must use either a dedicated precision-cut cork/rubber composite gasket, an integrated O-ring groove (if provided by the manufacturer), or a strictly neutral-cure silicone sealant. For the M220/Dana 44, a dry composite gasket (such as the Lube Locker Dana 44 reusable gasket) is the gold standard for polymer covers, as it eliminates chemical risks and allows for repeated removal for internal inspections.
Torque Specifications and Hardware Matrix
Over-torquing is the number one cause of clear differential cover failure. Steel covers can handle aggressive wrenching; polymers cannot. Below is the comparative torque matrix for the Dana 44 / M220 rear differential cover bolts (12mm x 1.75 flange bolts).
| Cover Material | Gasket Type | Torque Spec (ft-lbs) | Torque Spec (Nm) | Sequence Pattern |
|---|---|---|---|---|
| OEM Stamped Steel | RTV Silicone | 20 - 25 ft-lbs | 27 - 34 Nm | Criss-Cross |
| Cast Aluminum | O-Ring / Gasket | 18 - 22 ft-lbs | 24 - 30 Nm | Criss-Cross |
| Clear Acrylic/Polycarbonate | Dry Composite / O-Ring | 10 - 14 ft-lbs | 13 - 19 Nm | Star / Spiral Outward |
Note: Always use a calibrated 1/4-inch drive click-type or digital torque wrench. Do not rely on 'feel' or impact drivers when fastening a clear differential cover.
Step-by-Step Resealing and Installation Procedure
Whether you are chasing an active leak or performing a preventative fluid service, follow this protocol to ensure a watertight seal without damaging your transparent hardware.
Phase 1: Draining and Surface Preparation
- Remove the OEM fill plug first (located on the upper passenger side of the housing) using a 10mm hex socket. Never remove the cover bolts before the fill plug; if the fill plug is seized, you will be stranded with an open, draining axle.
- Loosen the 12mm cover bolts in a spiral pattern, moving from the outside in.
- Drain the fluid into a catch pan. Inspect the drained oil for glitter (fine metallic paste is normal; chunky shards indicate bearing or gear failure).
- Scrape the housing mating surface with a plastic gasket scraper. Do not use steel razor blades, as gouging the cast iron or aluminum housing will create permanent leak paths.
- Wipe the mating surface with brake cleaner until a white paper towel comes away clean.
Phase 2: Gasket Seating and Bolt Preparation
- Place your reusable composite gasket or O-ring onto the clear differential cover. If using an O-ring, apply a microscopic dab of synthetic grease to keep it seated in the groove during installation.
- Clean the 12mm flange bolts with a wire brush to remove old threadlocker or debris.
- Apply a single drop of medium-strength blue threadlocker (e.g., Loctite 243) to the first three threads of each bolt. This prevents vibration-induced backing out without requiring heat for future removal.
Phase 3: Torquing the Clear Cover
- Hand-thread all bolts into the housing to prevent cross-threading the aluminum or cast iron.
- Snug the bolts down to approximately 5 ft-lbs using a star pattern (jumping across the center of the cover to the opposite side).
- Set your torque wrench to 12 ft-lbs (16 Nm). Complete the final pass in a strict star pattern. Stop immediately when the wrench clicks; do not 'double check' by pulling again, as this can stretch the polymer and cause stress fractures.
Fluid Selection and the Locker Additive Trap
Once the clear differential cover is secured, it is time to fill the axle. For the JL Wrangler M220 / Dana 44 rear, the factory specification is 75W-140 Synthetic API GL-5 Gear Oil (Mopar Part #68218655AB). The total capacity is approximately 2.2 quarts (2.1 liters).
According to data compiled by the Quadratec Technical Archives, a massive point of confusion in 2026 remains the Limited Slip Additive (Friction Modifier). Here is the definitive rule for modern Jeep axles:
- Trac-Lok (Clutch-Type LSD): Requires 4 oz of Mopar Friction Modifier (Part #04318060AD) to prevent clutch chatter during tight turns.
- Rubicon Electronic Lockers (M220/M210): DO NOT add friction modifier. These are positive-locking gear-driven lockers. Adding friction modifier will thin the fluid and reduce the protective film strength on the ring and pinion under heavy load.
Fill the housing until the fluid level is exactly at the bottom edge of the fill plug hole. For vehicles with a 2-inch or greater suspension lift, you may need to add slightly more fluid to compensate for the altered pinion angle, but never overfill to the point of hydro-locking the breather tube.
Post-Repair Verification
Reinstall the fill plug and torque it to 25 ft-lbs. Take the vehicle for a 15-mile drive to bring the gear oil up to operating temperature (roughly 140°F to 160°F). Upon returning, park on a level surface and visually inspect the perimeter of your new clear differential cover. The transparent material will immediately reveal any capillary weeping at the bolt heads or gasket edges. If the seal is dry, you have successfully modernized your axle's diagnostic capability, ensuring that your next off-road excursion or heavy tow won't end in a catastrophic, un-lubricated gear failure.