Understanding the Chevy 350 Torque Converter and TCC System
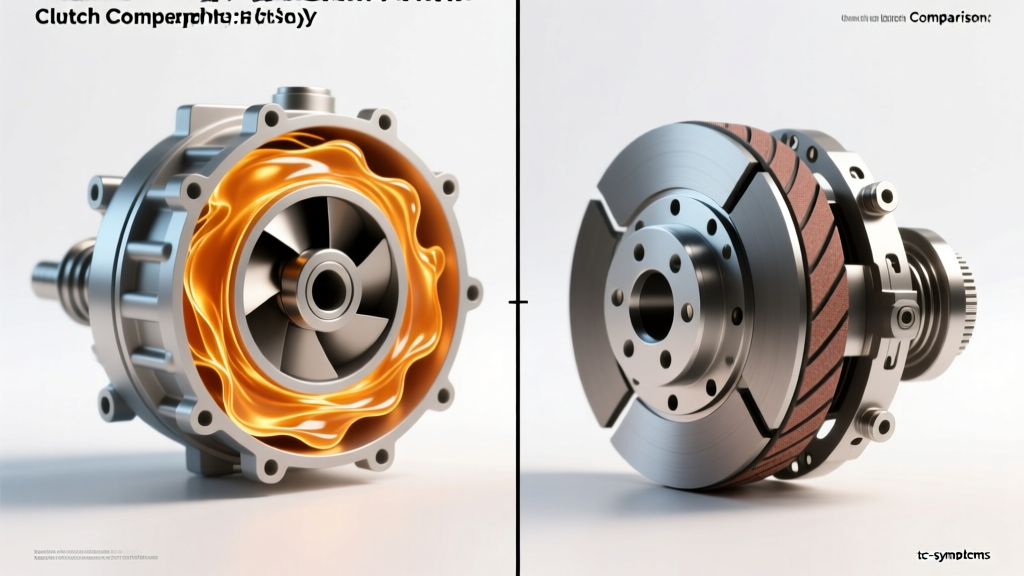
The Chevy 350 Small Block is one of the most iconic engines in automotive history. When paired with GM's legendary 4L60E (and earlier 700R4/4L60) automatic transmissions, it creates a drivetrain combination that has powered millions of trucks, SUVs, and performance cars. However, as these vehicles accumulate mileage, owners frequently encounter Chevy 350 torque converter clutch solenoid problems. The Torque Converter Clutch (TCC) is critical for eliminating slip at highway speeds, improving fuel economy, and reducing transmission fluid temperatures. When the solenoid responsible for actuating this clutch fails, it can lead to devastating transmission damage if left unaddressed.
In this comprehensive expert guide, we will dive deep into the mechanics of the TCC solenoid, explore the most common failure modes, provide exact diagnostic procedures, and outline the best practices for replacing the solenoid on GM 4L60E platforms.
The Evolution of GM TCC Solenoids: On/Off vs. PWM
To accurately diagnose Chevy 350 torque converter issues, you must first identify which era of the 4L60E or 700R4 you are working on. GM utilized two distinct types of TCC solenoids over the years:
1. Early On/Off Solenoids (1982–1994)
Found in the 700R4 and early 4L60 (non-electronic) and early 4L60E transmissions, these solenoids operate like a simple light switch. When the PCM grounds the circuit, the solenoid opens fully, dumping fluid and applying the TCC valve instantly. This resulted in a harsh, abrupt lockup that drivers often described as a 'bump' at cruising speeds.
2. Pulse Width Modulated (PWM) Solenoids (1995–Present)
Introduced to smooth out the lockup process, the PWM solenoid rapidly pulses the fluid pressure, allowing the torque converter clutch to apply gradually. This 'controlled slip' phase reduces driveline shock and improves passenger comfort. According to Sonnax technical bulletins, the PWM solenoid operates at a variable frequency, making it more susceptible to electrical degradation and internal screen clogging than its older counterparts.
Top Symptoms of a Failing TCC Solenoid
Recognizing the early warning signs of a failing solenoid can save you from a complete transmission rebuild. Here are the most common symptoms associated with Chevy 350 torque converter clutch solenoid problems:
TCC Shudder and the Dreaded P1870 Code
If your Chevy 350 feels like it is driving over rumble strips at 45–55 mph, you are experiencing TCC shudder. This occurs when the PWM solenoid fails to maintain steady hydraulic pressure, causing the clutch to rapidly engage and disengage. In OBD-II equipped vehicles, this often triggers Diagnostic Trouble Code (DTC) P1870 (Transmission Component Slipping) or P0741 (TCC Stuck Off). The PCM detects that engine RPM and transmission output shaft speed are not matching expected parameters during lockup.
Engine Stalling at Idle or Stop Signs
If the TCC solenoid becomes mechanically stuck in the 'open' or 'applied' position, the torque converter remains locked to the engine even when the vehicle comes to a halt. Because the engine is still mechanically coupled to the stopped drivetrain, the Chevy 350 will shudder violently and stall out, much like forgetting to press the clutch pedal in a manual transmission.
Highway Overheating and Poor Fuel Economy
A solenoid that fails to command lockup will cause continuous fluid shear inside the torque converter. This slip generates massive amounts of heat. If you notice your transmission fluid temperatures exceeding 200°F (93°C) on the highway, or if your fuel economy drops by 2–4 MPG, the TCC is likely not applying due to an electrical fault or a clogged solenoid feed screen.
Expert Diagnostic Best Practices: Testing the PWM Solenoid
Before dropping the transmission pan, perform these non-invasive electrical tests to confirm the solenoid is the culprit and not a wiring harness issue or a failing PCM.
Step 1: Resistance Testing at the Case Connector
You do not need to drop the pan to check the solenoid's internal coil. Locate the transmission case connector (16-way for 1995–1997 models, 14-way for 1998+ models).
- For PWM Solenoids: Set your multimeter to Ohms (Ω). Probe the TCC PWM control pin (typically Pin U on early harnesses or Pin A on later 14-way connectors) and a known good ground. A healthy PWM solenoid should read between 10 and 15 ohms at room temperature.
- For Older On/Off Solenoids: Expect a reading between 20 and 30 ohms.
If your reading shows infinite resistance (OL), the internal coil is burnt out. If it reads near zero, the coil has shorted internally.
Step 2: Scan Tool Command Test
Connect a bi-directional OBD-II scan tool. With the vehicle safely raised on a lift and rear wheels off the ground, command the TCC solenoid ON at 50% duty cycle while monitoring the TCC slip speed PID. If the solenoid clicks audibly through the pan but slip speed does not decrease, your issue is likely mechanical (e.g., a worn TCC apply valve in the valve body or a burnt clutch friction material), not the solenoid itself.
Expert Repair Guide: Replacing the TCC Solenoid on a 4L60E
If diagnostics confirm a failed solenoid, replacement is a straightforward but messy job that requires strict adherence to torque specs and cleanliness.
Preparation and Fluid Drain
Position a large drain pan beneath the transmission. The 4L60E pan holds approximately 5 to 6 quarts of fluid, while the entire system (including the torque converter) holds 11 to 12 quarts. Loosen the pan bolts in a crisscross pattern, leaving the front bolts slightly threaded to let the pan hinge and drain slowly.
Solenoid Removal
- Remove the transmission filter (ACDelco part #24230298 is highly recommended for reassembly).
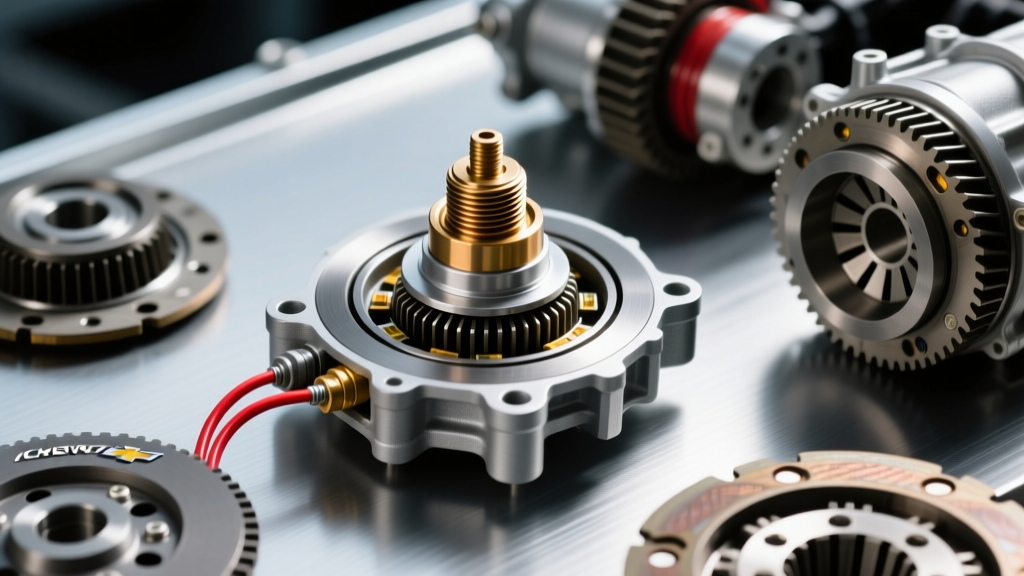
- Locate the TCC PWM solenoid on the valve body. It is typically held in place by a small retaining bracket or a snap-ring.
- Disconnect the electrical connector carefully. The plastic tabs become brittle from years of heat cycling; use a small pick tool to release the locking tab.
- Remove the retaining bolt (usually an 8mm or 10mm head) and pull the solenoid straight out of the valve body bore.
Installation and Torque Specifications
Before installing the new solenoid, lubricate the new O-rings with fresh Dexron VI fluid. Never install the O-rings dry, as they will pinch and cause immediate hydraulic leaks upon startup.
| Component | Fastener Size | Torque Specification |
|---|---|---|
| Solenoid Retaining Bracket | M6 Bolt | 71 in-lbs (8 Nm) |
| Valve Body to Case Bolts | M6 Bolts (Various lengths) | 97 in-lbs (11 Nm) |
| Transmission Pan Bolts | M6 Bolts | 13 ft-lbs (18 Nm) |
| Filter Neck O-Ring | N/A | Seat fully, do not overtighten filter |
Note: Always verify valve body bolt lengths. Installing a long bolt into a short hole will pierce the transmission case and ruin the casting.
2026 Cost Breakdown and Part Selection Data
When sourcing parts for your Chevy 350 torque converter system, avoid ultra-cheap aftermarket solenoids. Poorly manufactured PWM solenoids often suffer from inconsistent internal springs, leading to immediate P0741 codes right out of the box. Below is a market comparison for 2026:
| Part Type | Brand / Part Number | Avg. Cost (Parts) | Expert Verdict |
|---|---|---|---|
| OEM PWM Solenoid | ACDelco 214-1892 | $35 - $55 | Best choice for reliability and correct PWM frequency. |
| Aftermarket Solenoid | Borg Warner / Standard | $20 - $30 | Acceptable for budget builds, but verify Ohm ratings. |
| Professional Labor | Independent Shop | $150 - $250 | Usually billed as 1.5 to 2.0 hours of book time. |
| Fluid & Filter Kit | ACDelco Dexron VI Kit | $40 - $60 | Mandatory. Never reuse old ATF after a pan drop. |
For a complete DIY repair, expect to spend between $90 and $130 on high-quality OEM parts and fresh fluid. Professional shop rates will push the total invoice to the $250–$350 range.
Preventative Maintenance to Extend TCC Life
The number one killer of the Chevy 350 torque converter clutch solenoid is contaminated fluid. As the TCC friction material wears over 100,000+ miles, microscopic debris circulates through the valve body and clogs the tiny feed screens located inside or just above the PWM solenoid.
Upgrade to Dexron VI
If you are maintaining an older Chevy 350 running a 4L60E, abandon the outdated Dexron III. GM's ACDelco Dexron VI is fully backward compatible and offers superior shear stability and oxidation resistance, which is critical for the controlled-slip requirements of the PWM system.
Install an Auxiliary Transmission Cooler
Heat degrades the internal wiring insulation of the TCC solenoid. By routing the transmission cooler lines to a dedicated auxiliary cooler (such as a Hayden 678 or Derale 15800), you can drop fluid temperatures by 30°F to 50°F. This not only preserves the solenoid's electrical integrity but also drastically extends the life of the torque converter clutch friction lining.
Magnetic Drain Plugs and Inline Filters
Consider installing a magnetic drain plug in the transmission pan and an inline cooler line filter (like the Magnefine 3/8-inch inline filter). These catch ferrous and clutch debris before it can reach the valve body and the TCC solenoid screens, effectively eliminating the most common cause of P1870 codes.
Final Thoughts
Tackling Chevy 350 torque converter clutch solenoid problems does not require a complete transmission removal. By understanding the difference between On/Off and PWM systems, performing accurate resistance testing, and adhering to strict torque specifications during reassembly, you can restore your vehicle's highway cruising efficiency and protect your drivetrain from catastrophic heat-related failures. Always prioritize OEM-grade solenoids and fresh Dexron VI fluid to ensure your repair lasts for the next 100,000 miles.