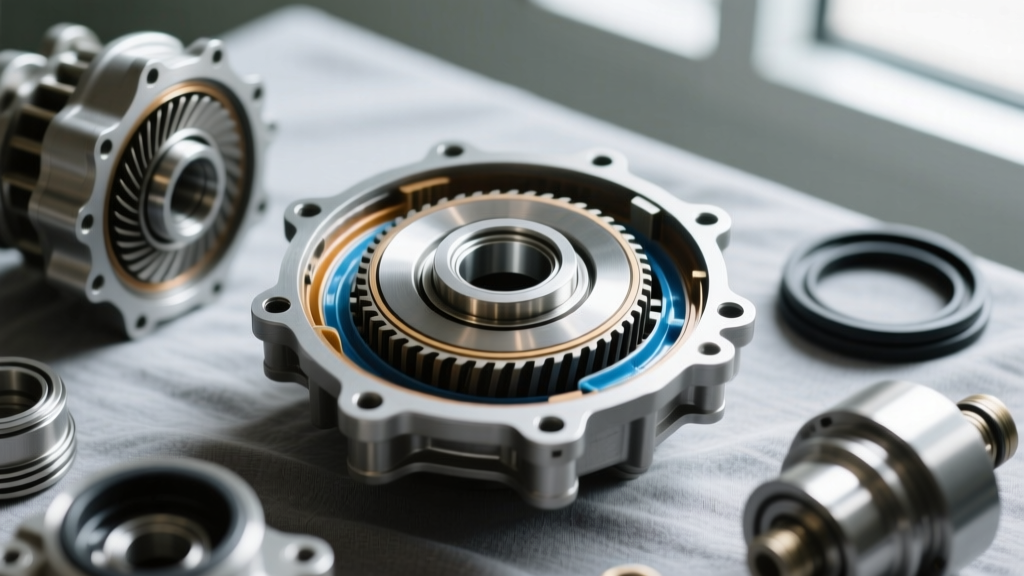
While early Continuously Variable Transmissions (CVTs) relied on multi-plate wet clutches for vehicle launch, modern iterations—such as the Jatco JF016E (CVT8), Toyota Direct Shift-CVT, and Subaru Lineartronic TR690—utilize a traditional torque converter. This design provides smooth low-speed engagement and eliminates the notorious 'rubber-band' launch feel. However, this architecture reintroduces a classic automatic transmission failure point: the front pump seal, commonly referred to as the torque converter seal.
When this seal fails on a CVT, the resulting fluid loss and aeration can trigger catastrophic belt slippage or chain failure. This comprehensive, step-by-step guide details the exact diagnostic and replacement procedures for CVT torque converter seals, focusing on the high-volume Jatco and Subaru platforms.
The Anatomy of a CVT Front Pump Seal Leak
In a CVT, the torque converter hub rides inside the front pump seal, which is pressed into the aluminum transmission case. The seal must withstand constant rotational friction, extreme thermal cycling, and the unique chemical properties of low-viscosity CVT fluids (like Nissan NS-3 or Subaru High-Torque CVTF). Over time, the synthetic rubber lip hardens, or the torque converter hub develops microscopic grooves, allowing pressurized fluid to bypass the seal and leak into the bellhousing.
Diagnostic Protocol: Engine Rear Main vs. TC Seal
Before dropping the transmission, you must definitively isolate the leak source. A misdiagnosis here leads to unnecessary CVT removal.
- Visual Inspection: Remove the lower bellhousing inspection cover. If the fluid is red, amber, or green (depending on OEM CVTF), it is likely the torque converter seal. If it is dark brown/black and smells of combustion, suspect the engine rear main seal.
- UV Dye Test: Add UV dye to the CVT fill tube. Run the vehicle through a thermal cycle (until the radiator fan engages). Inspect the weep hole at the bottom of the bellhousing with a UV flashlight.
- The 'Dry Build' Check: Clean the bellhousing interior with brake cleaner. Idle the vehicle in gear (with brakes firmly applied) for 10 minutes to load the torque converter clutch (TCC) circuit. Re-inspect the weep hole for fresh seepage.
Essential Tools and OEM Part Numbers
Using the correct OEM seal and installation tools is non-negotiable. Aftermarket seals often lack the precise PTFE lip geometry required for CVT hub tolerances.
| Component / Tool | Jatco JF016E (Nissan) | Subaru Lineartronic (TR690) |
|---|---|---|
| OEM Front Pump Seal | 31375-1XF0A | 803221250 |
| Required CVTF Fluid | Nissan NS-3 (999MP-NS300P) | Subaru High-Torque CVTF |
| Seal Driver Tool | CVT-specific stepped driver | ST 498247200 (Installer) |
| Hub Polishing Tool | 400-Grit Emery Cloth | 400-Grit Emery Cloth |
| Torque Spec (TC to Flexplate) | 47 Nm (35 ft-lbs) | 48 Nm (35.4 ft-lbs) |
| Torque Spec (Bellhousing to Block) | 46 Nm (34 ft-lbs) | 50 Nm (37 ft-lbs) |
Step-by-Step Replacement Procedure
Phase 1: Drivetrain Extraction and Separation
1. Vehicle Support: Lift the vehicle on a two-post lift. Disconnect the negative battery terminal and remove the battery tray and air intake assembly to access the upper bellhousing bolts.
2. Subframe & Axle Removal: Drain the CVT fluid via the overflow plug (not the pan drain, to avoid disturbing the pan gasket unnecessarily). Remove the front wheels, axle nuts, and lower ball joints to extract the CV axles. Warning: Cap the axle seals immediately to prevent differential fluid loss and contamination.
3. Engine Support: Place an engine support bar across the strut towers. Lower the front subframe/crossmember and remove the transmission mount.
4. Separation: Unbolt the torque converter from the flexplate (rotate the crankshaft via the harmonic balancer bolt to access all 4-6 nuts). Support the CVT with a transmission jack, remove the remaining bellhousing bolts, and slide the transmission rearward.
Phase 2: Seal Removal and Hub Micro-Polishing
This is the most critical phase. According to Transmission Digest, 80% of repeat front pump seal leaks are caused by installing a new seal over a grooved torque converter hub.
1. Extract the Seal: Use a dedicated L-shaped seal puller. Hook the inner metal casing of the seal and pull straight out. Never pry against the soft aluminum pump housing; a single gouge will permanently ruin the transmission case.
2. Inspect the TC Hub: Run your fingernail across the sealing surface of the torque converter hub. If your nail catches on a wear groove, the hub is compromised.
3. Polish the Hub: Wrap 400-grit emery cloth around the hub and polish it using a back-and-forth motion (not purely rotational) until the surface is uniformly smooth. Clean the hub thoroughly with lint-free shop towels and isopropyl alcohol.
Phase 3: Precision Seal Installation
1. Lubrication: Coat the outer metal rim of the new OEM seal with a thin layer of RTV silicone or bearing mount to prevent it from spinning in the bore. Fill the inner rubber lip generously with fresh CVTF.
2. Driving the Seal: Place the seal squarely into the bore. Using the correct stepped seal driver and a dead-blow mallet, tap the seal in evenly until it sits perfectly flush with the pump housing. An angled seal will leak immediately upon pressurization.
Phase 4: Reassembly and Torque Sequencing
1. Prep the Converter: Ensure the torque converter is fully seated into the transmission. You must feel three distinct 'clunks' as the converter passes through the oil pump drive gear, the input shaft splines, and the stator support. Measure the distance from the bellhousing mating surface to the converter pad; it should be recessed by at least 10-15mm.
2. Mating the Transmission: Carefully guide the CVT onto the engine dowel pins. Never use the bellhousing bolts to 'pull' the transmission to the engine block; this will shatter the fragile CVT oil pump.
3. Fastening: Install the bellhousing bolts and torque to 46 Nm (Nissan) or 50 Nm (Subaru) in a star pattern. Install the torque converter nuts and torque to 47 Nm. Reinstall axles, subframe, and suspension components.
CVT Fluid Refill and Thermal Calibration
CVTs do not use traditional dipsticks. Fluid level must be calibrated based on precise thermal expansion parameters. As outlined by Sonnax technical bulletins, incorrect fluid levels lead to immediate TCC shudder or pump cavitation.
- Refill the transmission with the exact amount of OEM CVTF fluid drained (typically 4 to 6 liters for a dry-fill drop).
- Connect an advanced OBD2 bi-directional scan tool to monitor the CVT Fluid Temperature sensor.
- Start the engine and cycle through PRNDL, pausing for 3 seconds in each gear.
- Once the fluid temperature reaches the OEM target window (e.g., 36°C - 43°C / 96°F - 109°F for Nissan NS-3), remove the overflow check plug.
- Allow excess fluid to drain until it slows to a slow drip, then reinstall and torque the overflow plug (usually 8-10 Nm).
2026 Cost Analysis: Dealership vs. Independent
Replacing a torque converter seal is labor-intensive due to the R&R (Remove and Replace) nature of the job. Here is what you can expect to pay in the current market:
- Parts Cost: $25 - $45 (OEM Seal) + $60 - $120 (CVTF Fluid) = $85 - $165
- Independent Shop Labor: 6.5 to 8.5 hours @ $120-$150/hr = $780 - $1,275
- Dealership Labor: 7 to 9 hours @ $160-$210/hr = $1,120 - $1,890
Expert Tip: If your CVT has over 120,000 miles and the torque converter seal is leaking, the internal bearings and chain/belt are likely nearing end-of-life. While the transmission is out, consider having a reputable builder like Nissan Certified Remanufacturing inspect the torque converter clutch lining for glazing, which causes the infamous CVT shudder.