The Drivetrain Reality of the Dodge Charger Platform
The Dodge Charger, spanning the LX and LD platforms from 2006 through the final internal combustion models, is a heavy, high-torque sedan. Whether equipped with the 5.7L HEMI, the 6.4L Apache, or the supercharged 6.2L Hellcat/Redeye engines, the rear axle takes a massive beating. Most standard V8 Chargers utilize the Chrysler 8.75-inch (215mm) rear differential, while SRT models and high-horsepower variants step up to the 226mm Getrag or ZF-based units. As we navigate the automotive landscape in 2026, preventive maintenance is no longer just about following the owner's manual; it is about interpreting the physical health of your drivetrain. The most accurate window into your axle's health is differential fluid color and condition.
Routinely inspecting your gear oil can mean the difference between a $100 preventive fluid swap and a $4,000 catastrophic failure. Furthermore, reading the fluid's condition is the primary diagnostic tool used by drivetrain specialists to determine if a simple service is adequate, or if the vehicle requires a full Dodge Charger rear differential upgrade.
Decoding Differential Fluid: Color, Smell, and Texture
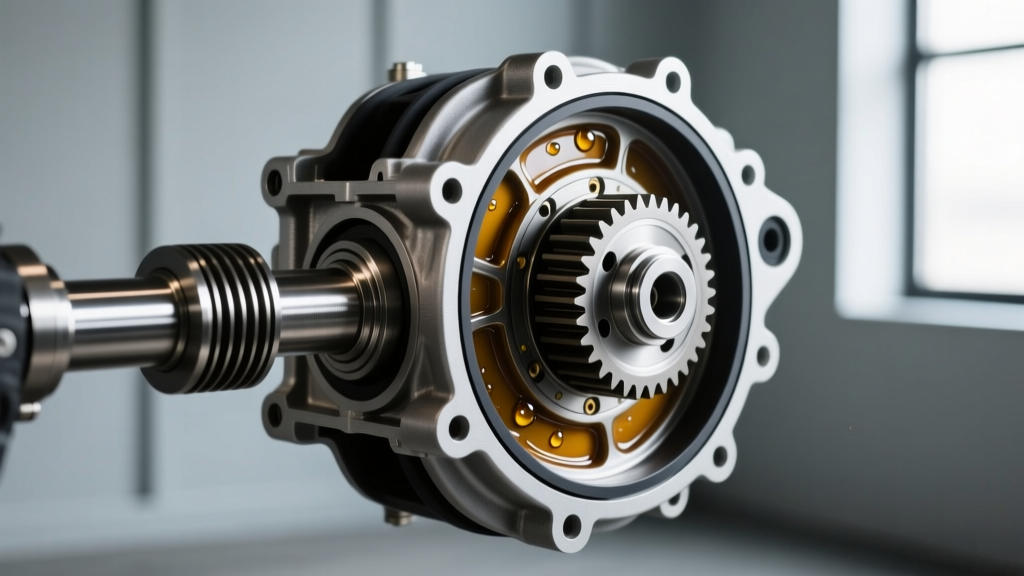
Gear oil operates in an extreme environment. Unlike engine oil, which is constantly filtered, differential fluid relies on a simple magnetic drain plug (or the static magnet inside the housing) to capture ferrous metals. Over time, the extreme pressure (EP) additives deplete, viscosity index improvers (VIIs) shear down, and the base oil oxidizes. To properly assess your Charger's rear axle, you must evaluate three distinct sensory inputs: visual color, olfactory scent, and tactile texture.
| Fluid Condition | Visual / Sensory Clues | Diagnosis & Required Action |
|---|---|---|
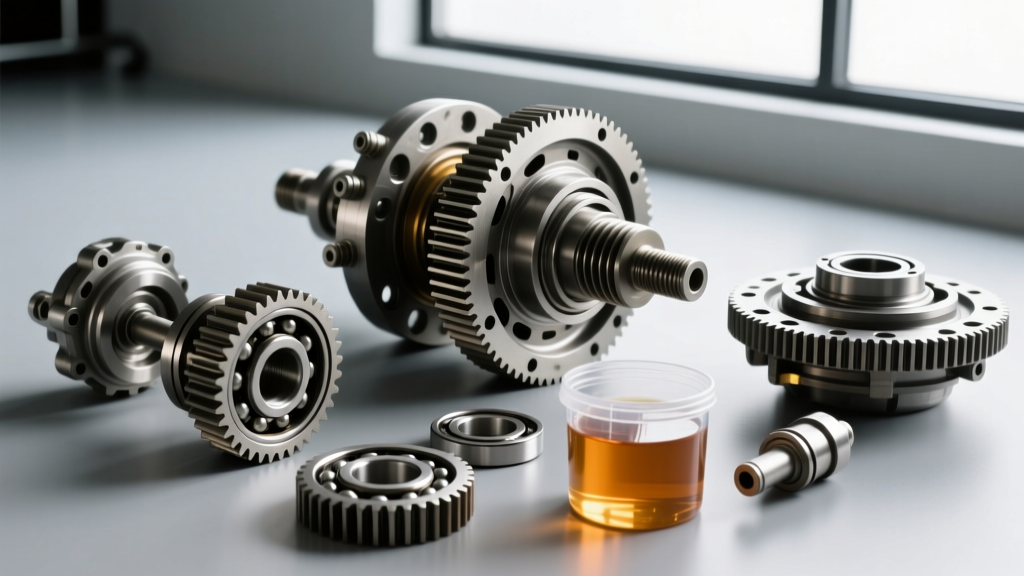
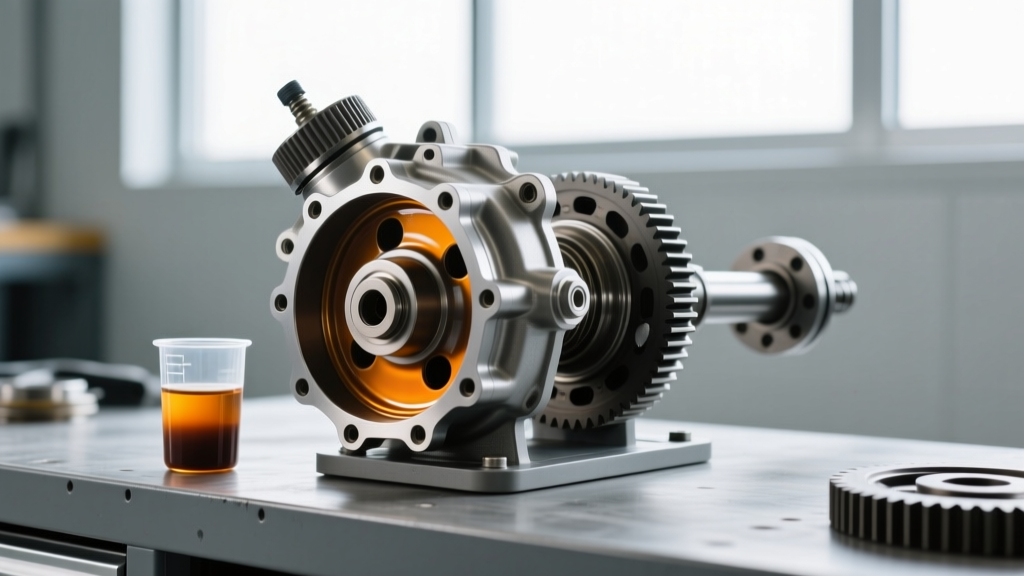
| Normal / Healthy | Translucent amber to light honey. Sweet, distinct chemical odor. | Fluid is within service life. Continue standard preventive intervals (30k-50k miles). |
| Oxidized / Aged | Dark brown, opaque. Slightly sour smell but no burning. | Normal thermal degradation. Schedule a drain and fill. Inspect cover magnet for fine fuzz. |
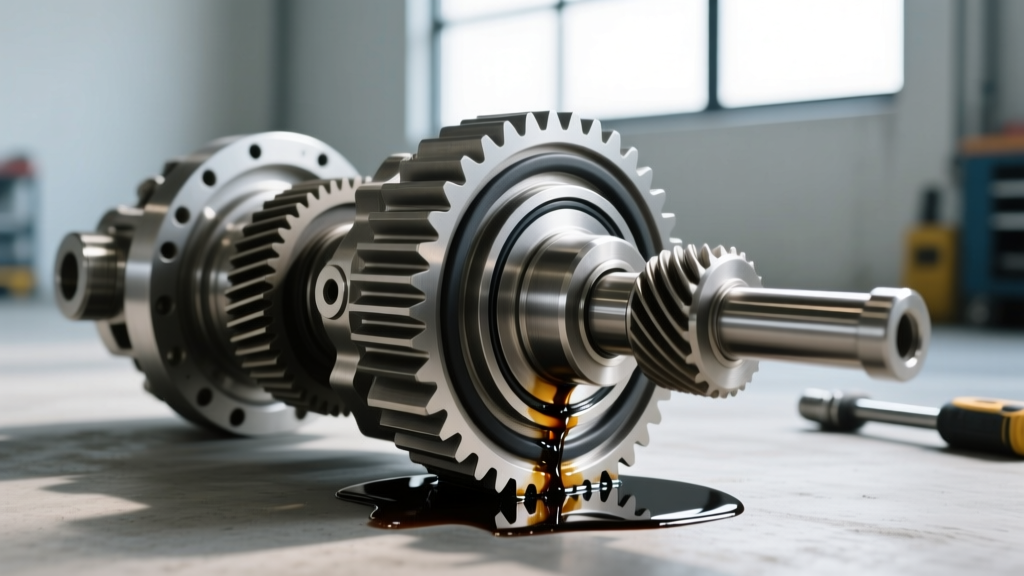
| Clutch Pack Failure | Jet black, opaque. Acrid, burnt-toast smell. | LSD friction clutches are incinerated. Requires tear-down or upgrade. Fluid change will not fix chatter. |
| Ring & Pinion Wear | Dark gray, metallic sheen in direct light. Fine glitter on fingers. | Hypoid gear surface spalling. Imminent failure. Prepare for rebuild or differential upgrade. |
| Catastrophic Failure | Chunky metal flakes, brass-colored shards (syncro/bearing cage). | Bearing or gear tooth failure. Immediate tow. Do not drive. Full axle replacement required. |
The Burnt Smell Test: LSD Clutch Pack Degradation
If your Charger is equipped with a factory clutch-type Limited Slip Differential (LSD), such as the Getrag Trak-Lok, the fluid condition will tell you exactly when the clutch packs have surrendered. When the friction material overheats during aggressive launches or tight low-speed turns, it essentially glazes and burns off into the gear oil. This imparts a highly distinct, acrid "burnt" smell to the fluid. According to extensive drivetrain discussions on the LX Forums Drivetrain Section, once the fluid smells burnt, no amount of friction modifier additive will save the clutches. At this juncture, owners must decide between rebuilding the factory LSD or pursuing an aftermarket upgrade.
When Fluid Condition Demands a Dodge Charger Rear Differential Upgrade
Preventive maintenance is about catching issues early, but sometimes the fluid reveals that the factory hardware is simply inadequate for the vehicle's power output. The factory 215mm open or clutch-type LSD is notorious for premature wear when subjected to the 400+ lb-ft of torque generated by modern HEMI engines, especially if the car sees drag strip use or aggressive canyon carving.
If your fluid inspection reveals heavy metallic glitter or burnt clutches, it is time to consider a Dodge Charger rear differential upgrade. Here are the two most common upgrade paths evaluated by drivetrain engineers:
Upgrade Path 1: Helical LSD (Wavetrac / Torsen)
For street-driven Chargers and moderate track cars (up to 600 whp), upgrading to a helical gear-based LSD like the Wavetrac (Part # 913033 for the 215mm housing) is the ultimate preventive measure. Helical differentials use gear binding rather than friction clutches to transfer torque. The major maintenance advantage? They do not require friction modifiers, and they do not burn up clutch packs. Your gear oil will stay cleaner, longer, and you eliminate the low-speed clunk and chatter associated with worn factory LSDs.
Upgrade Path 2: The Dana 60 Swap
For Hellcat, Redeye, or heavily modified 6.4L Chargers pushing 800+ horsepower, the 215mm and even the 226mm housings will eventually shear ring and pinion teeth. If your drained fluid looks like aluminum paint (chunky metal shards), the housing itself may be compromised. Upgrading to a Dana 60 crate rear end (sourced from Dana Automotive Aftermarket or specialized fabricators) is the only reliable preventive step. While expensive ($3,500 - $5,500 installed), it utilizes massive 9.75-inch ring gears and 35-spline axles that turn gear oil maintenance into a mere formality rather than a survival check.
Preventive Maintenance: Fluid Specs, Capacities, and Torque
If your fluid inspection reveals normal aging (dark brown, no glitter, no burnt smell), a standard preventive drain and fill is required. Using the correct API GL-5 rated synthetic gear oil is critical for hypoid gear protection. As noted by lubrication experts on the Bob Is The Oil Guy Gear Oil Forum, synthetic 75W-90 or 75W-140 oils resist thermal breakdown far better than conventional 80W-90, which is vital for the Charger's heavy curb weight.
Factory Specifications & Part Numbers
- Standard 215mm Differential Capacity: ~3.5 pints (1.65 Liters)
- 226mm SRT Differential Capacity: ~3.8 pints (1.8 Liters)
- Recommended Fluid (OEM): Mopar Synthetic Gear & Axle Lubricant 75W-85 (Part # 68218655AA) or 75W-90 (Part # 05010320AA)
- Recommended Fluid (Heavy Duty/Track): Red Line 75W90 ShockProof Heavy
- Friction Modifier (Clutch LSDs ONLY): Mopar Additive Friction Modifier (Part # 4318060AB) - Add 4 oz if chatter occurs.
Critical Torque Specifications
Stripping a differential cover bolt or fill plug is a common DIY disaster. Always use a calibrated torque wrench. The Chrysler 8.75-inch housing utilizes aluminum or thin stamped steel for certain covers, making over-torqueing a primary cause of fluid leaks.
- Differential Cover Bolts (10mm / 3/8-inch heads): 25 lb-ft (34 Nm). Tighten in a criss-cross pattern.
- Fill / Drain Plugs (3/8-inch NPT): 20 to 25 lb-ft (27 to 34 Nm). Do not exceed 30 lb-ft to avoid cracking the cast housing.
The Diagnostic Drain Procedure
To properly evaluate your fluid condition, you must perform a controlled drain. Do not simply use a fluid extract pump through the fill hole, as this leaves heavy metallic particles and sludge at the bottom of the housing.
- Warm the Axle: Drive the Charger for 15-20 minutes to bring the gear oil to operating temperature (approx. 140°F - 180°F). Warm fluid flows faster and suspends particles better.
- Level the Vehicle: Safely lift the rear of the vehicle on jack stands or a lift. The car must be perfectly level to ensure an accurate refill volume later.
- Remove the Fill Plug FIRST: Always break the fill plug loose before the drain plug or cover. If the fill plug is seized or stripped, you do not want to be left with an empty, undrivable differential.
- Drain and Inspect: Remove the cover bolts or drain plug. Let the fluid drain into a clean, light-colored drain pan. Shine a flashlight on the fluid stream and the pan bottom.
- Analyze the Debris: Wipe the magnetic plug or the housing magnet with a white paper towel. Fine, dark gray paste is normal wear. Shiny, metallic flakes indicate ring/pinion spalling. Brass flakes indicate thrust washer or bearing cage failure.
- Clean and Seal: Clean the mating surfaces with brake cleaner. Apply a thin 2mm bead of RTV Silicone (Permatex Ultra Black) if using a cover, or install a new crush washer on the drain plug.
- Refill to Weep Hole: Pump new gear oil until it begins to weep out of the fill hole. Reinstall the fill plug and torque to spec.
Conclusion
Ignoring the condition of your rear differential fluid is a gamble that the Charger's drivetrain will ultimately lose. By taking 30 minutes to perform a diagnostic drain, you gain invaluable insight into the mechanical health of your rear axle. Whether the fluid reveals the need for a simple synthetic top-up or signals that it is time to invest in a robust Dodge Charger rear differential upgrade, proactive maintenance is the key to keeping your HEMI-powered sedan on the road and off the flatbed.