The Hidden Culprit: Accessory vs. Drivetrain Clutch Slipping
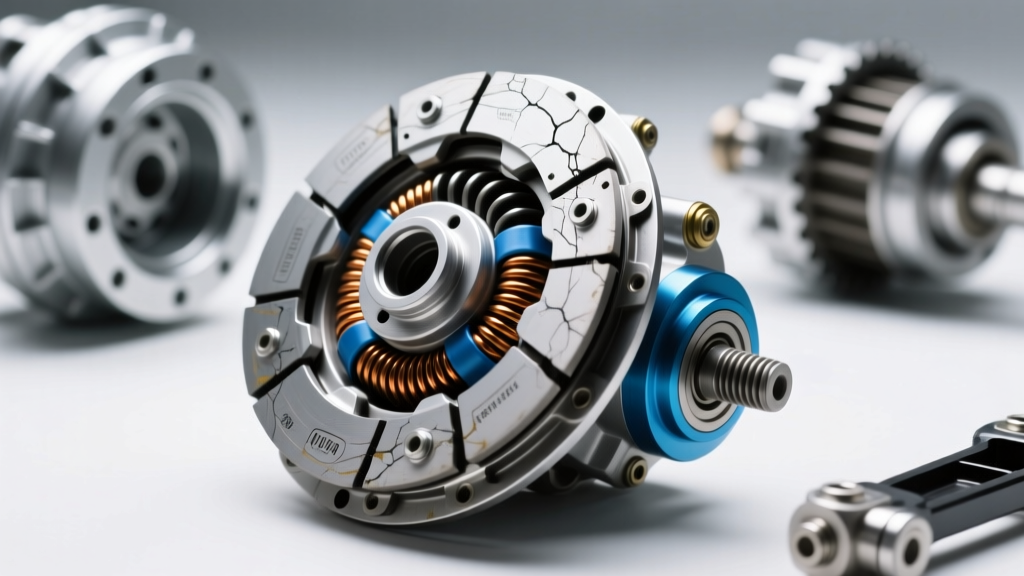
When automotive technicians and drivetrain enthusiasts hear the word "clutch," their minds immediately jump to manual transmission friction discs, dual-clutch automatics (DCT), or torque converter lock-up clutches in units like the GM 6L80 or ZF 8HP. However, the accessory drive system relies on a critical electromagnetic friction interface: the A/C compressor clutch. Understanding how to engage AC compressor clutch assemblies manually is a fundamental diagnostic skill for isolating slipping symptoms, preventing catastrophic serpentine belt failures, and maintaining optimal cabin cooling.
While AutoGearNexus specializes in drivetrain friction materials—from the sintered bronze clutches of a ZF 8HP to the carbon-fiber bands of a Ford 10R80—the principles of friction, thermal decay, and electromagnetic engagement apply equally to auxiliary systems. The A/C compressor clutch is essentially a single-speed, electromagnetically actuated friction brake that must hold against immense hydraulic resistance. In 2026, with the widespread adoption of high-pressure R1234yf refrigerant systems and variable-displacement compressors, the mechanical load on these friction plates is higher than ever, making preventive maintenance and precise diagnostics vital.
Recognizing AC Compressor Clutch Slipping Symptoms
Diagnosing a slipping accessory clutch requires differentiating between belt slip and friction plate slip. Both produce noise, but the acoustic signatures and operational symptoms differ significantly.
- The Acoustic Signature: A slipping serpentine belt typically produces a high-pitched, continuous squeal that worsens with engine RPM. In contrast, a slipping A/C clutch friction plate emits a lower-pitched, cyclic chirping or grinding noise that correlates directly with the compressor's internal piston strokes and head pressure pulses.
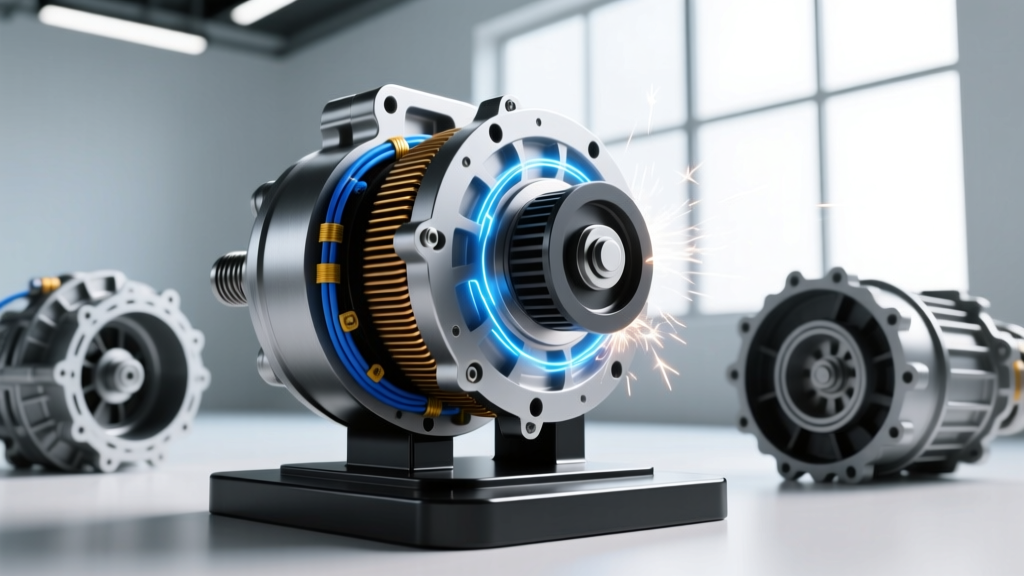
- Thermal Decay & Intermittent Cooling: As the electromagnetic coil heats up, copper wire resistance increases. According to Ohm's law, this drops the amperage, weakening the magnetic field. A classic symptom is an A/C system that blows ice-cold on a cold morning but quits after 20 minutes of stop-and-go traffic when the engine bay is heat-soaked.
- Ozone and Burning Odors: Prolonged friction plate slipping generates immense surface heat, often producing a distinct burning smell or even visible smoke from the front of the compressor hub.
How to Engage AC Compressor Clutch Manually for Diagnostics
To accurately diagnose slipping, you must isolate the clutch from the vehicle's PCM/ECM, pressure transducers, and evaporator temperature sensors. Bypassing the control circuit allows you to test the raw mechanical and electromagnetic holding force of the assembly.
Step-by-Step Direct Engagement Procedure
- Locate the Clutch Connector: Disconnect the electrical pigtail leading to the compressor coil. This is usually a 1-pin or 2-pin weather-pack connector.
- Prepare a Fused Jumper: Create a jumper wire with an inline 10-amp fuse. Connect one end to the vehicle's battery positive terminal (+12V).
- Command Engagement: With the engine running and the serpentine belt spinning, carefully touch the fused jumper to the positive terminal of the compressor clutch connector. Safety Warning: Keep hands, tools, and clothing clear of the spinning belt and cooling fans.
- Observe the Hub: The friction plate (hub) should snap onto the pulley face with an audible, metallic "clack." If it engages but immediately begins to chirp or slip, you have confirmed a mechanical friction issue or an overwhelming hydraulic head-pressure issue.
By forcing the clutch to engage, you can now use an infrared thermometer to measure the surface temperature of the friction plate. If the plate exceeds 250°F (121°C) within seconds of engagement, the clutch is slipping severely.
The Physics of the Slip: Air Gap and Head Pressure
Electromagnetic clutches operate on the inverse-square law of magnetism. The magnetic holding force drops exponentially as the distance between the coil (housed inside the pulley) and the friction plate increases. This distance is known as the air gap.
Over time, the friction surfaces wear down, widening the air gap. A gap that exceeds 0.040 inches (1.0mm) will result in insufficient magnetic flux transfer, causing the clutch to slip under load. Furthermore, modern R1234yf systems often operate at higher discharge pressures than legacy R134a systems. If the condenser is clogged or the cooling fans fail, high-side pressure can spike above 400 PSI. This creates a mechanical torque load that exceeds the magnetic holding force of the coil, resulting in a slip even if the air gap is within specification.
Precision Measurement Data Table
Use the following specifications as a baseline when diagnosing common OEM compressor models. Always verify with specific OEM service data.
| Compressor Model | Common Applications | Target Air Gap | 12V Coil Resistance | Center Bolt Torque |
|---|---|---|---|---|
| Denso 10S17C | Toyota/Lexus V8, GM Trucks | 0.016" - 0.028" | 3.2 - 4.2 Ω | 10 - 12 Nm |
| Sanden SD7V16 | VW/Audi 2.0T, Porsche | 0.020" - 0.030" | 3.6 - 4.6 Ω | 12 - 15 Nm |
| Harrison HT6 / HR6 | GM Silverado, Tahoe, Cadillac | 0.020" - 0.035" | 3.0 - 4.0 Ω | 15 - 18 Nm |
| Denso 6SEU14C (R1234yf) | Modern Ford, Chrysler, Honda | 0.015" - 0.025" | 2.8 - 3.5 Ω | 8 - 10 Nm |
Source references for compressor specifications and mobile A/C best practices can be verified via the Mobile Air Climate Systems Association (MACS) and technical bulletins from Hella Tech World.
Step-by-Step Preventive Maintenance and Shimming
If your diagnostic tests reveal that the coil resistance is within spec (typically 3.0 to 4.5 ohms for 12V systems) but the air gap is too wide, you do not necessarily need to replace the entire clutch assembly. Preventive maintenance via shimming can restore the magnetic holding force and eliminate slipping.
The Shimming Procedure
- Remove the Center Bolt: Using an impact driver or a strap wrench to hold the pulley, remove the center retaining bolt (usually 8mm, 10mm, or a Torx bit). Note that some older Harrison compressors use a left-hand thread, though most modern units are standard right-hand thread.
- Pull the Friction Hub: Use a dedicated clutch puller tool (e.g., Lisle 45750 or OTC 4521) to draw the friction plate off the compressor shaft. Never pry with screwdrivers, as this will warp the friction plate and guarantee future slipping.
- Adjust the Shims: Inside the hub, you will find thin metal spacer washers (shims). Remove one shim (typically 0.5mm or 0.020" thick) to reduce the air gap.
- Clean the Friction Surfaces: Spray the pulley face and the back of the friction plate with non-chlorinated brake cleaner. Oil contamination from a leaking front shaft seal or engine blow-by will destroy the coefficient of friction, causing slip regardless of the air gap.
- Reassemble and Measure: Reinstall the hub, torque the center bolt to the manufacturer's specification (see table above), and use a feeler gauge or dial indicator to verify the air gap is now within the 0.020" to 0.030" sweet spot.
When to Replace vs. Adjust
Preventive maintenance can only go so far. If the friction plate shows deep heat bluing, severe grooving, or if the electromagnetic coil reads "OL" (Open Loop) on a multimeter, replacement is mandatory. Furthermore, if the compressor's front shaft seal is leaking refrigerant oil onto the clutch face, the root cause must be addressed. In many modern R1234yf applications, the clutch is not serviced separately; the entire compressor assembly must be replaced, and the system flushed to remove contaminated PAG or ND-12 oil.
By mastering how to engage AC compressor clutch components manually and understanding the delicate balance between magnetic flux, air gap tolerances, and hydraulic head pressure, technicians can accurately diagnose slipping symptoms before they lead to stranded vehicles and melted serpentine belts. Treat your accessory friction surfaces with the same diagnostic rigor you apply to your drivetrain, and your A/C system will perform flawlessly through the peak heat of summer.