Understanding the Mechanics of Clutch Operation
For automotive enthusiasts and daily drivers alike, the clutch is the critical bridge between your engine's rotational force and the transmission's gear sets. When you upgrade to an aftermarket performance setup—such as a Carmila clutch kit—you are often dealing with aggressive friction materials, high-clamp-load diaphragm springs, and precise hydraulic tolerances. However, even the best components can suffer from engagement and disengagement issues if the supporting systems are not perfectly calibrated.
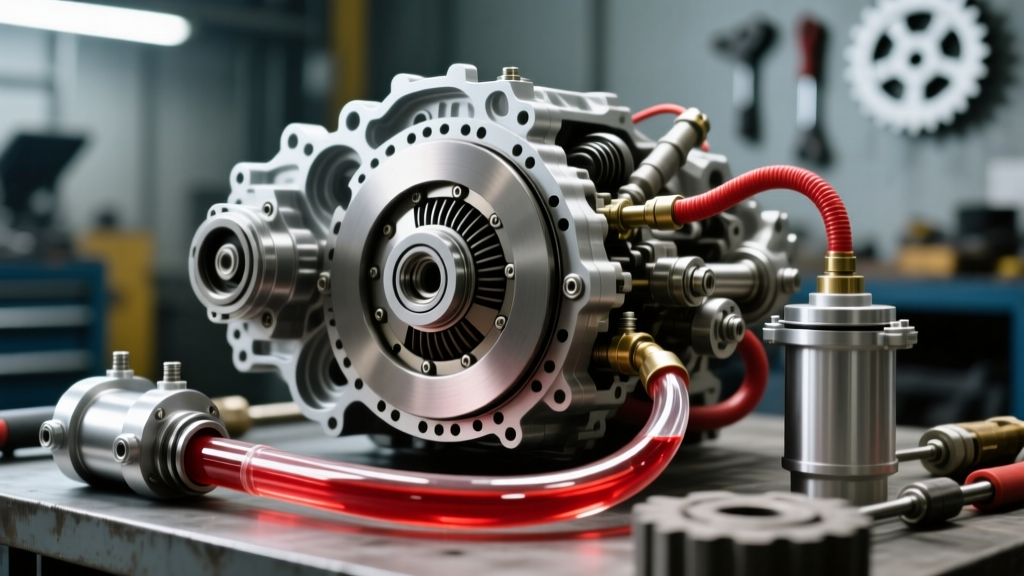
At its core, disengagement occurs when you press the pedal, actuating the master cylinder, which pushes hydraulic fluid to the slave cylinder. The slave cylinder pushes the release bearing against the diaphragm spring fingers, lifting the pressure plate off the friction disc. Engagement is the reverse: releasing the pedal allows the spring to clamp the disc against the flywheel, transferring torque. When either of these phases fails, you experience grinding, slipping, shudder, or a spongy pedal. In this beginner-friendly explainer, we will break down the exact failure modes, diagnostic steps, and repair specifications required to get your drivetrain operating flawlessly in 2026.
Diagnosing Disengagement Failures (Dragging and Grinding)
If you hear a harsh grinding noise when trying to shift into first gear or reverse while the vehicle is stationary, your clutch is failing to fully disengage. This phenomenon, known as "clutch drag," forces the transmission input shaft to continue spinning even when the pedal is depressed, causing synchronizer clash and gear damage.
1. Hydraulic System Degradation and Air Intrusion
The most common culprit for incomplete disengagement is air in the hydraulic lines or degraded brake fluid. Most modern manual transmissions share the clutch master cylinder reservoir with the brake system, utilizing DOT 3 or DOT 4 glycol-based fluid. Because glycol is hygroscopic (it absorbs moisture from the air), the fluid's boiling point drops over time, leading to vapor lock and a spongy pedal feel.
- Diagnostic Step: Check the fluid level in the master reservoir. If it is low, inspect the external slave cylinder pushrod or the concentric slave cylinder (CSC) weep hole for leaks.
- The Fix: Perform a complete hydraulic flush using a high-temp fluid like Motul RBF 600 (DOT 4). Use a pressure bleeder set to 15-20 PSI to force air out of the system, starting from the slave cylinder bleeder valve and working upward.
2. Concentric Slave Cylinder (CSC) Collapse
Many modern performance vehicles, including those equipped with Tremec T56 Magnum or GM 6L80-based manual conversions, utilize a CSC that rides directly on the transmission input shaft. A failing CSC (such as the widely used Sachs SH5003 or equivalent OEM part) may internally bypass fluid, preventing the bearing from traveling the necessary 0.450 to 0.550 inches required to fully depress the diaphragm spring.
Pro Tip: Never attempt to manually compress a new CSC in a vise before installation. This can pop the internal retaining clips and ruin the unit before it even touches the bellhousing. Always install it dry and let the hydraulic system self-adjust upon the first pedal pump.
Engagement Issues: Shudder, Slipping, and Aggressive Bite
While disengagement issues are usually hydraulic, engagement problems are almost always mechanical or friction-related. A Carmila clutch kit utilizing a cerametallic or carbon-composite friction disc will behave very differently from a standard organic OEM replacement.
1. Clutch Shudder and Flywheel Runout
If the vehicle violently vibrates or "chatters" the moment the clutch begins to bite (especially in first gear or reverse), you are experiencing clutch shudder. This is rarely the fault of the clutch disc itself. Instead, it is usually caused by flywheel runout, hot spots, or oil contamination.
- Runout Specifications: Using a magnetic base dial indicator, measure the lateral runout of the flywheel friction surface. The maximum acceptable runout for most performance applications is 0.005 inches (0.127mm). Anything exceeding this will cause the disc to grab and release rapidly as it rotates.
- Torque Specs: When reinstalling the flywheel, improper torque sequencing causes warping. For a standard GM LS-series V8, the flywheel bolts must be torqued to 74 lb-ft (100 Nm) in a crisscross pattern, followed by an additional 90-degree turn. For the pressure plate, M8x1.25 bolts should be torqued to 22 lb-ft in a star pattern to ensure even clamping.
2. High-RPM Slipping
If your engine RPMs flare up without a corresponding increase in vehicle speed under heavy load (like climbing a hill in 4th gear), the friction material is slipping. In a new Carmila clutch, this usually indicates improper bedding-in or glazing from excessive slip during the break-in period. In an older setup, the friction material is simply worn past its service limit, or the diaphragm spring has lost its clamp load due to heat cycling.
Diagnostic Troubleshooting Matrix
Use the table below to quickly cross-reference your symptoms with the most likely mechanical faults and current 2026 market repair estimates.
| Symptom | Primary Suspect | Diagnostic Test | Avg. Repair Cost |
|---|---|---|---|
| Grinding into 1st/Reverse | Incomplete Disengagement | Check CSC pushrod travel (min 0.450") | $180 - $450 |
| Violent Shudder on Bite | Flywheel Runout / Hotspots | Dial indicator runout test (Max 0.005") | $120 - $600 |
| RPM Flare Under Load | Worn Disc / Glazed Material | Stall test in 3rd gear at 2,000 RPM | $500 - $1,200 |
| Spongy / Sinking Pedal | Air in Line / Bad Master | Gravity bleed master/slave circuit | $30 - $150 |
| Pedal Squeak / Rattle | Dry Release Bearing / Pivot | Listen at bellhousing while depressing | $40 (Lube) - $800 (Replace) |
Step-by-Step Pedal Freeplay Adjustment
One of the most overlooked aspects of clutch diagnostics is pedal freeplay. Freeplay is the distance the pedal travels before it actually begins to push the master cylinder pushrod. If there is zero freeplay, the master cylinder piston never fully returns to its resting position, blocking the fluid return port. This traps hydraulic pressure in the line, effectively keeping the clutch slightly disengaged at all times, leading to premature wear and slipping.
How to Measure and Adjust
- Measure Freeplay: Press the clutch pedal down with your hand until you feel resistance from the master cylinder pushrod. This distance should be between 0.5 and 1.0 inches (12-25mm).
- Adjust the Pushrod: Locate the adjustable pushrod connecting the pedal assembly to the master cylinder. Loosen the jam nut and thread the pushrod in or out to achieve the correct freeplay.
- Check Over-Center Spring: Many modern pedal boxes use an over-center helper spring. Ensure this spring is intact; a broken spring will make the pedal feel incredibly heavy and can mask hydraulic issues.
The Importance of Proper Bedding-In
When installing a new Carmila clutch, especially one featuring a cerametallic or puck-style friction disc, the bedding-in process is non-negotiable. The friction material must transfer a uniform layer of resin and compound onto the flywheel surface to create the necessary coefficient of friction.
According to performance engineering standards documented by Exedy USA's technical guidelines, a proper break-in requires roughly 300 to 500 miles of mixed stop-and-go city driving. You must avoid hard launches, aggressive downshifts, and "riding" the clutch on steep inclines. If you subject a fresh metallic disc to high heat before it is bedded, the resin will glaze, permanently ruining the engagement characteristics and causing irreversible shudder.
Summary and Next Steps
Troubleshooting a manual transmission requires a methodical approach. By separating hydraulic disengagement faults from mechanical engagement faults, you can save hundreds of dollars in unnecessary parts replacement. Always verify your fluid condition, measure your flywheel runout with a dial indicator, and strictly adhere to manufacturer torque specifications. For more in-depth tutorials on manual transmission swaps and drivetrain maintenance, the Hagerty Media Maintenance and Tech archives offer excellent visual guides to complement these mechanical principles. Remember, a well-maintained clutch system should feel like a seamless extension of your own intent, delivering crisp shifts and predictable power delivery every time you hit the road.