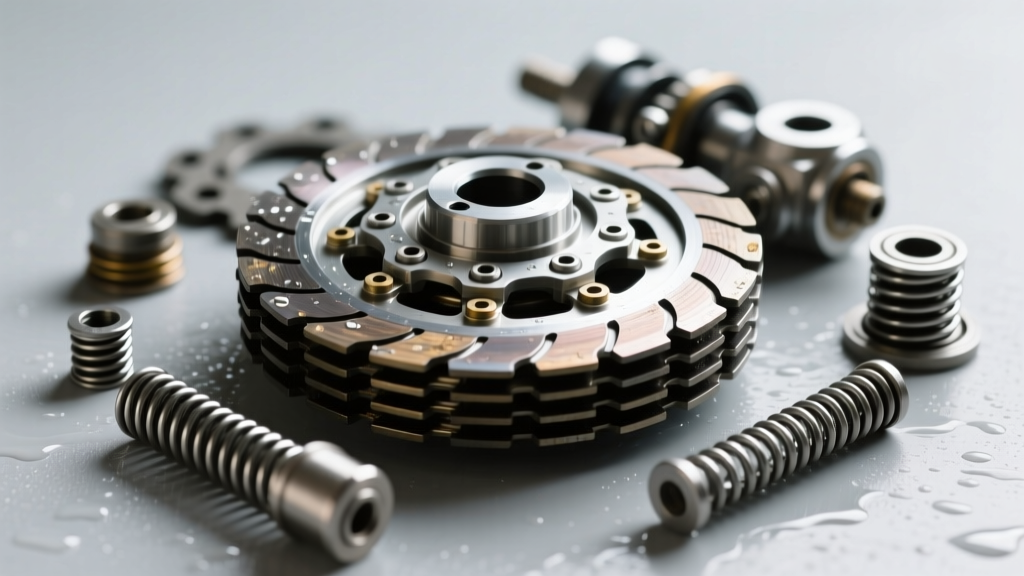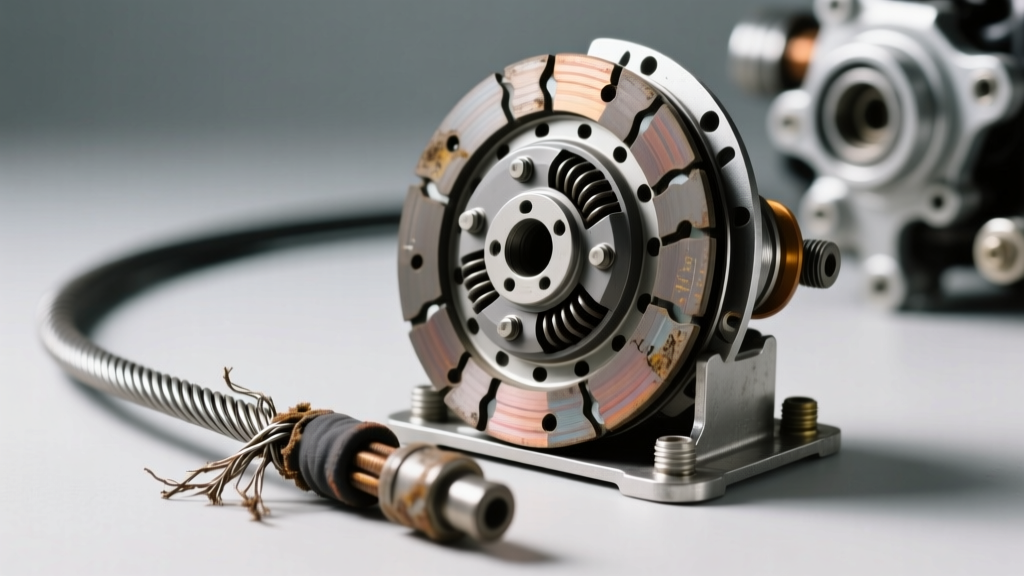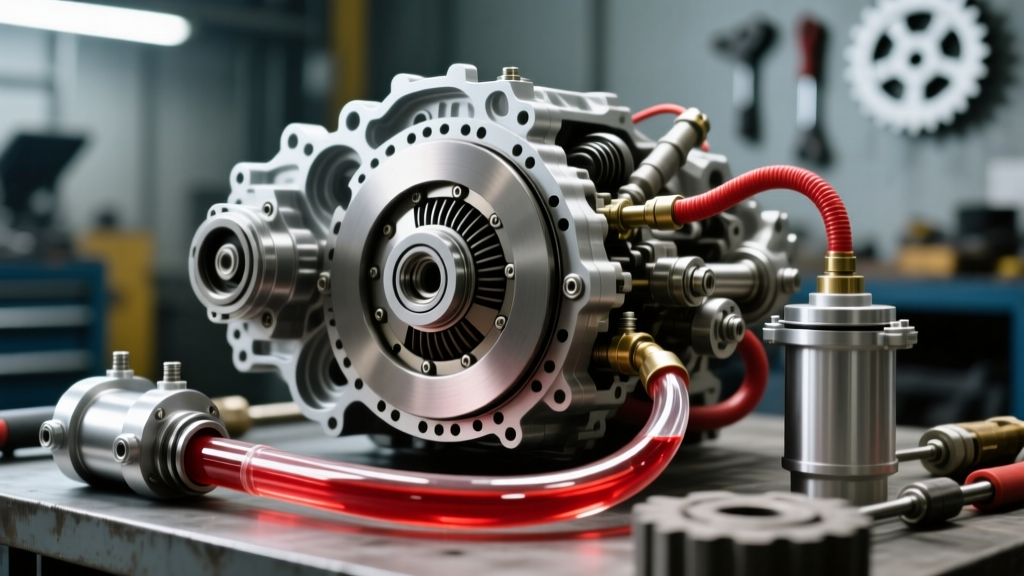
When diagnosing engagement issues, gear clash, chatter, or a spongy pedal in modern manual transmissions—from the Tremec T56 Magnum to the Porsche G50 transaxle—the hydraulic actuation system is your primary suspect. Unlike the cable-driven systems of the past, modern vehicles rely on incompressible clutch fluid to translate pedal effort into precise release bearing movement. A failure in this closed-loop system doesn't just cause annoyance; it leads to catastrophic transmission damage, synchro wear, and stranded vehicles.
This technical deep-dive provides a comprehensive, phased inspection checklist for automotive technicians and advanced DIYers. We will evaluate the entire hydraulic circuit, from reservoir chemistry to actuator stroke verification, ensuring your manual transmission shifts with factory precision.
Phase 1: Reservoir and Fluid Chemistry Analysis
The inspection begins at the master cylinder reservoir. Most modern manual vehicles either share a reservoir with the brake system or utilize a standalone tank. The critical factor here is the hygroscopic nature of glycol-based fluids. Over time, clutch fluid absorbs ambient moisture through microscopic pores in rubber hoses and reservoir caps, which drastically lowers its boiling point and promotes internal corrosion.
Visual & Chemical Inspection Points
- Color & Clarity: Fresh DOT 4 fluid is clear to amber. If the fluid is dark brown or black, it indicates severe oxidation, dissolved rubber seals, or metallic particulate from a failing master cylinder bore.
- Moisture Testing: Use a digital brake fluid tester. If the moisture content exceeds 3%, immediate flushing is mandatory. According to the SAE J1703 standard, a 3% water contamination in DOT 4 fluid drops the wet boiling point to the absolute minimum safety threshold of 311°F (155°C).
- Reservoir Cap Diaphragm: Inspect the rubber diaphragm under the cap. If it is swollen or distorted, it indicates petroleum contamination (e.g., someone accidentally topped it off with power steering fluid or engine oil). Petroleum products will destroy EPDM rubber seals in the master and slave cylinders within 48 hours, requiring a complete hydraulic system replacement.
Phase 2: Hydraulic Circuit Pressure & Integrity Testing
Once the fluid chemistry is verified, the next step is inspecting the physical lines. The hydraulic circuit operates under extreme pressure spikes—often exceeding 1,200 PSI during rapid, aggressive pedal actuation.
Banjo Bolt & Flare Nut Torque Specifications
Vibration and thermal cycling can cause hydraulic fittings to back out. When reassembling or inspecting lines, always use a calibrated inch-pound torque wrench. Refer to the following baseline specifications for common manual transmission applications:
| Fitting Type | Thread Size | Torque Specification | Sealing Method |
|---|---|---|---|
| Banjo Bolt (Master Cyl) | M10 x 1.0 | 15 - 18 lb-ft | Aluminum/Copper Crush Washers (Replace every time) |
| Inverted Flare Nut | 3/8'-24 or M10 | 11 - 14 lb-ft | Metal-to-Metal Flare Seat |
| Quick-Connect Fitting | N/A | N/A (Hand snap) | Internal O-Ring (Inspect for dry rot) |
Expert Note: Never use Teflon tape or liquid thread sealant on inverted flare or banjo fittings. The seal is made at the machined metal seat, not the threads. Sealant will break off and lodge in the slave cylinder orifice, causing a blocked line and a stuck pedal.
Phase 3: Actuator (Slave Cylinder) Stroke & Air Gap Verification
The slave cylinder is where hydraulic pressure converts back into mechanical force. Modern vehicles predominantly use a Concentric Slave Cylinder (CSC), also known as a hydraulic release bearing, which rides directly on the transmission input shaft. Older or heavy-duty applications (like the GM NV4500) often use an external slave cylinder acting on a traditional fork.
Internal CSC Air Gap Measurement
For transmissions utilizing a hydraulic throw-out bearing (such as the Tremec ET5010 or GM part number 19299570), verifying the air gap is the most critical step in the inspection checklist. The air gap is the distance between the bearing face and the pressure plate diaphragm fingers when the clutch is fully engaged.
- Measure Free Travel: With the transmission installed and the system bled, measure the distance the slave cylinder piston travels from its resting state to full engagement. This is typically done using a dial indicator or a specialized feeler gauge tool through the inspection cover.
- Target Specification: Most aftermarket and OEM hydraulic bearings require an air gap between 0.125' and 0.175'.
- Diagnostic Matrix:
- Gap too small (< 0.100'): The bearing is pre-loaded against the diaphragm. This will cause the clutch to slip under high torque, generate immense heat, and rapidly destroy the bearing seals.
- Gap too large (> 0.250'): The pedal will feel incredibly stiff, and the system may run out of hydraulic stroke before fully disengaging the clutch, resulting in gear clash and synchro damage.
External Slave Cylinder Inspection
If your vehicle uses an external slave cylinder, inspect the rubber boot for tears and the pushrod for lateral play. Check the weep hole at the base of the cylinder bore. A single drop of clutch fluid at the weep hole indicates internal seal failure. External slaves are relatively inexpensive ($150 to $350 for OEM replacements) and can be swapped without removing the transmission.
Phase 4: Pedal Assembly & Firewall Deflection Check
Hydraulic issues are not always confined to the fluid or cylinders; the mechanical mounting points are a frequent culprit for spongy pedal feel. When you press the clutch pedal, the master cylinder pushrod pushes back against the firewall. In many unibody vehicles (notably the Ford Mustang S197 platform, Subaru WRX, and various Honda K-series chassis), the sheet metal firewall flexes under pressure.
This flex absorbs a significant portion of your pedal stroke, mimicking the symptoms of air in the clutch fluid lines. To diagnose this, have an assistant depress the clutch pedal heavily while you observe the master cylinder mounting nuts from the engine bay or under the dash. If the master cylinder moves rearward by more than 1/16th of an inch, firewall flex is present. The mechanical fix is to install a reinforced firewall adjuster brace (such as those manufactured by Steeda or Perrin), which ties the master cylinder mounting points to the steering column support or strut tower.
Clutch Fluid Specification & Degradation Matrix
Selecting the correct fluid is paramount. As noted in the Brembo technical fluid guide, mixing incompatible fluid bases will result in immediate seal degradation. Use the matrix below to verify application requirements:
| Fluid Type | Dry Boiling Point | Wet Boiling Point | Chemical Base | Application Notes |
|---|---|---|---|---|
| DOT 3 | 401°F (205°C) | 284°F (140°C) | Glycol Ether | Older economy vehicles; high moisture absorption rate. |
| DOT 4 | 446°F (230°C) | 311°F (155°C) | Glycol Ether / Borate | Standard for 90% of modern manual transmissions. |
| DOT 5.1 | 500°F (260°C) | 356°F (180°C) | Glycol Ether | High-performance/track use; compatible with DOT 3/4 systems. |
| DOT 5 | 500°F (260°C) | 356°F (180°C) | Silicone | NEVER mix with glycol fluids. Does not absorb water; water pools and causes localized boiling. |
| LHM / Mineral | N/A | N/A | Mineral Oil | Specific to older Citroën and Rolls-Royce hydraulic systems. Will destroy DOT seals. |
Proper Bleeding Procedures: Vacuum vs. Pressure
If your inspection reveals air in the system, gravity bleeding is entirely insufficient for modern hydraulic clutch circuits, especially those with a CSC located at the bottom of the bell housing where air naturally traps.
The Pressure Bleed Method: Using a pneumatic or manual power bleeder (e.g., Motive Products) pressurize the master cylinder reservoir to 12-15 PSI. Open the slave cylinder bleeder screw and allow fluid to flow until zero micro-bubbles are visible.
The Zip-Tie Bypass Trick: The internal bypass port of the clutch master cylinder only opens when the pedal is fully released. If you are struggling to bleed the system, use a zip-tie to pull the clutch pedal back against the rubber bumper stop overnight. This forces the master cylinder piston fully rearward, exposing the compensation port and allowing trapped air to migrate back up into the reservoir.
Diagnostic Cost & Repair Expectations
Understanding the financial scope of hydraulic repairs helps in formulating an accurate diagnostic conclusion. Below are current market averages for parts and labor:
- Hydraulic Fluid Flush & Bleed: $80 - $120 (Labor + 1L High-temp DOT 4)
- Master Cylinder Replacement: $250 - $450 (External mount applications)
- External Slave Cylinder: $150 - $350 (No transmission removal required)
- Internal CSC / Hydraulic Bearing: $800 - $1,600 (Requires transmission removal; always replace the pilot bearing, flywheel, and clutch disc simultaneously to avoid paying for the same labor twice).
Expert Warning: Never use DOT 5 silicone fluid in an attempt to 'solve' moisture absorption issues in a street-driven manual car. Silicone fluid is highly compressible compared to glycol fluids, leading to a delayed, rubbery pedal feel that makes rev-matching and precision shifts nearly impossible. Furthermore, it traps air bubbles that are notoriously difficult to bleed out of a CSC.
By systematically following this clutch fluid and hydraulic inspection checklist, you eliminate guesswork. Whether you are chasing a subtle engagement delay in a daily driver or preparing a track car for high-RPM shifts, verifying fluid chemistry, line integrity, and actuator stroke ensures your drivetrain operates exactly as engineered.