The Reality of X3 Drivetrain Sealing in Extreme Conditions
The Can-Am Maverick X3 is an engineering marvel, pushing upwards of 225 horsepower through a compact, aggressively geared drivetrain. Whether you are hammering through whoops in Glamis or crawling technical rock gardens in Moab, the front differential takes a massive amount of abuse. As of the 2026 riding season, the X3 platform remains the benchmark for high-performance UTVs, but this immense power transfer generates extreme heat and internal pressure. Selecting the correct can am x3 differential oil is only the first step in drivetrain maintenance; keeping it contained within the housing under extreme operating conditions is the real challenge.
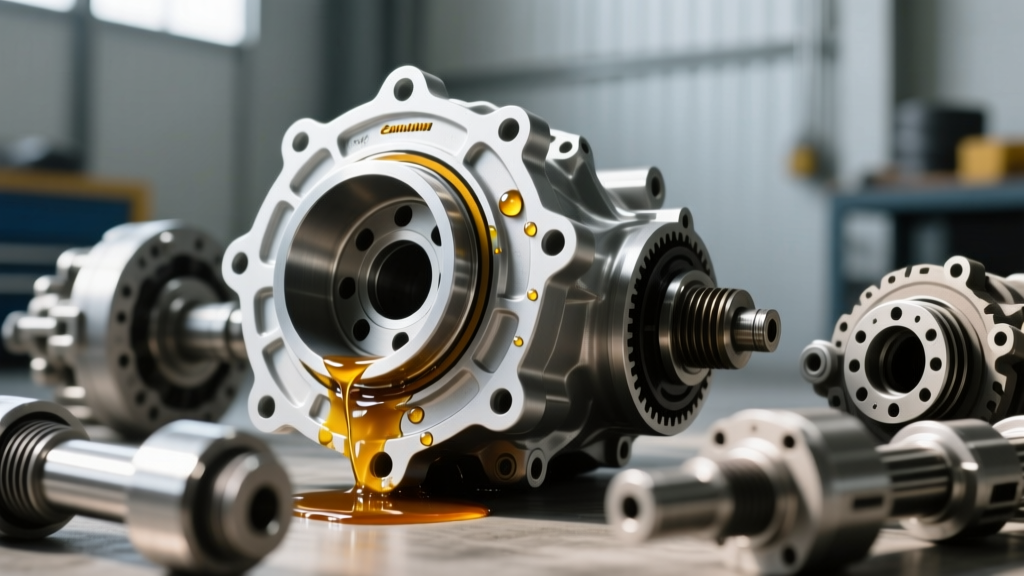
When differential fluid escapes, it doesn't just mean a messy garage floor. A low fluid level leads to catastrophic ring and pinion gear failure, bearing seizure, and thousands of dollars in downtime. This model-specific repair guide dives deep into the anatomy of the Maverick X3 front differential, outlining exact diagnostic procedures, OEM part numbers, and step-by-step seal replacement protocols to get your machine back on the trail.
Diagnostic Protocol: Tracing the Leak Source
Before tearing into the drivetrain, you must accurately identify the leak's origin. The X3 front differential has four primary failure points for fluid egress. Clean the entire differential housing with brake cleaner and compressed air, then take the UTV for a short, low-speed test drive to trace the fresh oil.
- Axle Output Seals: If oil is slung radially along the inner CV joints or coating the lower A-arms, the output shaft seals are compromised. This is often caused by worn axle bushings or a scored axle shaft stub.
- Pinion Seal: Fluid pooling at the front driveshaft yoke and dripping backward onto the skid plate indicates a failed pinion seal. This is frequently a symptom of excessive driveline bind or a damaged yoke mating surface.
- Drain/Fill Plug O-Rings: A slow weep directly around the 8mm hex plugs usually points to a pinched, flattened, or missing aluminum crush washer/O-ring.
- Breather Tube Overflow: If the diff is overfilled, or if the breather hose is kinked, thermal expansion will force gear oil out of the weakest seal (usually the pinion).
The Hidden Culprit: Breather Tube Routing
According to UTV Action and various master technicians, a vast majority of "blown" X3 front differential seals are actually the result of a restricted breather tube. The front differential breathes through a small hose routed up into the engine bay to prevent water ingestion during deep mud or water crossings.
Pro-Tip: If your breather tube gets pinched between the chassis and the engine mounts, or clogged with mud debris, the internal pressure of the heating 75W-140 gear oil has nowhere to go. As the housing reaches 180°F+, the pressure will violently blow out the path of least resistance—typically the front pinion seal. Always verify the breather hose is clear and properly routed before replacing any seals.
Step-by-Step Front Axle Output Seal Replacement
Replacing the front axle seals on the X3 requires partial disassembly of the front suspension. Do not attempt to pry the seal out with the axle still installed; you risk gouging the aluminum differential housing, which will result in a permanent leak requiring a full housing replacement.
1. Teardown and Axle Extraction
Secure the X3 on a lift or heavy-duty jack stands. Remove the front wheels using a 19mm socket. Next, unbolt the brake caliper (15mm bolts) and hang it securely to avoid stressing the brake line. Remove the tie-rod end cotter pin and loosen the 18mm castle nut. Use a pickle fork or ball joint separator to pop the tie-rod end. Unbolt the upper and lower ball joint pinch bolts or swing-arm pivot bolts (depending on your specific X3 model year and suspension package) to free the steering knuckle. Slide the CV axle assembly out of the differential stub shaft.
2. Seal Removal and Housing Prep
Place a drain pan beneath the differential. Remove the lower 8mm hex drain plug to empty the fluid. Use a dedicated internal seal puller to hook the metal lip of the old output seal. Pull it straight out. Thoroughly clean the seal bore with a lint-free shop towel and isopropyl alcohol. Inspect the bore for any deep gouges; minor scratches can be sealed with a thin layer of RTV silicone, but deep scoring requires housing replacement.
3. Installing the OEM Seal
According to the BRP Official Parts Catalog, the correct OEM front output shaft seal is typically part number 705502191 (verify against your specific VIN, as X3 RS and X3 RR models may utilize slightly different seal depths). Place the new seal in a freezer for 30 minutes prior to installation; this slightly shrinks the metal outer casing. Coat the outer edge with a thin film of gear oil and the inner rubber lip with waterproof grease. Use a correctly sized seal driver or a large deep-well socket that matches the outer diameter of the seal. Tap it in evenly with a dead-blow hammer until it sits perfectly flush with the housing bore. Never drive the seal using the inner metal ring, as this will collapse the internal tension spring.
Pinion Seal and Yoke Service
If your leak originates at the driveshaft connection, the pinion seal must be addressed. This repair is more invasive, as it requires removing the front propeller shaft (driveshaft). Mark the yoke and the pinion shaft with a paint pen to ensure proper re-alignment, preserving driveline balance. Remove the yoke retaining nut using a high-torque impact wrench or a specialized yoke holding tool. Slide the yoke off the splined shaft. Pry out the old pinion seal, lubricate the new seal lip, and tap it into place. Reinstall the yoke, aligning your paint marks, and torque the pinion nut to the factory specification (typically 110 Nm / 81 lb-ft, but verify with your year's service manual). Reattach the driveshaft and torque the 13mm flange bolts to 45 Nm (33 lb-ft).
X3 Front Differential Service Specifications
Precision is mandatory when reassembling and refilling the X3 drivetrain. Over-torquing the aluminum drain plugs will strip the threads, while overfilling the fluid will cause immediate breather-related leaks. Reference the table below for exact 2026 service specifications.
| Component / Specification | Measurement / Value | OEM Part Number / Tool |
|---|---|---|
| Front Diff Fluid Capacity | 190 mL (6.4 oz) | XPS Synthetic 75W-140 (779127) |
| Drain/Fill Plug Torque | 18 Nm (13 lb-ft) | 8mm Hex Key |
| Drain Plug Crush Washer | Replace Every Service | 250000125 |
| Front Axle Nut Torque | 230 Nm (170 lb-ft) | 32mm Socket / Cotter Pin |
| Output Shaft Seal (Typical) | 35x47x7 mm | 705502191 |
The Refill Protocol: Avoiding the Overfill Trap
When refilling the X3 front differential, many owners mistakenly assume that more fluid equals better cooling. This is a critical error. The front differential is designed to operate with a specific air gap to allow for fluid expansion and foaming. Using a specialized syringe pump, inject exactly 190 mL of XPS Synthetic 75W-140 gear oil into the fill hole. The fluid level should rest precisely at the bottom edge of the fill plug threads. If fluid begins to weep out of the fill hole before you reach 190 mL, stop immediately—your rig is either not sitting on perfectly level ground, or there is an internal blockage.
Reinstall the fill plug with a brand-new aluminum crush washer and torque to 13 lb-ft. Wipe down the entire housing one final time. By adhering to these exact model-specific procedures, utilizing the correct OEM seals, and respecting the thermal dynamics of the X3 drivetrain, you will ensure your ring and pinion gears survive the harshest environments the trail can throw at them.