Why Factory C4 Cooler Fittings Fail on Performance Builds
The Ford C4 automatic transmission remains a legendary staple in the restomod, drag racing, and street-rod communities. However, as builders push these 3-speed units with high-stall torque converters and manual valve bodies, the factory cooling system becomes a critical bottleneck. The original C4 transmission cooler line fittings were designed for mild V8 street duty, utilizing 5/16-inch push-on barbs or early inverted flare setups secured by simple worm-gear clamps.
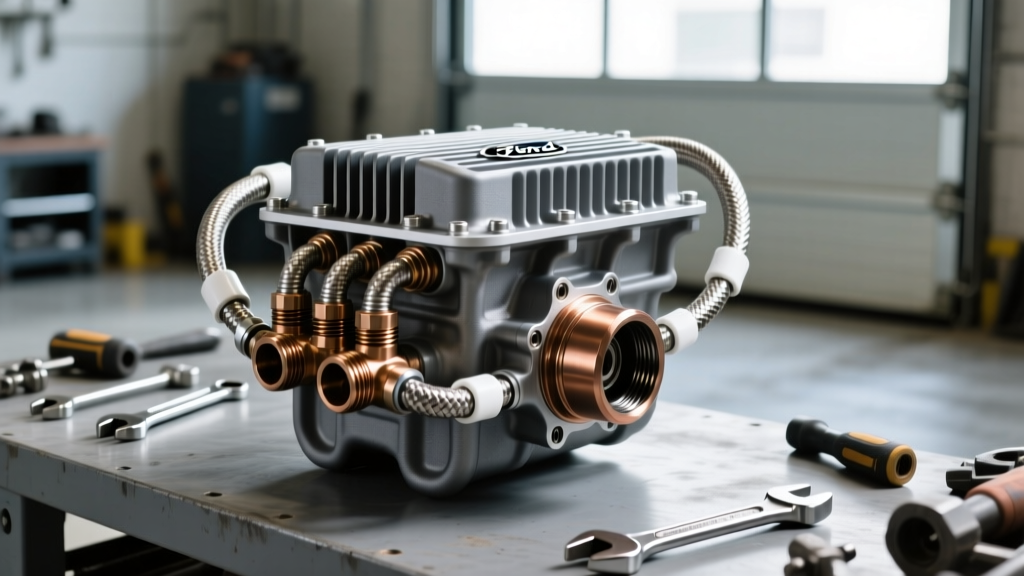
In a stock configuration, C4 line pressure hovers between 75 and 110 PSI. But when you install a full manual valve body or a high-pressure boost valve for a 400-plus horsepower build, line pressures can spike to 160–250 PSI. Under these extreme hydraulic loads, combined with the harmonic vibrations of a solid-mounted racing engine, factory rubber hoses and spring clamps will inevitably blow off. This results in an immediate loss of transmission fluid, rear planetary gear starvation, and catastrophic failure. Upgrading to aerospace-grade -6 AN (AN6) braided stainless lines and billet aluminum adapters is not just a cosmetic choice; it is a mandatory reliability upgrade for any modernized C4 build.
Decoding C4 Thread Sizes and Adapter Selection
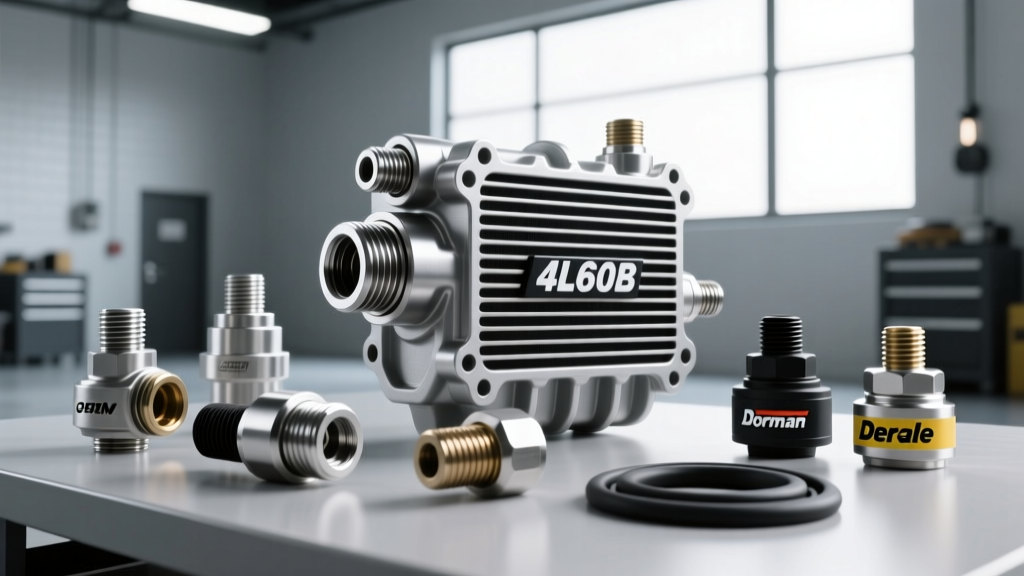
One of the most common mistakes enthusiasts make when sourcing C4 transmission cooler line fittings is misidentifying the case thread pitch. Ford utilized cast iron and aluminum cases over the C4's production run (1964–1982), and aftermarket manufacturers like TCI and Performance Automotive World (PAW) have introduced their own variations. Below is the definitive reference chart for matching your adapter fittings.
| Case Type / Era | Stock Fitting Style | Case Thread Size | Required AN Adapter | Max Safe Torque |
|---|---|---|---|---|
| Early Aluminum (1964-1969) | 5/16" Push-On Barb | 1/4"-18 NPT | 1/4" NPT to -6 AN Male | 12-15 ft-lbs |
| Late Aluminum (1970-1982) | 5/16" Inverted Flare | 1/4"-18 NPT | 1/4" NPT to -6 AN Male | 12-15 ft-lbs |
| Aftermarket Deep Pan/Cases | Varies (Often 3/8" Tube) | 3/8"-18 NPT | 3/8" NPT to -6 AN Male | 18-22 ft-lbs |
Note: Always chase the threads in your transmission case with a 1/4"-18 NPT tap before installing new adapters. Decades of heat cycling and debris can distort the soft aluminum threads, leading to cross-threading or leaks.
Step-by-Step: Upgrading to -6 AN Braided Lines
Transitioning from factory rubber to PTFE-lined stainless braided hoses requires precision. According to Summit Racing's technical guides, proper hose assembly and thread sealing are paramount to preventing hydraulic leaks.
Step 1: Case Preparation and Thread Chasing
Begin by draining the transmission pan and removing the factory cooler lines. Clean the area around the cooler fittings on the rear extension housing and the front pump/stator support area. Use a 1/4"-18 NPT bottoming tap to carefully clean the threads inside the aluminum case. Blow out the threaded holes with compressed air to ensure no aluminum shavings enter the transmission's delicate hydraulic valve body or cooler feed circuits.
Step 2: Sealing and Torquing the Adapters
Never use standard Teflon tape on NPT fittings going into a transmission case. If a shred of tape breaks off internally, it will clog the cooler or the rear lube circuit, destroying the planetary gears. Instead, use a high-quality liquid pipe sealant like Loctite 592 or Permatex 56521. Apply a single, even bead to the male threads of your 1/4" NPT to -6 AN adapters (such as the Earl's Performance 981406ERL). Thread them into the case by hand, then torque them to exactly 12-15 ft-lbs. Over-torquing NPT fittings in the C4's rear extension housing is a notorious way to crack the aluminum case near the rear servo bore.
Step 3: Routing Clearances and Heat Management
When routing -6 AN braided lines (like Russell Speed-Flex PTFE hose), maintain a minimum 2-inch clearance from the exhaust headers and the C4's bellhousing. The C4 bellhousing, particularly the small-block Ford pattern, has tight clearances near the passenger-side cooler line exit. Use cushioned aluminum clamps to secure the lines to the crossmember, preventing the stainless braid from sawing through nearby brake lines or the floorpan.
The Golden Rule: C4 Cooler Feed vs. Return
CRITICAL WARNING: The Ford C4 is highly sensitive to cooler line reversal. The TOP fitting on the transmission case is the cooler FEED (pushes hot fluid out from the front pump/torque converter). The BOTTOM fitting is the cooler RETURN (routes cooled fluid back to lubricate the rear planetary gearsets and rear servo). If you reverse these lines, the rear planetary will be starved of lubrication, resulting in immediate and total destruction of the gearset under load.
When plumbing your external cooler and TCI Auto's tech library resources, always verify flow direction. Many modern auxiliary coolers feature integrated thermostatic bypass valves; ensure the bypass is routed so that cold Type F fluid still reaches the transmission's internal lube circuits during warm-up, while hot fluid is diverted through the cooler core once the thermostat opens.
Matching the Cooler: BTU Requirements for Built C4s
Upgrading your C4 transmission cooler line fittings is only half the battle; you must pair them with a cooler capable of shedding the BTUs generated by a high-stall racing converter. A 3,000+ RPM stall converter in a 3,200-pound street/strip car can easily generate enough heat to push fluid temperatures past 220°F, rapidly degrading the friction modifiers in Type F fluid.
- Tube-and-Fin (e.g., Derale 13106): Best for mild street builds (under 350 HP). Low restriction, but lower thermal transfer efficiency.
- Plate-and-Fin (e.g., Mishimoto MMTC-U): The ideal choice for 400-600 HP restomods. Offers a massive surface area for heat exchange while maintaining adequate flow volume for the C4's internal lube circuit.
- Stacked-Plate (e.g., Earl's Temp-Cure): Required for dedicated drag or pro-touring cars. Highest BTU shedding, but can cause excessive flow restriction if the C4's front pump isn't upgraded to handle the static pressure drop.
2026 Pricing and Part Sourcing Breakdown
As of 2026, the aftermarket support for the C4 remains incredibly robust. Below is a realistic budget for a complete, high-end -6 AN cooler line replacement and upgrade kit.
- Billet NPT to -6 AN Adapters (Qty 2): $25 - $35 (Earl's or Fragola)
- PTFE-Lined Stainless Braided Hose (15 ft roll): $85 - $120 (Russell or Aeroquip)
- Reusable -6 AN Hose Ends (Qty 4): $60 - $80 (Socketless or Swivel)
- High-Flow Plate-and-Fin Cooler: $110 - $160 (Derale or Hayden)
- Thread Sealant & Assembly Lube: $15
- Total Estimated Upgrade Cost: $295 - $410
Final Bleed and Testing Procedures
After assembling your new C4 transmission cooler line fittings and filling the pan with 4-5 quarts of high-quality Type F fluid (such as Amsoil or Motorcraft), start the engine with the rear wheels safely elevated on jack stands. Cycle the shifter through all gears to fill the torque converter and the new cooler lines. Because -6 AN lines and large external coolers hold significantly more fluid volume than the stock 5/16-inch rubber hoses, expect to add an additional 1.5 to 2 quarts of fluid. Check for leaks at the NPT adapters and the AN hose ends using a clean white paper towel to spot any weeping. Once verified, lower the vehicle, perform a final fluid level check at operating temperature (160°F-180°F), and hit the street with total confidence in your drivetrain's hydraulic integrity.