The Physics of Motorcycle Clutch Slip
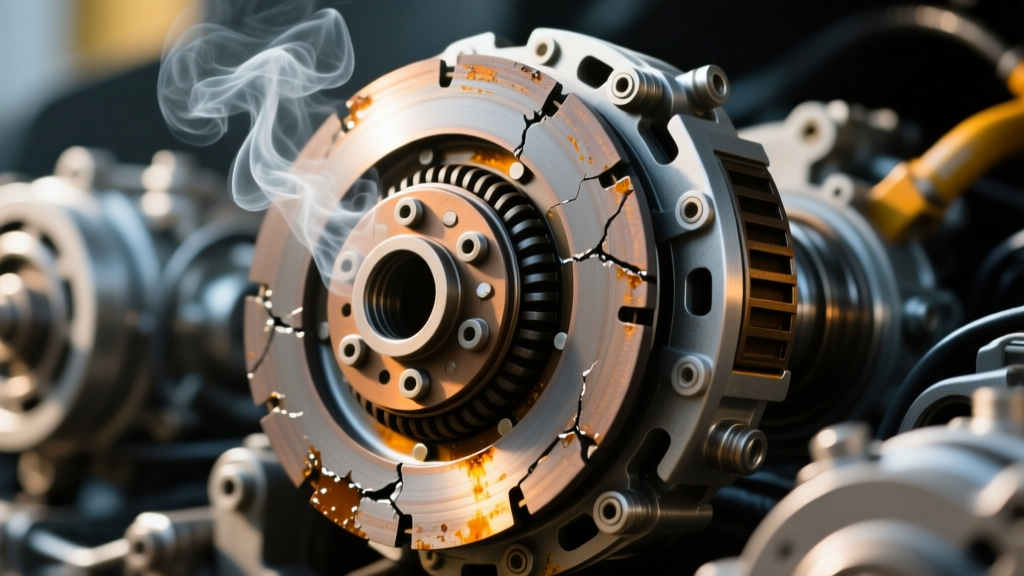
In a manual transmission motorcycle, the clutch assembly is the critical bridge between the engine's crankshaft and the transmission input shaft. When a rider experiences clutch slip, the friction plates are failing to maintain a static lock against the steel separator plates under load. This is not merely an inconvenience; it is a thermal runaway event. As the plates slip, kinetic energy is converted into extreme localized heat, often exceeding 600°F (315°C) at the friction interface. This heat glazes the friction material, warps the steel plates, and rapidly degrades the engine oil's shear stability.
While worn friction material is the ultimate endpoint of any clutch system's lifecycle, premature slipping is overwhelmingly caused by improper actuation and a lack of preventive maintenance. Performing a precise bike clutch adjustment is the most effective diagnostic and preventive measure a rider or technician can execute to ensure optimal clamping force and extend the lifespan of the clutch basket, hub, and friction materials.
Recognizing Early Slipping Symptoms on the Road
Diagnosing clutch slip requires paying attention to the relationship between engine RPM and road speed, particularly under high-torque conditions. The symptoms often manifest subtly before becoming catastrophic.
- RPM Flare Under Load: The most definitive symptom. When rolling on the throttle in 4th or 5th gear at low RPMs (e.g., 2,500–3,500 RPM), the engine revs climb disproportionately faster than the vehicle's acceleration. The tachometer needle surges, but the speedometer lags.
- Loss of Top-End Pull: The motorcycle may accelerate normally through the lower gears but feels an artificial "rev limiter" or soft ceiling in the final two gears where drivetrain load is highest.
- Spongy or Fading Lever Feel: In hydraulic systems, as the friction plates wear thinner, the piston in the slave cylinder extends further. If the master cylinder's compensation port becomes blocked by degraded fluid or swollen seals, the lever may feel firm, but it is actually applying constant, unintended pressure to the release bearing.
- Acrid Odor: A distinct, burnt-toast smell emanating from the engine oil or the clutch cover area indicates that the paper, Kevlar, or cork friction linings are overheating and delaminating.
The Preventive Maintenance Core: Bike Clutch Adjustment
Before condemning the friction plates and ordering a $150+ OEM clutch kit, a technician must verify that the actuation system is allowing the pressure plate springs to apply 100% of their clamping force. The required bike clutch adjustment protocol depends entirely on whether the motorcycle utilizes a cable-actuated or hydraulic-actuated system.
Cable-Actuated Systems: The Thermal Expansion Factor
Cable-actuated clutches (common on models like the Harley-Davidson Sportster, Suzuki DR-Z400, and many dual-sports) require a specific amount of "free play" at the lever. Most factory service manuals dictate between 10mm and 15mm of free play measured at the tip of the clutch lever.
Expert Insight: Why is free play mandatory? Motorcycle engine cases are typically cast aluminum. As the engine reaches operating temperature, the cases expand. This thermal expansion pushes the clutch basket outward relative to the frame-mounted cable anchor. If your cable has zero free play when cold, thermal expansion will effectively pull the cable taut, slightly engaging the clutch release mechanism and causing a continuous, imperceptible slip that will destroy the friction plates in under 500 miles.
Adjustment Procedure:
- Loosen the locknut at the lower cable adjuster (near the engine case).
- Thread the adjuster inward to create maximum slack.
- At the handlebar lever, adjust the fine-tuner barrel until you measure exactly 12mm of free play before resistance is felt.
- Tighten the lower locknut and verify the lever free play again with the handlebars turned lock-to-lock (steering tension can pull the cable sheath and alter free play).
Hydraulic Systems: Fluid Hygroscopy and Port Blockage
Hydraulic clutches (found on the Yamaha MT-07, Honda CBR series, and most modern sportbikes) do not have manual free-play adjusters. They are self-adjusting via the slave cylinder. Therefore, "adjustment" in a hydraulic system actually means fluid diagnostics and master cylinder verification.
Most hydraulic clutches utilize DOT 4 or DOT 5.1 brake fluid. These fluids are highly hygroscopic. According to Motul's technical fluid data, DOT 4 fluid with just 3% water contamination sees its dry boiling point drop from 446°F (230°C) to roughly 311°F (155°C). More critically, moisture causes the internal EPDM rubber seals in the master cylinder to swell. If the seal swells over the 1mm compensation (return) port, fluid cannot return to the reservoir when the lever is released. This creates a closed hydraulic loop that maintains pressure on the clutch release bearing, causing slip.
Hydraulic Diagnostic Protocol:
- Check the Lever Return: Pull the clutch lever and release it. If it returns sluggishly or fails to return to the perch completely, the compensation port is likely blocked or the slave cylinder pushrod is binding.
- Inspect the Pushrod Gap: Remove the slave cylinder (typically two 8mm bolts, torqued to 12 Nm). There must be a slight gap (usually 0.5mm to 1.0mm) between the slave cylinder pushrod and the clutch release arm when the system is at rest. If the pushrod is pre-loaded, the clutch is being held partially open.
- Fluid Flush: Perform a complete gravity bleed or vacuum bleed using fresh, high-quality DOT 4 fluid to eliminate microscopic vapor locks and clear swollen seal debris from the master cylinder port.
Diagnostic Matrix: Slip vs. Drag vs. Chatter
Misdiagnosing a clutch issue can lead to unnecessary teardowns. Use the following diagnostic table to isolate the exact symptom profile before turning a wrench.
| Symptom Profile | Primary Cause | Diagnostic Action | Estimated Repair Cost (Parts) |
|---|---|---|---|
| Slipping (RPM Flare) | Worn friction plates, weak springs, or zero cable free play / blocked hydraulic port. | Measure lever free play; check slave cylinder pushrod gap; inspect fluid color. | $0 (Adjustment) to $180 (OEM Clutch Kit) |
| Dragging (Hard Shifting) | Warped steel plates, notched clutch basket tangs, or excessive cable free play. | Check for 10mm+ free play; inspect basket for deep grooves; cold-start gear clunk. | $45 (Basket file/damper) to $350 (New Basket) |
| Chatter (Grabbing) | Oil contamination (leaking crank seal), warped plates, or incorrect friction material. | Inspect for oil sheen on plates; check countershaft seal; verify spring lengths. | $25 (Seal) to $220 (Full Kit + Gasket) |
When Adjustment Fails: Internal Teardown Specifications
If a proper bike clutch adjustment fails to resolve the slipping symptoms, the internal friction pack must be inspected. Drain the engine oil (looking for a burnt smell or excessive metallic/cork particulate), remove the clutch cover, and extract the clutch pack. When inspecting the components, rely on precision measurement tools, not visual guesses.
Friction Plate Thickness and Material Breakdown
Using a digital micrometer, measure the thickness of the friction plates. For a typical 600cc supersport (e.g., Honda CBR600RR), the nominal thickness of a new friction plate is 3.0mm, and the absolute service limit is 2.7mm. If the plates are within spec but the clutch still slips, inspect the friction material for "glazing." Glazing occurs when the resin binders in the friction material melt and resolidify into a hard, glass-like surface. Glazed plates must be replaced, as they cannot be reliably sanded back to life.
For heavy-duty applications or recurring slip issues, upgrading to Kevlar-impregnated plates from manufacturers like EBC Brakes (CK Series) provides a higher coefficient of friction and superior thermal resistance compared to standard OEM paper linings.
Clutch Spring Free Length and Torque Specs
The clutch springs provide the clamping force. Over time, repeated heat cycling causes the steel springs to anneal and lose their tension. Measure the free length of the springs with a caliper. A common service limit for many inline-four sportbikes is a free length of 45.5mm (down from a nominal 48.0mm). If even one spring falls below the service limit, the entire set must be replaced to maintain even pressure plate distribution.
When reassembling the clutch pack, the pressure plate bolts must be tightened in a crisscross pattern to prevent warping the cast aluminum plate. The standard torque specification for most M6 clutch spring bolts is 8 to 10 Nm (6 to 7.5 lb-ft). Always apply a drop of blue threadlocker (e.g., Loctite 243) to these bolts, as the high-frequency vibration of the engine will easily back them out over time, leading to catastrophic pressure plate failure.
Establishing a Preventive Maintenance Interval
To prevent slipping before it begins, integrate clutch actuation checks into your standard service intervals. For cable-actuated bikes, inspect and lubricate the cable with a dedicated PTFE cable lube every 4,000 miles, and verify the 10-15mm free play before every long ride. For hydraulic systems, flush the DOT 4 fluid every 24 months regardless of mileage to prevent seal swelling and compensation port blockage. By treating the actuation system with the same rigor as your engine oil, you ensure that the clutch pack operates exactly as the engineers intended, delivering crisp engagement and maximum drivetrain efficiency.