The Illusion of the 'Maintenance-Free' Automatic Clutch
When you first throw a leg over an automatic clutch motorcycle or twist the throttle on a CVT-equipped ATV, the appeal is obvious: no left-hand lever, no stalling at stoplights, and seemingly zero drivetrain maintenance. But as any seasoned powersports mechanic will tell you, the term 'automatic' does not mean 'indestructible.' In fact, automated clutch systems on two- and four-wheeled machines introduce unique failure modes that can leave beginners stranded and confused.
If you are riding a modern motorcycle with a Dual Clutch Transmission (DCT), testing the newest 2026 E-Clutch models, or tearing up trails on an ATV with a centrifugal clutch, you need to understand the specific symptoms of wear. This beginner-friendly explainer will demystify the warning signs, provide exact diagnostic measurements, and help you decide when to turn a wrench yourself versus when to hand the keys to the dealership.
Demystifying the Big Three Automated Systems
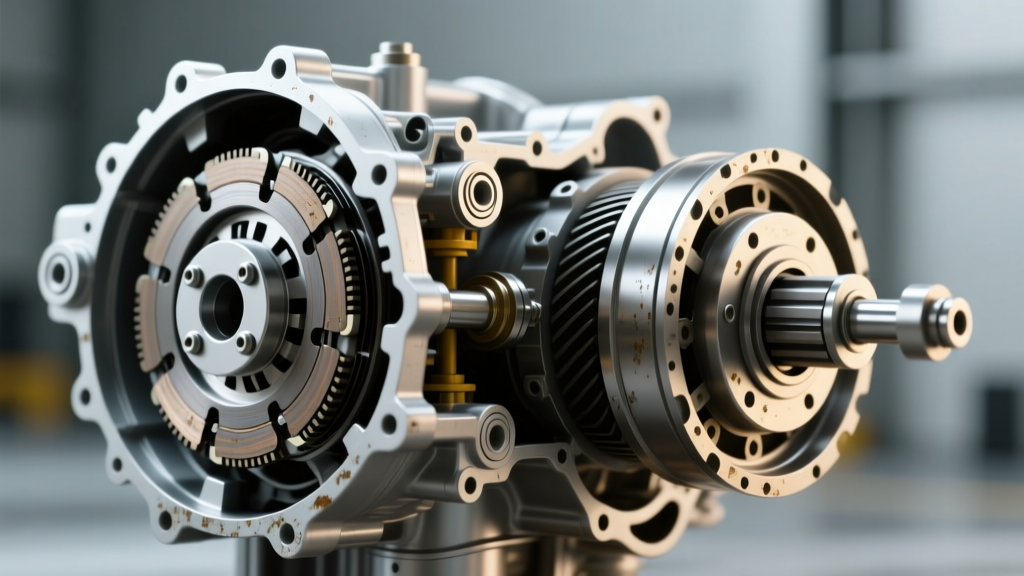
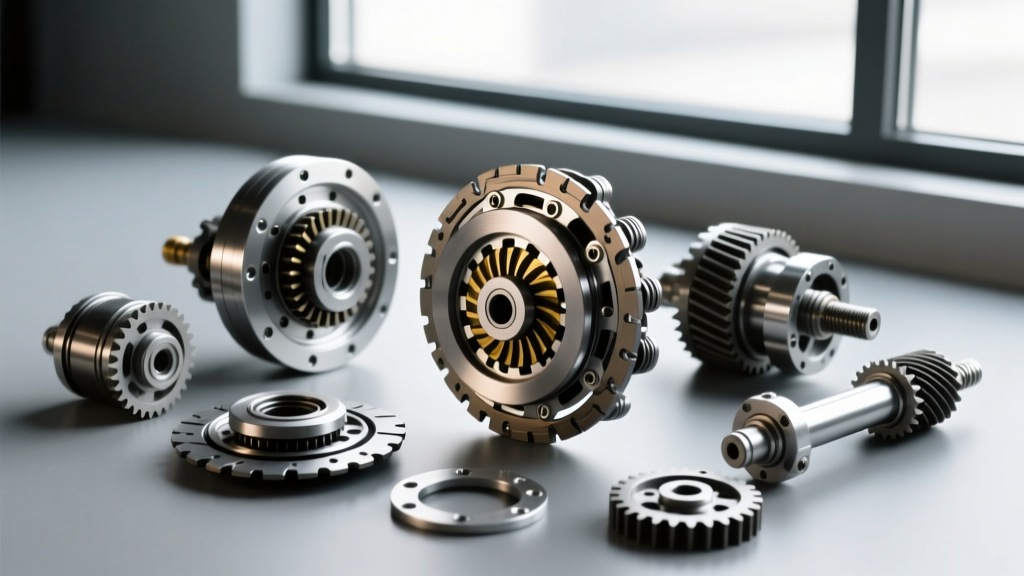
Before diagnosing a problem, you must know which system your machine uses. Unlike cars with traditional torque-converter automatics, powersports vehicles rely on three distinct automated clutch technologies:
- Dual Clutch Transmission (DCT): Found primarily on Honda motorcycles (Africa Twin, Rebel 1100, Gold Wing). It uses two separate clutch packs and hydraulic actuators to pre-select gears.
- Centrifugal Clutches: Common on ATVs, kids' dirt bikes, and mini-bikes. These use weighted shoes that expand outward against a drum as engine RPMs increase.
- E-Clutch (Electronic Clutch): A newer technology (like Honda's system on the CB650R) that uses actuators to engage a traditional manual clutch pack, allowing you to ride without pulling the lever, but retaining a physical lever for manual override.
Diagnosing Honda DCT: Blink Codes and Hydraulic Failures
The Honda DCT is an engineering marvel, but it is highly sensitive to fluid degradation and electrical gremlins. Because there is no physical lever to slip, a failing DCT will usually manifest as harsh shifting, refusal to engage into gear, or a flashing dashboard indicator.
Reading the DCT 'Blink Codes'
When the DCT detects a fault, the 'N' or 'D' light on your dash will blink. This is your first diagnostic clue. Here is a breakdown of common blink patterns and what they mean for your drivetrain:
| Blink Pattern | System Component | Probable Cause & Beginner Action |
|---|---|---|
| 1 Blink | Shift Actuator | Motor or gear mechanism binding. Check for physical debris near the shift linkage. |
| 2 Blinks | Clutch Actuator | Hydraulic pressure drop or actuator motor failure. Check fluid levels immediately. |
| 4 Blinks | Hydraulic Pressure | Clogged filter or degraded fluid. Requires immediate fluid and filter service. |
| 7 Blinks | Sensor/ECU | Wheel speed or gear position sensor mismatch. Clean sensors; check wiring harness. |
The Critical Importance of DCT Fluid and Filtration
The most common cause of DCT slippage and harsh shifts is neglected hydraulic fluid. According to Honda Powersports maintenance schedules, DCT fluid degrades rapidly under high-temperature trail riding or heavy touring loads.
Beginner Service Specs:
- Correct Fluid: Honda Dual Clutch Transmission Fluid (Part #08200-9010). Never substitute with standard ATF or engine oil; the friction modifiers are entirely different and will cause immediate clutch pack glazing.
- Filter Part Number: Honda DCT Oil Filter (Part #15412-MJM-D01).
- Torque Specification: When reinstalling the DCT filter cover, the bolts must be torqued to exactly 12 Nm (8.7 lb-ft). Overtightening will crack the magnesium alloy cover, leading to a catastrophic hydraulic leak.
- Capacity: Most Africa Twin and Rebel 1100 DCT systems hold between 3.8 to 4.2 liters (including the cooler lines). Always perform a level-check with the bike upright and idling in Neutral.
ATV and Mini-Bike Centrifugal Clutch Slippage
If you are operating a youth ATV, a Polaris sportsman with a specific centrifugal setup, or a mini-bike, your machine likely uses a centrifugal clutch. When these fail, the symptoms are visceral: the engine screams to the redline, but the machine barely crawls forward. Alternatively, the machine might 'creep' aggressively at idle, making it dangerous to start.
Step-by-Step Centrifugal Clutch Diagnosis
Unlike a DCT, a centrifugal clutch is purely mechanical and highly accessible for beginners. If you suspect slippage, follow this diagnostic workflow:
- Remove the Clutch Drum: Unbolt the central retaining nut (usually 17mm or 19mm). Note that some clutches use reverse threads. Pull the drum off the tapered shaft.
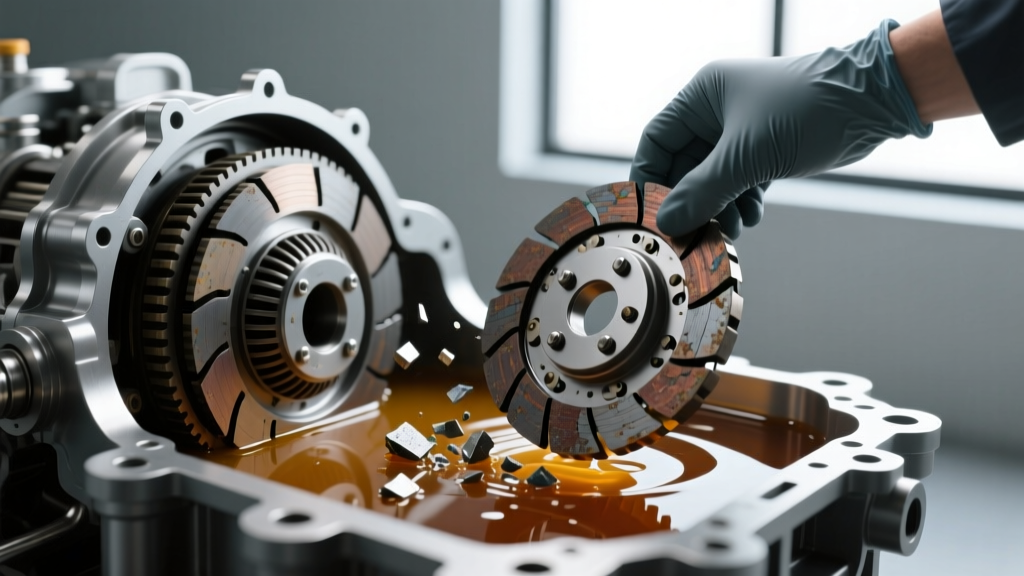
- Inspect for Glazing: Look at the inside of the drum and the outside of the clutch shoes. If they are shiny, blackened, or smell burnt, the friction material is glazed. This happens from 'feathering' the throttle or riding at the exact RPM where the clutch is half-engaged.
- Measure Shoe Clearance: Using a feeler gauge, measure the gap between the clutch shoe and the inner drum wall when the shoes are retracted. Standard resting clearance should be between 0.040' and 0.060'. If the gap is wider, your springs have fatigued, or the shoes are worn past their service limit.
- Check Spring Tension: If the ATV creeps at idle, the governor springs have lost their tensile strength and are allowing the shoes to engage too early (e.g., at 1,200 RPM instead of the designed 1,800 RPM). Replace the springs immediately.
Pro Tip: Never use brake cleaner to clean a centrifugal clutch drum. The harsh chemicals can swell the rubber dampeners on the clutch shoes. Use a dedicated non-chlorinated parts washer solvent or isopropyl alcohol.
The 2026 E-Clutch Factor: A New Diagnostic Frontier
As highlighted in recent technical reviews by Cycle World, the rapid expansion of Honda's E-Clutch technology into the 2025 and 2026 model lineups (including the CB650R and Transalp variants) has changed the diagnostic landscape. The E-Clutch uses dual electric motors to pull a traditional manual clutch pack via a complex gear reduction.
Symptoms of E-Clutch Failure:
- Stiff Lever Feedback: The system is designed to provide artificial resistance to the lever. If the lever suddenly feels completely dead or impossibly stiff, the actuator motor has failed or the ECU has disabled the assist due to a sensor fault.
- Stalling at Stops: If the E-Clutch fails to disengage at 0 MPH, the bike will stall. This is often caused by a misaligned clutch position switch or a failing potentiometer inside the actuator housing.
Because the E-Clutch relies on a traditional friction plate stack, you still need to measure clutch plate thickness during major services. The minimum service limit for most Honda 650cc friction plates is 2.6mm. If they measure below this, the E-Clutch actuators will overwork themselves trying to find the friction zone, eventually burning out the $600 actuator motor.
Cost Breakdown: DIY Repairs vs. Dealership Service
Understanding the financial impact of these repairs is crucial for any beginner deciding whether to invest in a service manual or head to the dealer. Below is a realistic cost comparison based on current 2026 powersports labor rates (averaging $130-$160 per hour).
| Repair Scenario | DIY Parts Cost | Estimated Dealer Cost | Beginner Difficulty |
|---|---|---|---|
| DCT Fluid & Filter Service | $65 - $85 | $250 - $350 | Easy (Requires torque wrench) |
| DCT Actuator Motor Replacement | $450 - $700 | $900 - $1,400 | Hard (Requires ECU reset tools) |
| Centrifugal Clutch Shoe Rebuild | $40 - $90 | $180 - $250 | Moderate (Requires puller tool) |
| E-Clutch Actuator Assembly | $550 - $800 | $1,100 - $1,500 | Hard (Requires bleeding & calibration) |
Final Advice for the Automated Drivetrain Owner
Owning an automatic clutch motorcycle or an ATV with a centrifugal setup is an incredible way to reduce rider fatigue and focus on the trail or the twisties. However, you must treat the automated components with the same respect as a traditional manual transmission. Avoid resting your foot on the DCT shift paddle, never lug a centrifugal clutch at low RPMs, and strictly adhere to the manufacturer's fluid intervals. By learning to read the blink codes, measure clearances, and understand the hydraulic requirements of your specific machine, you will save thousands of dollars and ensure your ride is always ready for the next adventure.