Introduction: The Complexity of Wet Clutch Packs vs. Single Disc Systems
When a technician or DIY enthusiast looks up a Hyundai Bayon clutch disc part number (such as the OEM 41100-2B000 for the 1.0 T-GDi manual transmission), they are preparing for a relatively straightforward single-disc replacement. In a traditional manual or dry dual-clutch setup, the friction material is a single, solid unit that bolts directly to the flywheel or input shaft. You replace the disc, resurface or replace the flywheel, install a new pressure plate, and bleed the hydraulics.
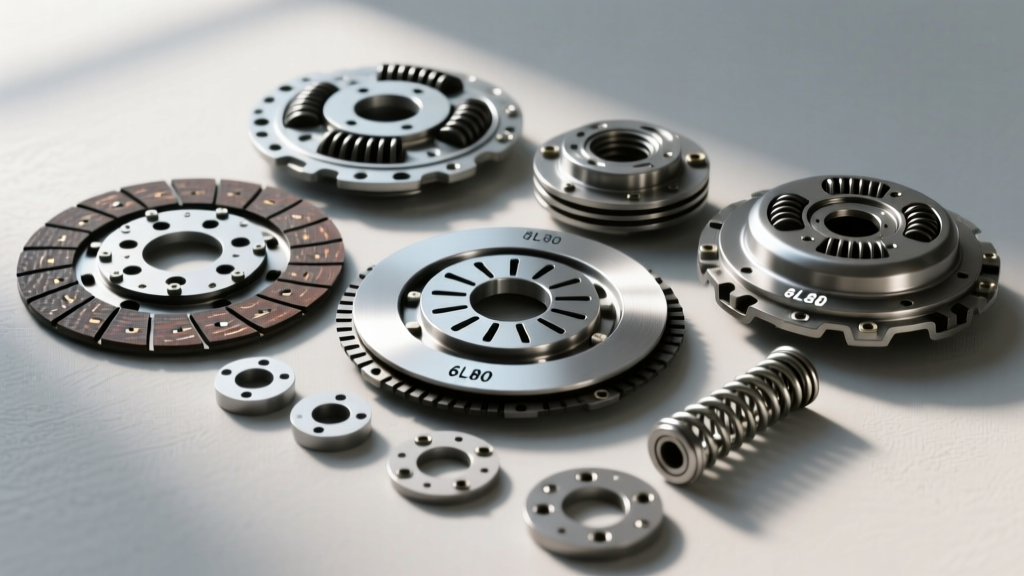
However, rebuilding an automatic transmission clutch pack is an entirely different discipline. Modern automatic transmissions—such as the GM 6L80, Ford 10R80, and ZF 8HP—rely on multiple wet clutch packs housed within rotating drums to engage specific planetary gear sets. As of 2026, the shift toward 8- and 10-speed automatics demands microscopic precision, specialized low-viscosity fluids, and strict adherence to clearance specifications. A single mis-measured clearance or improperly soaked friction plate will result in immediate burn-up, harsh shifts, or catastrophic transmission failure.
This step-by-step guide will walk you through the precise methodology of rebuilding an automatic transmission clutch pack, highlighting the exact measurements, tools, and protocols required for professional-grade results.
Essential Tools and Safety Protocols
Before tearing down the transmission, ensure your workspace is surgically clean. Automatic transmissions are highly sensitive to particulate contamination. Gather the following specialized tools:
- Dial Indicator with Magnetic Base: Essential for measuring clutch pack clearance to the thousandth of an inch.
- Feeler Gauge Set: For quick checks and verifying backing plate thickness.
- Internal and External Snap Ring Pliers: Specifically angled and flat-nose variants for deep drum access.
- Assembly Lubricant: A high-tack, petroleum-based trans gel (e.g., TransJel) to hold needles and seals in place.
- Air Compressor with Rubber-Tipped Blow Gun: Regulated to 60-90 PSI for piston testing.
- Lint-Free Shop Towels: Never use standard paper towels, which shed fibers that can clog valve body solenoids.
Step 1: Drum Inspection and Piston Preparation
The clutch pack resides inside a machined aluminum or steel drum. Before installing any new components, the drum must be meticulously inspected.
Inspecting the Bore and Splines
Run your fingernail along the inner bore where the piston O-rings ride. If you feel any grooves, scoring, or pitting, the drum must be replaced or sleeved. A scored bore will allow apply pressure to bypass the piston, resulting in a slipping clutch pack. Next, inspect the inner and outer splines. The steel plates ride on the outer splines, while the friction discs ride on the inner splines. Look for 'bluing' (heat discoloration) or galling, which indicates previous slip events.
Piston and Seal Assembly
Apply a generous coat of assembly lube or the specific ATF (Automatic Transmission Fluid) to the new piston O-rings and lip seals. Carefully roll the piston into the bore using a smooth, twisting motion. Never force it, as a pinched lip seal will cause immediate hydraulic leakage. Once seated, install the return springs and the retaining snap ring, ensuring the snap ring is fully seated in its groove.
Step 2: Preparing the Friction and Steel Plates
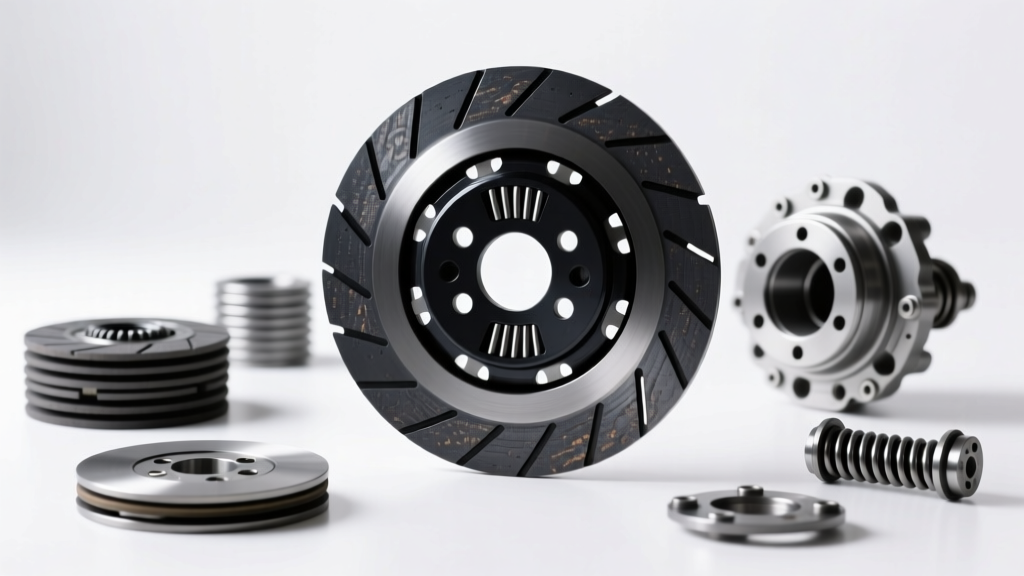
Unlike the dry clutch disc you would install after finding your Hyundai Bayon clutch disc part number, automatic transmission friction plates are porous, paper-based or Kevlar-lined materials designed to operate submerged in fluid.
Expert Warning: Never install dry friction plates into an automatic transmission. If the plates are not pre-soaked, the initial dry engagement upon startup will instantly glaze or burn the friction material, destroying the pack before the vehicle even leaves the lift.
Submerge all new friction discs in a clean pan filled with the exact OEM-specified ATF (e.g., Dexron VI for GM, Mercon LV for Ford, or ZF LifeguardFluid 8 for ZF units). Allow them to soak for a minimum of 2 hours, though leaving them submerged for 24 hours is the industry gold standard recommended by the Automatic Transmission Rebuilders Association (ATRA). This ensures the porous material is fully saturated to the core.
While the frictions soak, inspect the steel separator plates. If they exhibit any bluing, warping, or deep grooves from the friction tabs, they must be replaced. Measure the steel plates with a micrometer; if they are worn below the manufacturer's minimum thickness specification, the overall clutch pack clearance will be impossible to set correctly.
Step 3: Assembling the Alternating Stack
Begin stacking the components into the drum. The standard sequence always starts and ends with a steel plate, alternating with the soaked friction discs (Steel-Friction-Steel-Friction-Steel).
Pay close attention to the orientation of the friction discs. Many modern friction plates have a specific 'fluid flow' direction or a stepped inner spline that must face a specific way to promote cooling fluid circulation. Additionally, if the transmission utilizes a wavy snap ring or a cushion plate (often found in the 1-2-3-4 pack of the GM 6L80 to soften shift engagement), ensure it is installed in the exact location specified by the service manual.
Step 4: Measuring and Setting Clutch Pack Clearance
This is the most critical step in the rebuild process. Clutch pack clearance is the distance the piston must travel to clamp the friction and steel plates together. Too tight, and the pack will drag, causing overheating and premature wear. Too loose, and the piston will bottom out on its travel limit before fully clamping the plates, resulting in severe slipping and burnt fluid.
The Dial Indicator Method
- Mount the magnetic base of your dial indicator to a stable surface above the transmission case or drum.
- Rest the indicator plunger directly on the top steel plate of the clutch pack.
- Zero the dial indicator.
- Using two screwdrivers, gently pry the top steel plate upward as far as it will go (simulating the piston releasing).
- Read the measurement on the dial. This is your total clearance.
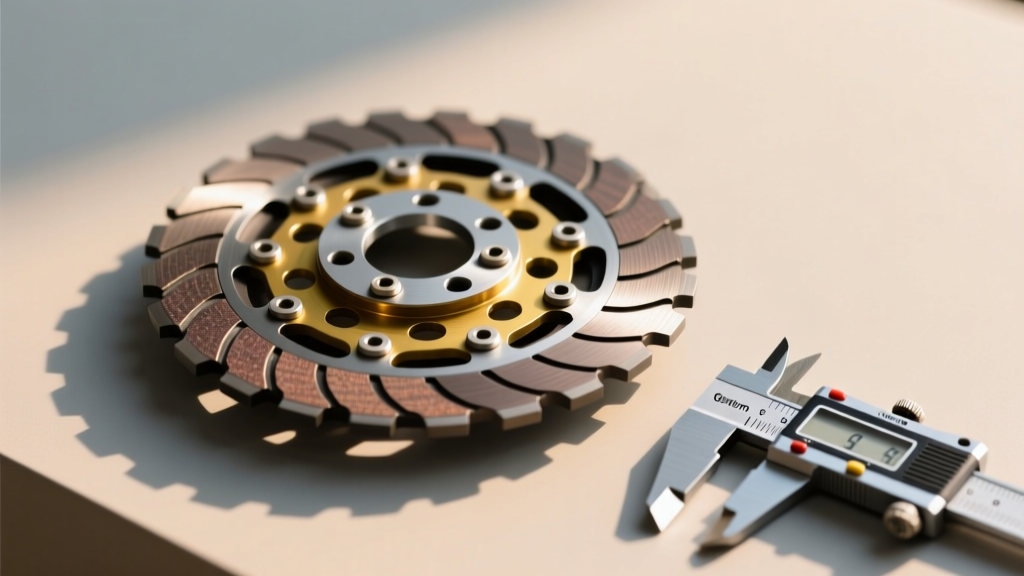
For most modern automatic transmissions, the target clearance ranges between 0.040" and 0.080" (1.0mm to 2.0mm), though specific packs vary. If the clearance is out of spec, you must swap the top backing plate (also known as the pressure plate) for a thicker or thinner variant, or add/remove selective snap rings until the exact specification is met. For deeper insights on clearance tolerances, refer to the engineering guidelines published by Sonnax.
Step 5: Air Testing the Assembled Pack
Before installing the valve body or bolting the transmission to the engine, every clutch pack must be air-tested to verify seal integrity and piston travel.
Locate the specific apply feed hole in the transmission case or pump stator that corresponds to the clutch pack you just assembled. Place a rubber-tipped air blow gun against the feed hole and apply regulated air pressure at 60 to 90 PSI. You should hear a distinct, solid 'thud' as the piston applies the clutch pack. When you release the air, you should hear a secondary 'clack' as the return springs push the piston back to its resting position. If you hear a continuous hissing sound, you have a cut piston seal, a scored drum bore, or a leaking check ball capsule. Disassemble and diagnose immediately.
Reference Table: Common Automatic Transmission Clutch Pack Specifications
| Transmission Model | Clutch Pack | Target Clearance | Required Fluid Type | Minimum Friction Soak Time |
|---|---|---|---|---|
| GM 6L80 / 6L90 | 3-5-R Clutch | 0.050" - 0.070" | Dexron VI | 2 Hours |
| GM 6L80 / 6L90 | 4-5-6 Clutch | 0.040" - 0.060" | Dexron VI | 2 Hours |
| Ford 10R80 | Clutch 'A' (1st/2nd) | 0.035" - 0.055" | Mercon ULV | 4 Hours |
| ZF 8HP75 / 8HP90 | Clutch 'C' (3rd/4th) | 0.4mm - 0.8mm | ZF LifeguardFluid 8 | 24 Hours |
Summary: Precision is Non-Negotiable
While finding a Hyundai Bayon clutch disc part number and swapping a manual transmission disc is a mechanical task defined by basic torque specs and alignment tools, rebuilding an automatic transmission clutch pack is an exercise in hydraulic engineering and microscopic precision. As automatic transmissions continue to evolve with more gears and tighter packaging, the margin for error shrinks to zero. By strictly adhering to fluid soaking protocols, utilizing dial indicators for clearance verification, and performing rigorous air tests, you ensure the longevity and shift quality of the transmission for thousands of miles down the road. For ongoing technical updates and fluid specifications, always consult the ZF Aftermarket portal or OEM service documentation before beginning your rebuild.