When you hear the term 'clutch,' you likely picture a manual transmission and a third pedal. However, modern automatic transmissions rely on a complex, hidden network of auto clutches—specifically, multi-disc friction clutch packs and the Torque Converter Clutch (TCC)—to route power seamlessly. When these auto clutches fail to engage or disengage properly, your vehicle experiences flares, shudders, and harsh shifts. This beginner-friendly explainer breaks down the mechanics of automatic clutch engagement, common failure modes, and how to diagnose them using real-world data.
The Anatomy of an Automatic Clutch Pack
Unlike a single manual clutch disc, an automatic transmission utilizes multiple clutch packs (typically four to six, depending on the gear count). For example, the popular GM 6L80 and the ZF 8HP transmissions use a series of these packs to hold or drive different planetary gearset members.
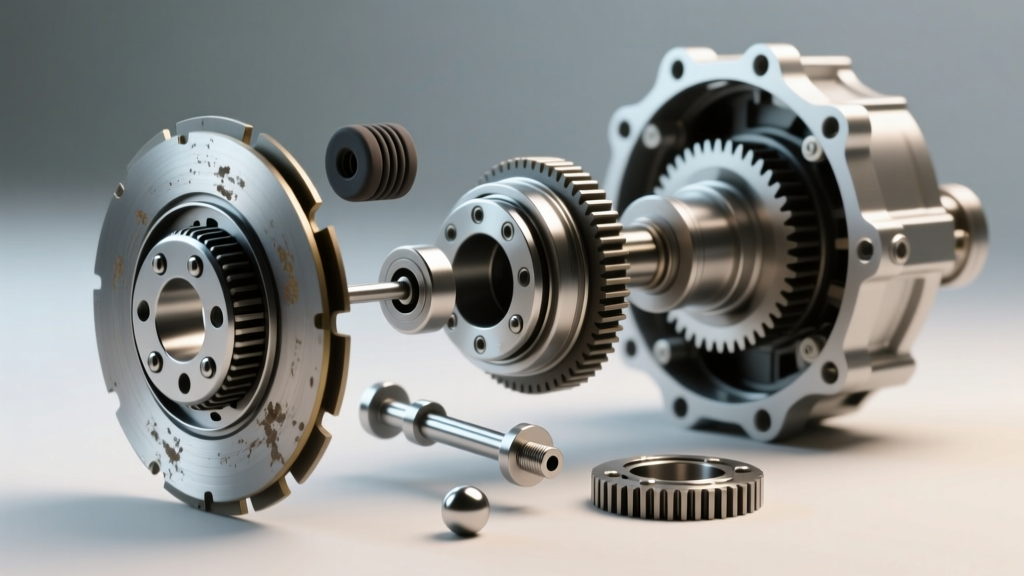
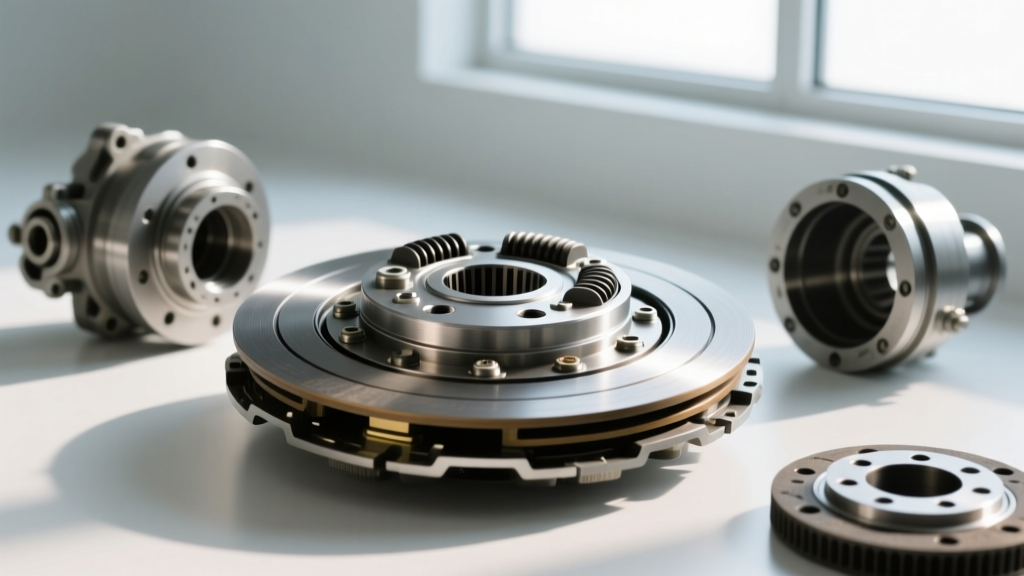
A standard auto clutch pack consists of:
- Clutch Drum and Piston: The hydraulic cylinder that actuates the pack.
- Friction Discs: Internally splined discs lined with specialized paper, Kevlar, or carbon friction material.
- Steel Separator Plates: Externally splined smooth steel rings that mate with the friction discs.
- Return Springs: Heavy-duty springs that retract the piston when hydraulic pressure is removed.
Additionally, the Torque Converter Clutch (TCC) acts as a massive, single-plate auto clutch located inside the torque converter, locking the engine directly to the transmission input shaft at highway speeds to eliminate parasitic fluid slip.
The Physics of Engagement and Disengagement
Understanding how auto clutches operate requires a basic grasp of hydraulic physics. When the Transmission Control Module (TCM) commands a shift, it triggers a shift solenoid in the valve body.
Engagement (Applying the Clutch)
Automatic Transmission Fluid (ATF) is routed through the valve body and into the clutch drum. Base hydraulic line pressure typically sits between 120 and 140 PSI in gear at idle, but can spike to 250–280 PSI at Wide Open Throttle (WOT). This pressure pushes the apply piston, compressing the friction and steel plates against the backing plate, locking the assembly together.
Disengagement (Releasing the Clutch)
To disengage, the valve body exhausts the fluid from the drum. The return springs push the piston back to its resting position. Crucially, there must be a precise amount of 'pack clearance'—typically 0.040' to 0.080' of total air gap—to ensure the plates separate fully. If clearance is too tight, the clutch drags; if too loose, engagement is delayed.
Top 3 Engagement and Disengagement Symptoms
1. Shift Flares (Delayed Engagement)
A 'flare' occurs when the engine RPM spikes unexpectedly between gears, or when shifting from Park to Drive/Reverse takes more than 1.5 seconds. This indicates an engagement failure. The most common culprits are hardened piston lip seals (which allow hydraulic fluid to bypass the piston), worn friction material, or a failing pressure regulator valve in the valve body.
2. Shift Tie-Ups (Failure to Disengage)
If an auto clutch fails to disengage, two different gear ratios are applied simultaneously. This causes a severe 'tie-up' or binding sensation, often accompanied by a harsh lurch or the engine bogging down. Causes include warped steel plates (which refuse to separate), broken return springs, or a scored clutch drum wall that traps the piston.
3. Torque Converter Clutch (TCC) Shudder
TCC shudder feels like driving over rumble strips at steady highway speeds (usually 45–55 MPH). This is a micro-slip engagement issue where the TCC rapidly applies and releases. It is heavily prevalent in the Ford 10R80 and GM 8L90 transmissions, often caused by degraded ATF friction modifiers or wear in the TCC regulator valve bore.
Diagnostic Data: Common Auto Clutch Faults
Use the following diagnostic matrix to narrow down your auto clutch engagement issues before tearing down the transmission.
| Symptom | Likely Culprit | Common Affected Transmissions | Diagnostic Action | Est. Repair Cost |
|---|---|---|---|---|
| RPM Flare (2-3 Shift) | Worn 3-4 Clutch Pack / Leaking Piston Seal | GM 4L60E, Ford 6F35 | Check line pressure; perform stall test | $1,800 - $2,500 |
| Harsh 1-2 Shift / Tie-up | Warped Steel Plates / Failed Return Spring | ZF 6HP26, Chrysler 68RFE | Scan for solenoid codes; inspect fluid for burnt smell | $2,200 - $3,200 |
| TCC Shudder (45-55 MPH) | Degraded TCC Friction Material / Valve Body Wear | GM 8L90, Ford 10R80 | Monitor TCC slip RPM via OBD2 scanner | $400 (VB) - $2,800 (Rebuild) |
Beginner Diagnostic Steps: What You Can Do in the Driveway
You do not always need to drop the transmission to diagnose auto clutch issues. Follow these professional steps:
Step 1: Fluid Inspection
Pull the dipstick or check plug. ATF should be translucent red or pink. If it is dark brown or black and smells like burnt toast, the friction material on your auto clutches has literally cooked off the steel plates. According to the Automatic Transmission Rebuilders Association (ATRA), burnt fluid is an immediate indicator of internal clutch pack failure requiring a teardown.
Step 2: OBD2 Scan Tool Data (TCC Slip)
Plug in a bi-directional scan tool and monitor the 'TCC Slip RPM' PID while cruising at 55 MPH. When the TCC is commanded 'ON', slip should drop to near 0 RPM. If you see the slip RPM bouncing between 50 and 150 RPM, the TCC is failing to fully engage, pointing to either a worn converter clutch lining or a leaking TCC apply circuit.
Step 3: Line Pressure Testing
For advanced DIYers, hooking up a 300 PSI transmission pressure gauge to the main line pressure port on the transmission case is the ultimate test. If pressure drops significantly when shifting into a gear that is flaring, you have an internal hydraulic leak at that specific clutch pack's piston seal.
Upgrading and Repairing Auto Clutches
When a rebuild is necessary, you are not limited to OEM paper friction plates. For high-torque or heavy-duty applications, upgrading to Raybestos Powertrain GPZ or Alto Red Eagle Kevlar-lined friction discs drastically improves thermal capacity and engagement bite.
Expert Tip: If your clutches are physically intact but you are experiencing engagement flares, the issue is likely in the valve body. Installing a Sonnax Zip Kit or a TransGo shift kit replaces worn cast-iron valve bores with sleeved, anodized aluminum valves, restoring the hydraulic pressure needed to firmly engage the auto clutches without a full transmission removal.
Understanding how auto clutches engage and disengage transforms a mysterious transmission failure into a logical, diagnosable hydraulic problem. By monitoring fluid condition, tracking TCC slip data, and knowing when to upgrade valve body components, you can accurately pinpoint clutch system faults and save thousands in unnecessary dealership diagnostic fees.