The Wet Clutch Ecosystem: Why Motorcycles and ATVs Are Different
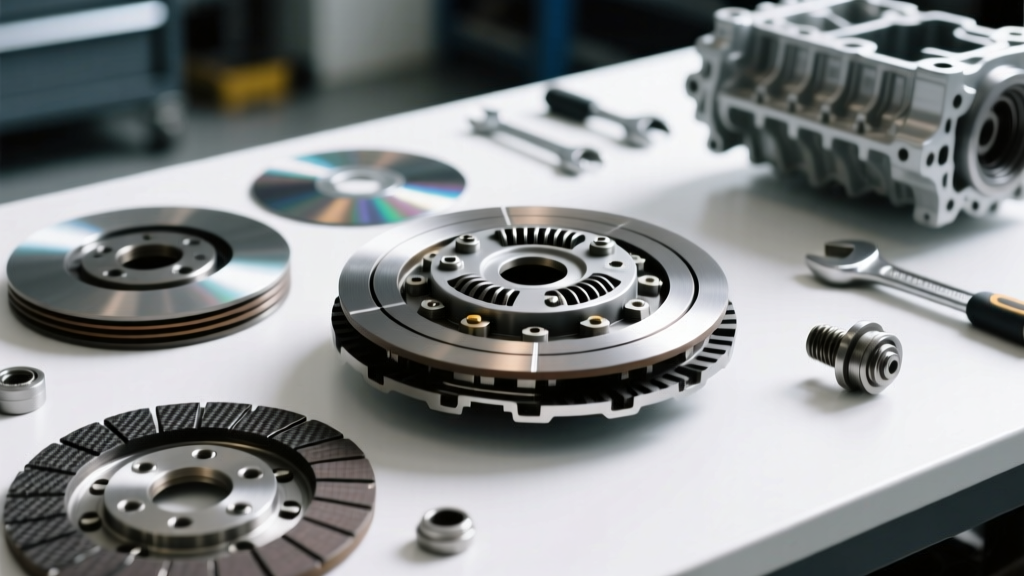
Welcome to the ultimate beginner-friendly explainer on powersports clutch diagnostics. Whether you are riding a brand-new 2026 KTM 450 SX-F or wrenching on a workhorse Polaris Sportsman 850, understanding your drivetrain is critical for reliability and performance. Unlike the dry, single-plate clutches found in most manual cars, motorcycles and ATVs predominantly use wet, multi-plate clutch systems. This means the clutch assembly shares the same oil bath as the engine and transmission.
The diagnostic protocols used by top-tier regional shops—like the benchmark standards often referenced by the experts at Clutch Automotive North Shepherd—rely on a mix of mechanical sympathy, precise measurement, and fluid chemistry. In this guide, we will break down the most common clutch problems specific to motorcycles and ATVs, providing you with the exact specifications, torque values, and troubleshooting frameworks needed to diagnose issues like a seasoned technician.
Symptom 1: The 'Rev-Bomb' (Clutch Slipping Under Load)
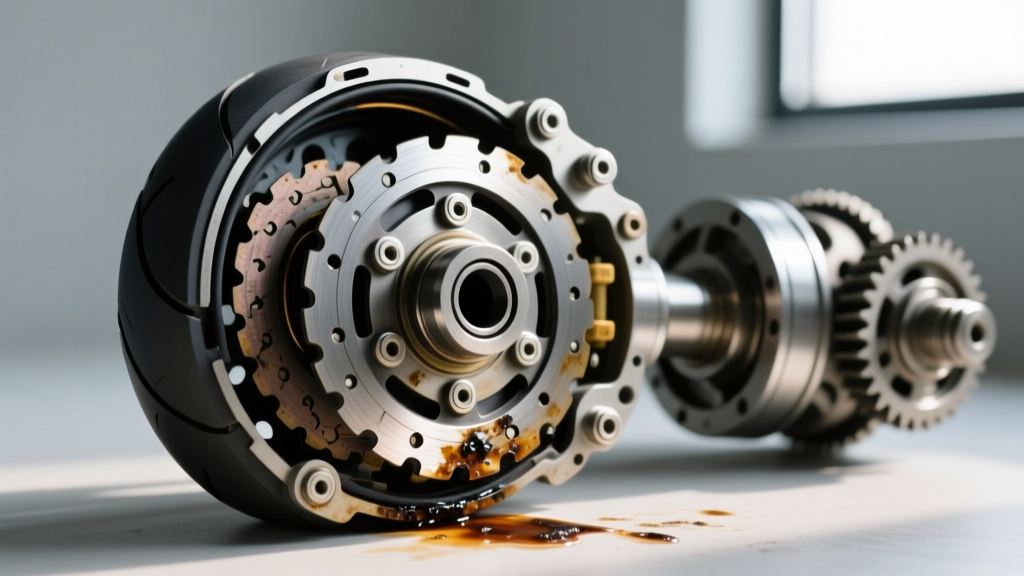
Clutch slipping is the most common complaint among beginner and intermediate riders. You will notice this when you are climbing a steep hill, accelerating hard out of a corner, or lugging the engine in a high gear. The engine RPMs surge upward, but your forward momentum does not match the increase in engine speed.
The Oil Mistake: JASO MA2 vs. Friction Modifiers
Before tearing into your engine cases, check your oil. The number one cause of premature clutch slip in ATVs and motorcycles is the use of standard automotive motor oil. Automotive oils (even high-end synthetics) contain friction modifiers like molybdenum to improve fuel economy. In a wet clutch, these modifiers coat the friction plates, destroying their coefficient of friction.
Always look for the JASO MA or JASO MA2 certification on your oil bottle. The JASO T 904:2022 standard ensures the oil has the correct dynamic friction index for wet clutch applications. If you have been running automotive oil, a simple drain, flush, and refill with a dedicated powersports oil (like Motul 7100 or Amsoil MCV) can sometimes restore grip without replacing hardware.
Measuring Friction Plates and Springs
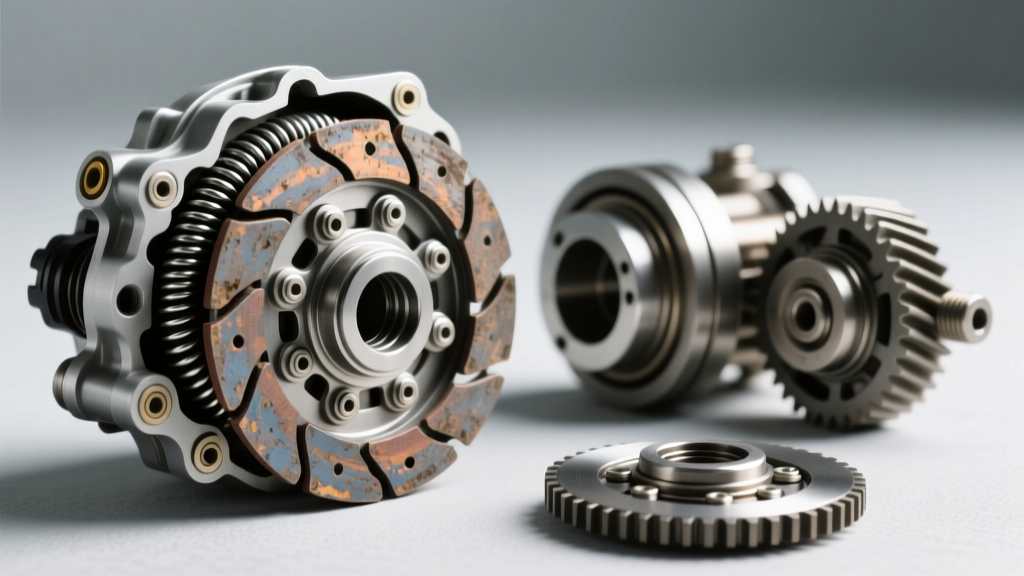
If fresh oil does not cure the slip, the friction material is likely worn. You will need a micrometer to measure the plates. Let us use the popular Yamaha YZ450F as a baseline example:
- Friction Plate Thickness: Standard is 2.0mm. The service limit is 1.6mm. If any plate falls below 1.6mm, the entire pack must be replaced.
- Steel Separator Plates: Standard is 1.6mm. Limit is 1.4mm. Look for bluing or heat spots, which indicate warping.
- Clutch Springs: Over time, springs lose their tension. Measure the free length with a vernier caliper. If the standard length is 41.2mm and the limit is 39.5mm, replace the springs. Heavy-duty springs (stiffer by 10-15%) are a common upgrade for high-horsepower ATV builds.
Symptom 2: Lever Drag and the 'False Neutral' Hunt
If you pull the clutch lever all the way to the handlebar but the motorcycle still wants to creep forward, or if you struggle to find neutral while the bike is idling, you are experiencing clutch drag. This is incredibly dangerous in technical ATV trail riding or motocross cornering.
Inspecting the Clutch Basket (Hub) for Notching
Clutch drag is rarely caused by the plates themselves; it is almost always caused by the clutch basket. The outer aluminum basket and inner steel hub have 'fingers' or 'tabs' that the plates slide onto. Over thousands of engagement cycles, the steel plates impact the aluminum basket, carving deep grooves or 'notches' into the metal.
When notches form, the friction plates hang up in the grooves. Even when you pull the lever and push the plates apart via the pressure plate, the tabs catch in the notches, keeping the clutch partially engaged. While some old-school mechanics recommend filing these notches smooth with a flat file, this alters the basket geometry and accelerates future wear. The proper 2026-era fix is replacing the basket with an OEM unit or an aftermarket hard-anodized billet basket (such as those from Rekluse or Hinson), which resist notching entirely.
Pro-Tip: When reinstalling the clutch center locknut, always use a dedicated clutch holding tool to prevent transmission shaft damage. For most Honda CRF and Kawasaki KX models, the center locknut torque spec is exactly 59 Nm (43 lb-ft). Always use a new crush washer and apply blue Loctite to the threads.
Symptom 3: Hydraulic and Cable Lever Anomalies
The way the lever feels in your hand is your first diagnostic clue. Motorcycles and ATVs use either cable-actuated or hydraulic-actuated clutch systems.
Hydraulic Systems: Spongy Levers and Boiled Fluid
Most modern dirt bikes and high-end ATVs use hydraulic clutches (often Brembo or Magura systems). If your lever feels 'spongy' or slowly pulls all the way to the bar under constant pressure, you likely have air in the system or degraded fluid.
Glycol-ether-based DOT 4 fluid is highly hygroscopic, meaning it absorbs moisture from the air over time. While fresh DOT 4 has a dry boiling point of 446°F (230°C), just 3% water contamination drops its wet boiling point to 311°F (155°C). Under heavy clutch slipping (like crawling up a rocky ATV incline), the fluid boils, creating vapor pockets that compress, resulting in a total loss of lever pressure. Flush your hydraulic fluid annually. Note: Never put DOT fluid in a Magura system designed for Mineral Oil, as it will destroy the internal rubber seals within hours.
Cable Systems: Free Play and Routing
For cable-actuated systems, improper free play is the root of most issues. You must have 10mm to 15mm of free play measured at the end of the lever perch. If there is zero free play, the cable is constantly pulling on the clutch lifter arm, preventing the clutch from fully engaging, leading to slip and burnout. Inspect the cable routing; sharp bends or fraying near the lever pivot will cause stiff lever pull and eventual snapping.
Friction Material Breakdown: Choosing the Right Plates
When it is time to replace your clutch pack, you will be faced with different friction material options. Selecting the right material for your specific riding style is crucial for longevity and feel.
| Material Type | Best Application | Heat Tolerance | Estimated Cost (2026) |
|---|---|---|---|
| Paper / Cork Composite | Trail riding, light farm ATVs, vintage restorations | Medium (Prone to glazing under heavy slip) | $80 - $120 |
| Kevlar / Aramid Fiber | Motocross, aggressive ATV dune riding, woods racing | High (Excellent bite and fade resistance) | $130 - $180 |
| Carbon Fiber | Professional Supercross, high-hp turbo ATV builds | Extreme (Requires aggressive engagement) | $250 - $350 |
For 90% of beginner and intermediate riders, a high-quality Kevlar/Aramid clutch kit (like the EBC DRC or SRC series) provides the perfect balance of progressive engagement, durability, and cost-effectiveness.
Beginner's Diagnostic Checklist & Cost Expectations
Before ordering parts, run through this systematic diagnostic checklist:
- Check the Lever: Verify 10-15mm free play. Adjust at the perch and the engine case.
- Inspect the Fluid/Cable: Bleed hydraulics or lubricate/replace frayed cables.
- Verify Oil Spec: Drain and replace with JASO MA2 certified powersports oil.
- The Lug Test: Ride in 3rd gear at low RPM and apply heavy throttle. If RPMs flare without acceleration, the clutch is slipping internally.
- Teardown & Measure: Pull the right-side engine cover. Use a micrometer on the plates and inspect the aluminum basket for notching.
What Will This Cost Me?
If you are turning your own wrenches, an aftermarket clutch kit (friction plates, steels, and springs) will run between $140 and $200. If your clutch basket is notched, expect to pay $150 to $300 for an OEM replacement basket, plus $15 for a new clutch cover gasket. If you take your ATV or motorcycle to a professional shop for a complete clutch overhaul, expect labor rates to push the total bill into the $450 to $700 range, depending on the complexity of the side-cover removal (some ATVs require removing the exhaust header and coolant hoses to access the clutch).
Further Reading and Authoritative Resources
To deepen your understanding of powersports drivetrains, consult these industry-standard resources:
- For a visual guide on hydraulic system maintenance, review the RevZilla Hydraulic Bleeding Tutorial, which breaks down the vacuum bleeding process.
- When selecting replacement friction plates, the EBC Brakes Motorcycle Clutch Guide offers excellent material compatibility charts for specific OEM baskets.
- To verify the chemical standards of your engine oil, reference the official JASO Global Oil Standards documentation regarding MA2 friction indices.
By understanding the unique wet-clutch ecosystem and adhering to precise measurement limits, you can keep your motorcycle or ATV shifting crisply for thousands of miles. Remember, the clutch is a wearable consumable, not a lifetime component—treat it with respect, use the right fluids, and it will keep you riding smoothly.