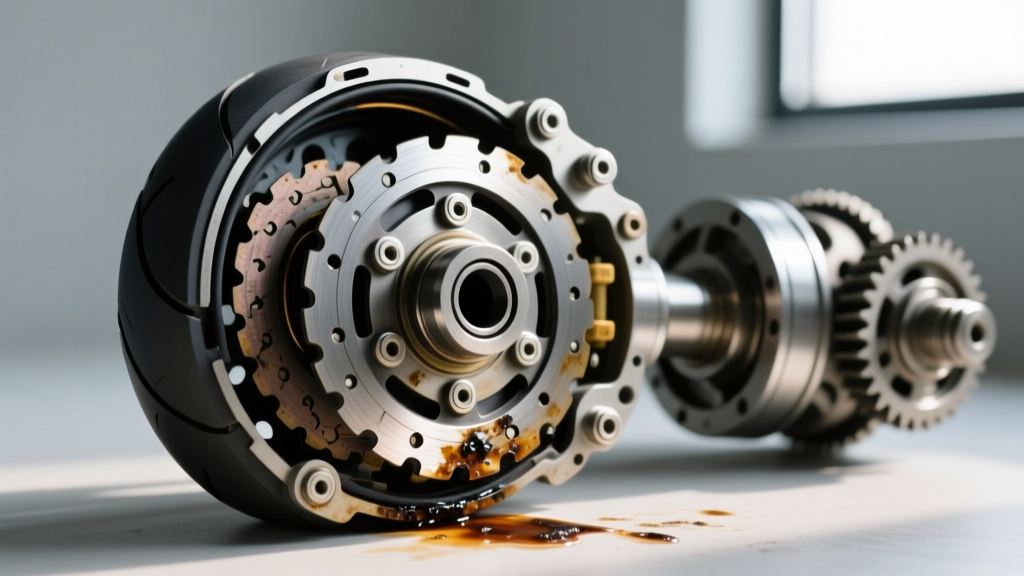
The acrid, unmistakable scent of vaporized friction material is a rider's worst nightmare. When you detect a burning clutch smell on a Yamaha motorcycle—whether you are navigating stop-and-go traffic on an MT-07 or pushing a Tenere 700 through a technical single-track—it indicates immediate thermal degradation of the wet clutch assembly. Because Yamaha’s modern CP2 and CP3 engine platforms utilize a shared-sump wet clutch system, a burning clutch does not just mean lost propulsion; it means your engine oil is rapidly contaminating with microscopic friction debris and degraded binders.
Diagnosing the root cause of clutch slip and subsequent burning requires more than just swapping plates. It demands a systematic teardown, precise measurements, and the correct extraction tools. In this comprehensive 2026 diagnostic guide, we will walk through the exact protocol for isolating a burning clutch smell, safely removing the center boss using a dedicated Yamaha clutch puller, and evaluating the metallurgy of your clutch basket and friction steels.
The Chemistry of a Burning Wet Clutch
Modern Yamaha OEM friction plates (such as part number 2BS-16321-00 for the CP2 platform) utilize a specialized cellulose and aramid fiber composite designed to operate submerged in oil. When the clutch slips excessively—due to improper lever free play, weakened clutch springs, or oil shear breakdown—the kinetic energy is converted into extreme thermal energy.
Temperatures at the friction interface can spike past 400°F (204°C) in seconds. At this threshold, the resin binders holding the friction material together begin to vaporize, creating the distinct 'burning' odor. Furthermore, this localized superheating causes the shared engine oil to suffer catastrophic shear breakdown, destroying the JASO MA2 friction modifiers required for the remaining plates to grip. If you smell burning friction material, your oil is already compromised and must be replaced.
Pre-Teardown Verification: Isolating the Slip
Before draining the oil and cracking the right-side crankcase cover, verify that the burning smell is indeed caused by mechanical slip rather than external heat sources (like a slipping drive belt on a CVT or a dragging rear brake).
The Lever Free-Play Test
The most common cause of clutch burning is a lack of free play at the lever, which prevents the pressure plate from fully engaging the friction stack. According to Yamaha factory service manuals, the standard free play measurement at the clutch lever end is 10.0 to 15.0 mm.
- Less than 10mm: The clutch release mechanism remains partially engaged, causing micro-slipping under load, leading to a burning smell.
- More than 20mm: Results in clutch drag, making neutral hard to find and causing harsh downshifts, but rarely causes burning.
If your free play is within spec and the lever pull feels firm, but the bike still slips and smells burnt under heavy throttle in 4th or 5th gear, the friction stack is physically worn or contaminated, necessitating a full teardown.
Teardown Protocol: Deploying the Yamaha Clutch Puller
Once the right-side crankcase cover is removed and the clutch pressure plate is unbolted, you are left with the clutch boss (center hub) secured to the transmission input shaft by a high-torque staked nut. Removing this boss is where many amateur mechanics cause catastrophic damage.
Why Standard 3-Jaw Pullers Fail
The Yamaha clutch boss is manufactured from relatively soft die-cast aluminum alloy to reduce rotational mass. Using a standard 3-jaw gear puller or applying brute force with a pry bar behind the boss will almost certainly gouge the aluminum, warp the boss, or snap the delicate oil pump drive tangs.
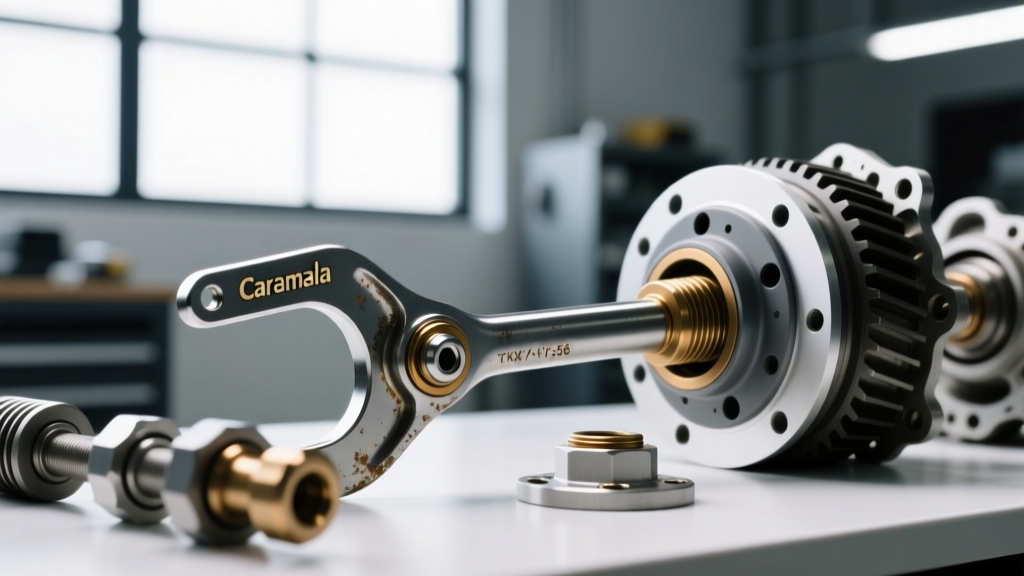
To extract the hub safely, you must use a dedicated Yamaha clutch puller (OEM tool reference 90890-01228 or YM-33210). This tool threads directly into the center of the clutch boss, applying even, axial hydraulic-style force against the transmission shaft without stressing the aluminum housing.
Thread Pitch and Adapter Selection
For most modern Yamaha street and adventure models (MT-07, MT-09, Tracer 9, Tenere 700), the center boss utilizes an M8 x 1.25 internal thread. Aftermarket equivalents, such as the Motion Pro Clutch Puller kit, include the precise M8x1.25 and M10x1.25 adapters required for these applications. Thread the puller bolt in by hand to ensure you are not cross-threading the soft aluminum, then tighten the center forcing bolt with a 14mm or 17mm wrench until the boss pops cleanly off the splined shaft.
Inspection Matrix: What the Friction Plates Tell You
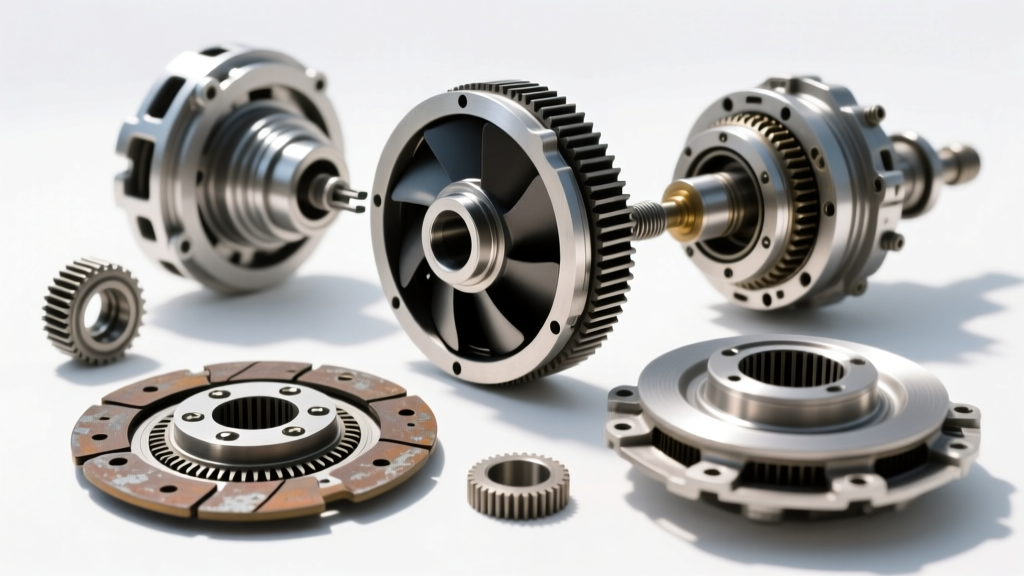
Once the stack is removed, the visual and tactile condition of the friction and steel plates will reveal the exact failure mode that caused the burning smell. Use a micrometer and a machinist's straight edge to evaluate the components against the factory limits.
| Plate Condition | Visual / Tactile Symptom | Root Cause of Burning | Corrective Action |
|---|---|---|---|
| Glazed / Glassy | Shiny surface, slick to the touch, no burnt smell | Oil contamination (automotive friction modifiers) or chronic micro-slip | Replace plates, flush engine with JASO MA2 10W-40 |
| Charred / Flaking | Blackened friction material, acrid odor, crumbling edges | Severe thermal overload, heavy clutch dumping, or dragging | Replace entire friction/steel stack, inspect basket |
| Warped Steels | Blue/purple heat spots, fails 0.1mm flatness test | Extreme slip generating localized superheating | Replace steel plates, measure clutch spring length |
| Notched Basket | Deep grooves on aluminum basket fingers | Impact wear preventing plates from separating fully | Replace inner/outer clutch basket assemblies |
Micrometer Measurements (CP2 / MT-07 Platform Specs)
Do not rely on visual inspection alone. As of 2026, OEM replacement friction plates cost roughly $12 to $15 each, meaning a full stack replacement is an investment of $100 to $150. You must verify measurements to ensure the new stack will operate within tolerance.
- Friction Plate Thickness: Standard 3.0 mm | Service Limit: 2.6 mm
- Steel Plate Warpage: Service Limit: 0.1 mm (measured with feeler gauge on surface plate)
- Clutch Spring Free Length: Standard 44.2 mm | Service Limit: 41.5 mm (If springs are sagged, clamping force drops, causing the slip that leads to the burning smell).
Basket Notching and Oil Contamination
A frequently overlooked cause of clutch burning is outer clutch basket notching. Over tens of thousands of miles, the steel plates hammer into the soft aluminum fingers of the outer basket, creating deep burrs. When the rider pulls the lever, these burrs catch the steel plates, preventing the clutch from fully disengaging (clutch drag). Conversely, when the rider releases the lever, the notches can prevent the plates from clamping evenly, causing localized slip and intense friction heat.
Run your fingernail along the basket fingers. If your nail catches on a burr, the basket must be replaced. Attempting to file down the notches alters the spacing of the friction stack, leading to uneven clamping pressure and a guaranteed return of the burning clutch smell within 500 miles.
Reassembly Specs and Post-Repair Break-In
Proper reassembly is critical to preventing a recurrence of the burning smell. When sourcing parts, stick to OEM Yamaha friction plates or high-quality aftermarket kits like the EBC CK series, which use Kevlar-impregnated cork for higher thermal thresholds. You can source OEM components directly through Yamaha Parts House to ensure exact fitment.
The Soaking Protocol
Never install dry friction plates. Submerge the new friction plates in a clean pan of the exact JASO MA2 engine oil you plan to run in the engine for a minimum of 2 hours (overnight is preferred). This allows the porous cellulose material to become fully saturated, preventing dry-start scorching upon initial engine fire-up.
Torque Specifications
When reinstalling the clutch boss onto the transmission shaft, the staked nut must be torqued precisely to prevent the hub from wobbling and destroying the oil pump drive. For the CP2 and CP3 engines, the clutch boss nut torque specification is 65 Nm (48 lb-ft). Apply a medium-strength threadlocker (Loctite 243) to the threads before torquing, and use a fresh punch to stake the collar into the nut groove.
Finally, the break-in procedure dictates the lifespan of the new clutch. For the first 50 miles, avoid aggressive launches, heavy traffic slipping, and high-RPM downshifts. Allow the friction materials to bed evenly into the steel plates. By combining precise pre-teardown diagnostics, the correct use of a Yamaha clutch puller, and strict adherence to factory tolerances, you will permanently eliminate the burning smell and restore crisp, reliable power delivery.
Expert Note: Always refer to the latest factory service manual for your specific model year. Torque specs and clearances can vary slightly between the MT-07, XSR700, and Tenere 700 despite sharing the same CP2 engine block. For general maintenance and adjustment procedures, resources like the RevZilla Common Tread maintenance guides offer excellent visual references for lever adjustment prior to teardown.