There is nothing more frustrating than battling summer heat, purchasing a DIY refrigerant recharge kit, and carefully adding R-134a or R-1234yf to your vehicle, only to find the cabin is still blowing warm air. You pop the hood, observe the AC compressor, and realize the center hub is completely stationary. If you are dealing with an ac compressor clutch not engaging after recharge, you are not alone. This is one of the most common auxiliary clutch system complaints we see at AutoGearNexus.
While our core expertise lies in drivetrain and transmission clutches—like the hydraulic clutch packs inside a GM 6L80 or the electromagnetic torque converter clutch (TCC) solenoids—the fundamental physics of clutch engagement remain universal. Whether it is a manual friction disc or an AC electromagnetic pulley, engagement requires three things: a valid command signal, adequate actuation force, and proper mechanical clearances. When one of these fails, the clutch refuses to lock up.
In this beginner-friendly explainer, we will break down the exact diagnostic steps to figure out why your AC clutch is locked out, complete with real-world specifications, multimeter testing procedures, and common part numbers.
The Core Issue: Understanding the Electromagnetic Clutch
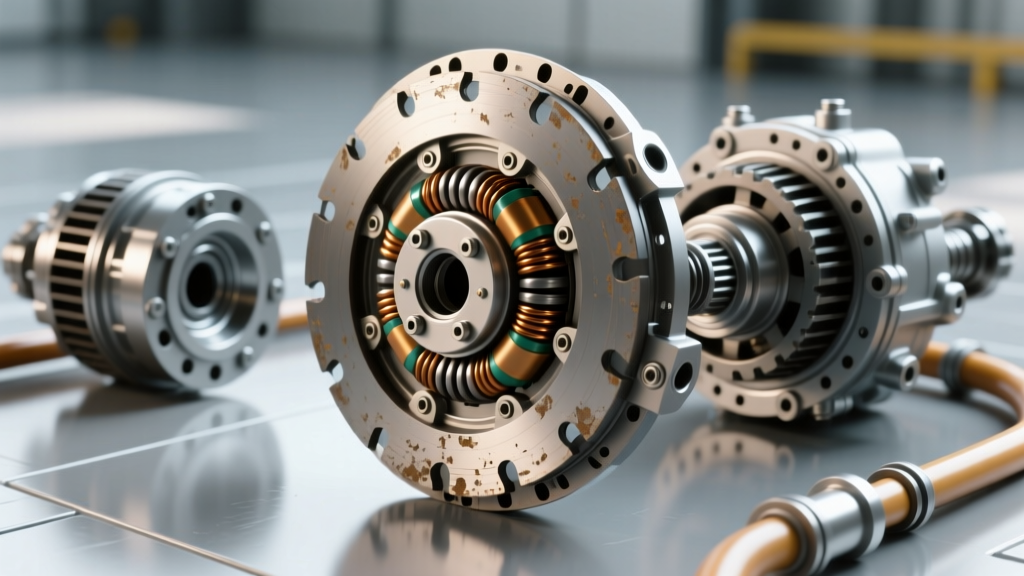
Unlike a manual transmission clutch that uses a mechanical diaphragm spring to clamp a friction disc against a flywheel, your AC compressor uses an electromagnetic coil. When the vehicle's PCM (Powertrain Control Module) or HVAC control head commands cooling, it sends 12 volts to a relay, which then powers the magnetic coil mounted on the compressor. This magnetism pulls a steel pressure plate (the hub) against the spinning serpentine pulley, locking them together to turn the internal swashplate and compress refrigerant.
If the clutch does not engage, the failure is isolated to one of three domains:
- Command/Safety Interlocks: The computer is intentionally withholding power to prevent catastrophic compressor failure.
- Electrical Faults: Power is not reaching the coil due to a blown fuse, bad relay, or broken wire.
- Mechanical/Magnetic Failure: Power is reaching the coil, but the magnet is too weak to bridge the physical air gap, or the coil is internally shorted.
Step 1: Verify Refrigerant Pressures (The Safety Switch Trap)
The most common reason for an ac compressor clutch not engaging after recharge is a triggered safety interlock. Modern vehicles use a combined AC pressure transducer (often located on the high-side liquid line) to monitor system health. If the pressure is too low (indicating a massive leak) or too high (indicating a blockage or overcharging), the PCM will cut ground to the compressor relay.
Target Pressure Specifications
Connect a proper set of manifold gauges to verify your DIY recharge was successful. As a baseline for an ambient temperature of 80°F (27°C):
- R-134a Low Side: 25 to 40 PSI
- R-134a High Side: 150 to 220 PSI
- R-1234yf Low Side: 25 to 35 PSI (Note: By 2026, R-1234yf is the standard for nearly all new vehicles, requiring specific SAE J2842 compliant service equipment).
Pro Tip: If you used a cheap 'trigger-happy' DIY recharge hose with an inline gauge, the gauge is likely inaccurate. These gauges measure static pressure, not dynamic operating pressure. If your low side reads 120 PSI with the engine off, the system is dangerously overcharged, and the high-pressure cut-off switch is actively disabling the clutch. Recover the excess refrigerant immediately.
Step 2: Check the AC Compressor Clutch Relay
If your manifold gauges show perfect operating pressures, the next logical step is the command circuit. The AC compressor relay acts as the heavy-duty switch that delivers battery voltage to the clutch coil.
- Locate the under-hood fuse/relay box and consult the diagram on the underside of the lid to find the 'A/C COMP' or 'MG CLT' relay.
- Find an identical relay in the box (the horn relay and fuel pump relays often share the same footprint, such as the ubiquitous Standard Motor Products R3146 or equivalent 4-pin ISO mini relay).
- Swap the AC relay with the horn relay.
- Turn the ignition to the ON position (engine off) and press the horn. If the horn does not sound, the original AC relay was functional, and your horn relay is dead. If the horn works, but the AC clutch still fails to engage with the swapped relay, the relay is not your issue.
Step 3: Measure the Clutch Air Gap (Mechanical Wear)
This is the most overlooked diagnostic step by beginners. Just like the friction material on a manual transmission clutch disc wears down over time, the friction surfaces of the AC compressor clutch hub and pulley wear down. This wear increases the air gap—the physical distance between the pressure plate and the pulley face.
The electromagnetic coil is only designed to generate enough magnetic flux to pull the plate across a gap of 0.020 to 0.030 inches (0.5mm to 0.75mm). If wear has increased this gap to 0.040 inches or more, the magnet simply cannot bridge the distance, especially when the engine bay is hot and electrical resistance increases.
How to Test and Fix the Air Gap
Use a standard automotive feeler gauge to measure the gap between the clutch hub and the pulley face at three equidistant points. If the gap exceeds 0.035 inches, you have found your culprit.
The Fix: You do not necessarily need to replace the entire compressor. You can purchase a clutch shim kit or a replacement clutch assembly (e.g., Four Seasons 65114 or Denso 47103 depending on your application). By removing the center retaining bolt, pulling the hub, and removing one or two internal shims, you can restore the air gap to factory specifications for less than $40 in parts.
Step 4: Test the Clutch Coil and Wiring Harness
If pressures are correct, the relay is clicking, and the air gap is within spec, you must verify that electricity is actually reaching the compressor. You will need a basic digital multimeter (DMM).
Voltage Drop Test
Set your DMM to DC Volts. With the engine running and the AC set to MAX cold, probe the two pins at the compressor's electrical connector (unplugged from the compressor, but be careful not to short them). You should read 11.5V to 14.2V. If you read 0V, you have a broken wire, a blown fuse, or a PCM ground-side driver failure.
Coil Resistance Test
If you have 12V at the plug but the clutch won't engage, the electromagnetic coil itself is likely burnt out. Unplug the connector and set your multimeter to Ohms (Ω). Place the probes on the two pins of the compressor side of the connector. A healthy AC clutch coil typically reads between 3.0 and 5.0 Ohms. If the meter reads 'OL' (Open Loop/Infinite), the internal copper windings are broken, and the clutch coil must be replaced.
Diagnostic Summary & Specification Table
Use this quick-reference table to guide your troubleshooting process systematically. For more in-depth mobile air conditioning safety and handling procedures, always refer to the EPA Mobile Air Conditioning Guidelines and resources from the Mobile Air Climate Systems Association (MACS).
| Diagnostic Target | Test Method | Target Specification / Result | Common Failure Symptom |
|---|---|---|---|
| Low-Side Pressure | Manifold Gauge Set | 25 - 40 PSI (R-134a) | Clutch disabled by low-pressure switch |
| High-Side Pressure | Manifold Gauge Set | 150 - 220 PSI (R-134a) | Clutch disabled by high-pressure switch |
| Clutch Relay | Swap with identical ISO relay | Audible click / Horn sounds | No power delivered to clutch coil |
| Clutch Air Gap | Feeler Gauge (3 points) | 0.020' - 0.030' (0.5 - 0.75mm) | Clutch slips or won't pull in when hot |
| Supply Voltage | DMM (DC Volts) at harness | 11.5V - 14.2V (Engine running) | Blown fuse, broken wire, or PCM fault |
| Coil Resistance | DMM (Ohms) at compressor | 3.0Ω - 5.0Ω | Coil reads 'OL' (burnt out internally) |
Final Thoughts: When to Seek Professional Help
Diagnosing an AC compressor clutch engagement issue is highly rewarding and entirely within the grasp of a dedicated DIYer. By treating the electromagnetic clutch with the same logical diagnostic rigor you would apply to a transmission solenoid or a manual throw-out bearing, you can save hundreds of dollars in unnecessary dealership 'compressor replacement' quotes.
However, if your pressures are erratic, your manifold gauges show a lack of temperature differential across the orifice tube/TXV, or you suspect internal compressor valve failure (where the clutch is spinning, but the internal swashplate is broken), it is time to visit a certified HVAC technician. Remember, handling refrigerants requires EPA Section 609 certification, and venting refrigerant to the atmosphere is both illegal and environmentally damaging. Stay safe, test methodically, and keep your cool.