The Electromagnetic Accessory Clutch: Beyond the Drivetrain
While automotive technicians frequently focus on manual transmission friction discs or automatic torque converter clutches, the accessory drive system houses a critical electromagnetic component: the AC compressor clutch. When this component fails, the cabin loses cooling, and the serpentine belt system can suffer catastrophic collateral damage. Understanding how to fix AC compressor clutch assemblies requires a deep dive into electromagnetic theory, precision mechanical shimming, and thermal diagnostics. This technical explainer details the exact wear signs, lifespan indicators, and bench-testing protocols required to salvage a failing compressor without resorting to a full system evacuation and replacement.
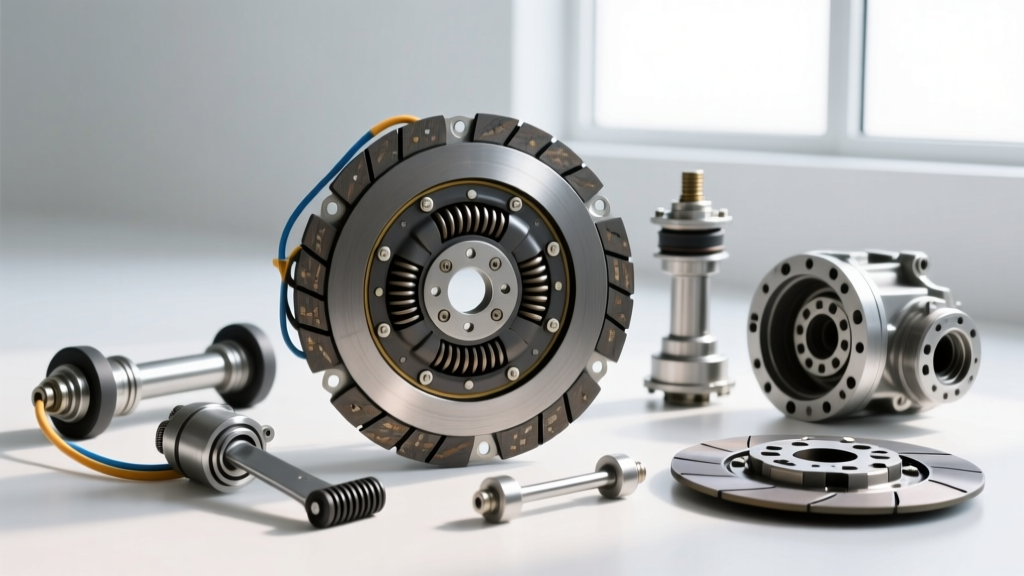
The electromagnetic clutch consists of three primary sub-assemblies: the friction plate (hub), the rotor/pulley assembly, and the electromagnetic coil. Unlike oil-bathed drivetrain clutches, this component operates entirely dry, exposed to under-hood thermal cycling, road salt, and ozone. The coil generates a magnetic field when energized by the vehicle's PCM or HVAC control module, pulling the friction plate against the spinning rotor. This locks the compressor's internal swashplate or scroll mechanism to the engine's serpentine drive.
Quantifiable Lifespan Indicators and Failure Metrics
Most OEM electromagnetic clutches, such as those found on Denso 10S17C or Sanden SD7V16 variable-displacement compressors, have a functional lifespan of 100,000 to 140,000 miles. However, lifespan is not dictated by time, but by engagement cycles and thermal load. Frequent short-cycling in heavy traffic accelerates friction surface wear, while prolonged engagement in extreme ambient heat degrades the coil's internal epoxy insulation. According to the Mobile Air Climate Systems (MACS) Association, over 40% of premature compressor failures are actually misdiagnosed clutch air-gap issues or coil burnouts.
| Compressor Model | Target Air Gap | Coil Resistance (at 20°C) | Current Draw (12V) | Hub Bolt Torque |
|---|---|---|---|---|
| Denso 10S17C / 10PA17C | 0.40mm - 0.60mm | 3.8 - 4.2 Ohms | 2.8 - 3.2 Amps | 11 - 15 Nm (8-11 lb-ft) |
| Sanden SD7V16 / PXE16 | 0.35mm - 0.55mm | 3.5 - 4.0 Ohms | 3.0 - 3.5 Amps | 12 - 16 Nm (9-12 lb-ft) |
| Harrison / Delphi V5 | 0.50mm - 0.80mm | 3.0 - 3.6 Ohms | 3.3 - 4.0 Amps | 15 - 20 Nm (11-15 lb-ft) |
Primary Wear Signs: Diagnosing the Point of Failure
Before ordering replacement parts, you must isolate which of the three clutch sub-assemblies has reached the end of its service life. Guesswork leads to unnecessary refrigerant recovery and system contamination.
1. Friction Plate Glazing and Air Gap Expansion
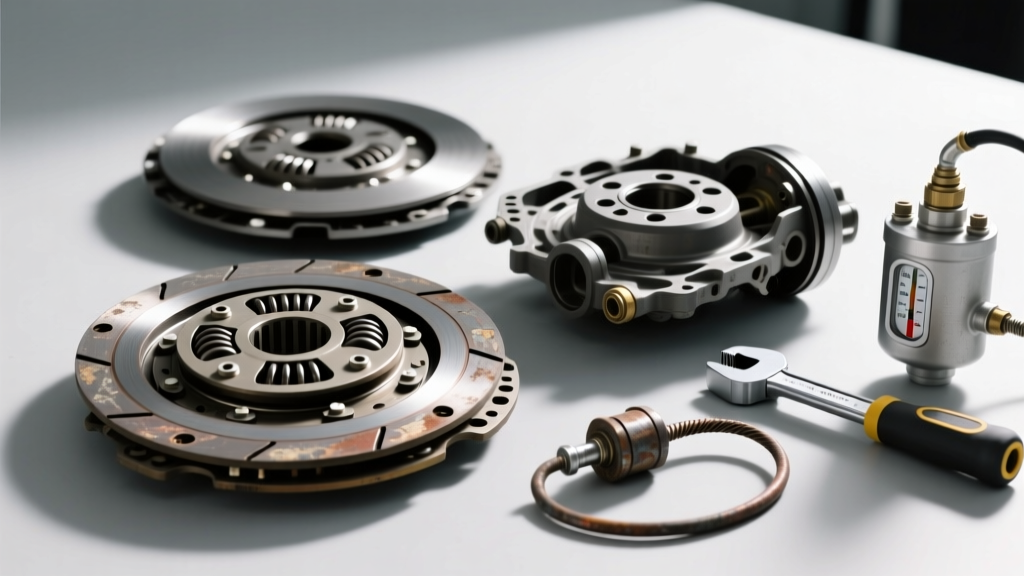
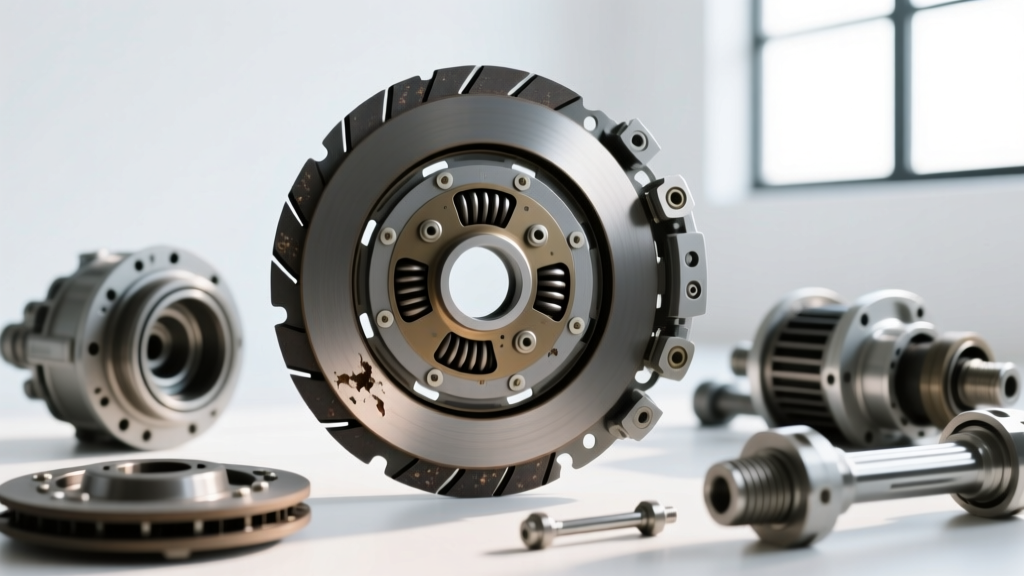
The most common wear indicator is an expanded air gap. As the friction plate and rotor surface wear down from thousands of engagement cycles, the physical distance between them increases. Once the gap exceeds 0.80mm, the electromagnetic coil lacks the magnetic flux density to pull the plate across the gap, especially when the coil is heat-soaked and resistance increases. You will hear a rapid 'click-click-click' from the compressor snout as the PCM attempts to engage the clutch, but the plate slips or fails to lock. The friction surface may also exhibit severe bluing or glazing, reducing the coefficient of friction.
2. Electromagnetic Coil Thermal Breakdown
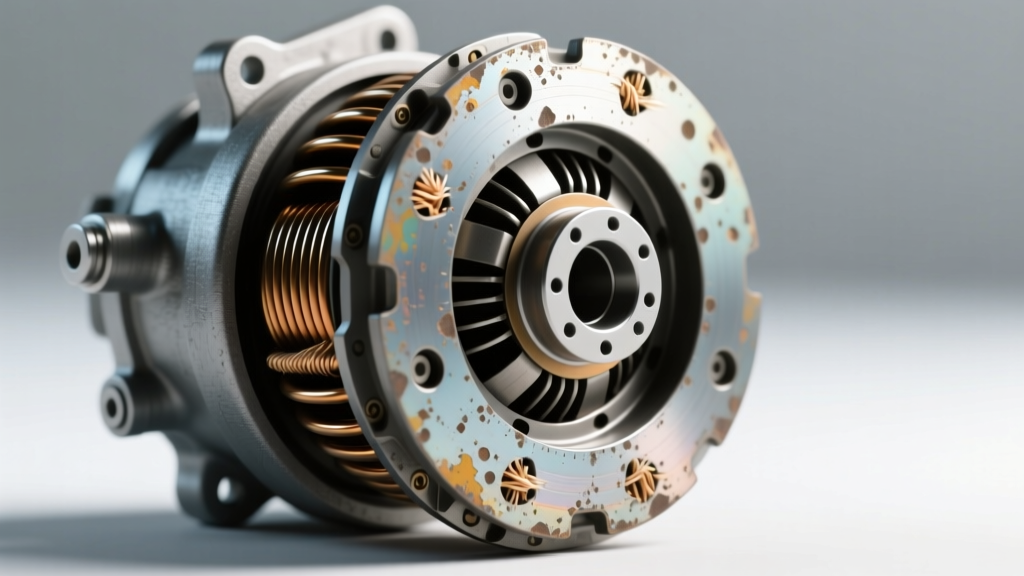
If the air gap is within spec but the clutch refuses to engage, the coil is the prime suspect. The coil is essentially a tightly wound spool of copper wire encased in epoxy. Over years of 100°C+ under-hood temperatures, the epoxy becomes brittle and micro-fractures develop. Moisture intrusion leads to internal short circuits. To verify, disconnect the clutch pigtail and measure resistance across the coil terminals with a digital multimeter. A reading of 'OL' (Open Line) indicates a broken internal winding, while a reading below 2.0 Ohms indicates a short circuit. Both require immediate coil replacement.
3. Rotor Pulley Bearing Degradation
The rotor spins continuously whenever the engine is running, supported by a sealed double-row angular contact bearing. If you hear a high-pitched whine or a metallic grinding noise that changes pitch with engine RPM—but disappears when the AC clutch is manually engaged—the pulley bearing is failing. A seized bearing will snap the serpentine belt and destroy the compressor snout threads.
Step-by-Step: How to Fix AC Compressor Clutch Air Gap Issues
If your diagnostic tests confirm that the coil is healthy and the pulley bearing is smooth, but the clutch is slipping due to an excessive air gap, you can fix the issue by reshimming the hub. This procedure can often be performed without evacuating the refrigerant system, saving hundreds of dollars in labor and environmental fees.
- Remove the Center Hub Bolt: Use an impact wrench or a strap wrench to hold the friction plate while breaking loose the center M8x1.25 retaining bolt. Do not exceed 20 Nm when reinstalling, as over-torquing will strip the aluminum compressor snout.
- Pull the Friction Plate: Thread a dedicated clutch puller tool (such as the Lisle 45240 or OEMTOOLS 27114) into the hub. Tighten the puller's center screw to extract the plate from the splined compressor shaft. Never pry the plate off with screwdrivers, as this will warp the steel armature.
- Measure and Remove Shims: Behind the friction plate, you will find one or more thin steel spacer shims resting on the compressor shaft shoulder. Remove the existing shims and measure the total thickness with digital calipers. If your current air gap is 1.0mm, and the target is 0.5mm, you need to remove approximately 0.5mm of shim material.
- Reassemble and Verify: Reinstall the friction plate with the reduced shim stack. Reinstall the center bolt and torque to the manufacturer's specification (typically 11-15 Nm). Use a feeler gauge to measure the air gap at three equidistant points around the circumference. The variance between the three points should not exceed 0.10mm, indicating the plate is not warped.
Sourcing Quality Components and Cost Analysis
When a clutch assembly is beyond reshimming—such as when the friction plate is deeply scored or the coil is burnt out—you must source a replacement kit. According to Denso Aftermarket Air Conditioning technical bulletins, utilizing OEM-equivalent clutch kits ensures the magnetic flux matches the compressor's required engagement torque.
Repair Cost Breakdown (2026 Estimates)
- Clutch Assembly Kit (Coil, Rotor, Hub): $85 - $180 (Part examples: Four Seasons 47123, Denso 471-0334)
- Shim Kit & Puller Tool Rental: $25 - $45
- Complete Compressor Replacement (if snout is damaged): $450 - $900 for the part
- Refrigerant Evacuation & Recharge (R-1234yf): $150 - $250 (Required only if compressor body is replaced)
Expert Diagnostic Note: Before replacing any AC clutch component, always verify the voltage drop across the clutch relay and the PCM ground circuit. A corroded relay socket can drop system voltage to 9.5V under load, which reduces magnetic holding force by over 30%, mimicking the symptoms of a worn clutch or excessive air gap. Always perform a voltage drop test at the clutch pigtail while the system is commanded ON.
Final Thoughts on Accessory Drivetrain Maintenance
The AC compressor clutch is a marvel of electromagnetic packaging, but it is not immune to the laws of thermodynamics and mechanical friction. By understanding the precise air gap tolerances, coil resistance metrics, and proper shimming techniques, technicians and advanced DIYers can accurately diagnose wear signs and execute a targeted repair. Mastering how to fix AC compressor clutch systems not only preserves the integrity of the vehicle's HVAC system but also prevents the unnecessary venting of refrigerants and the waste associated with premature full-compressor replacements.