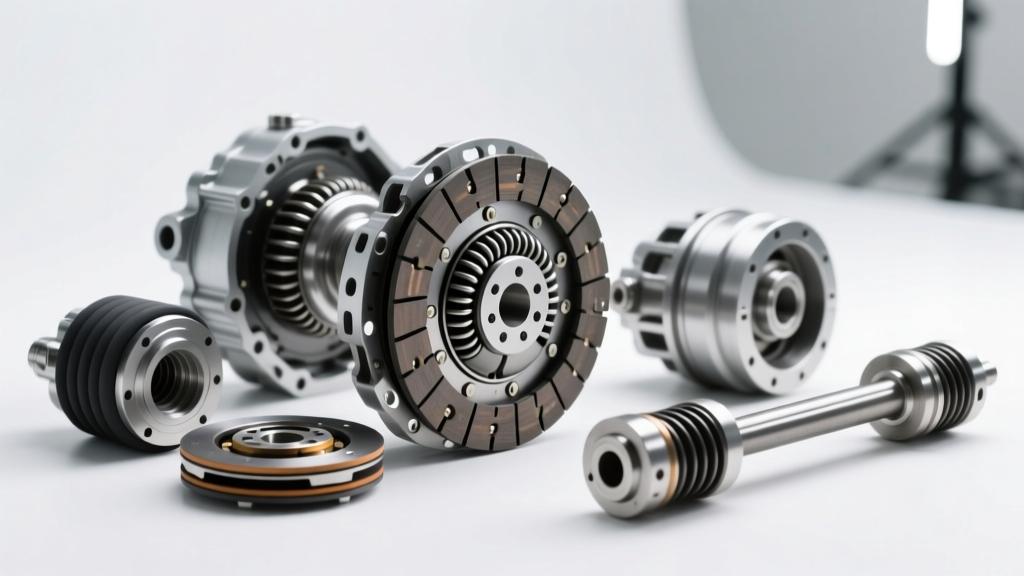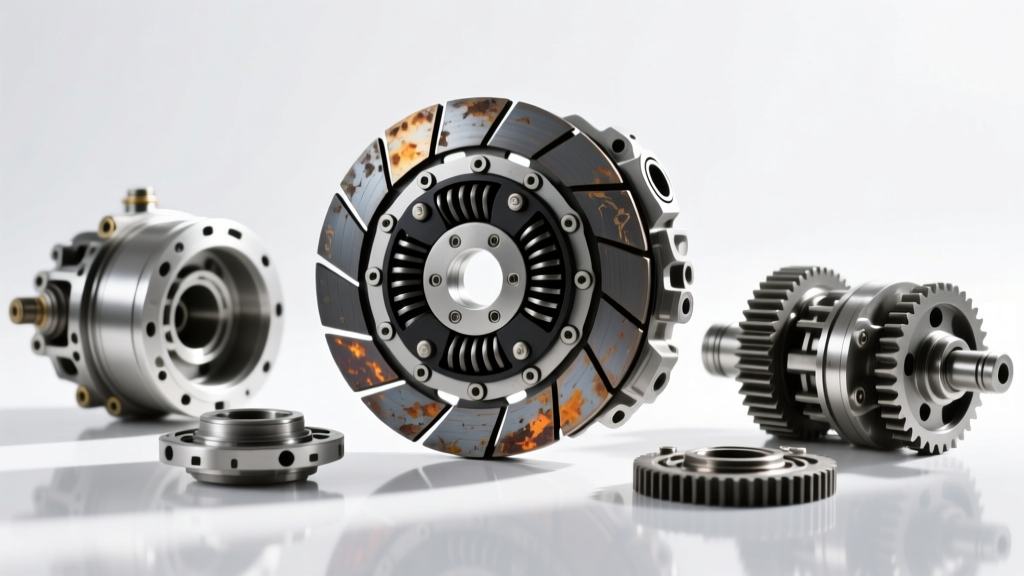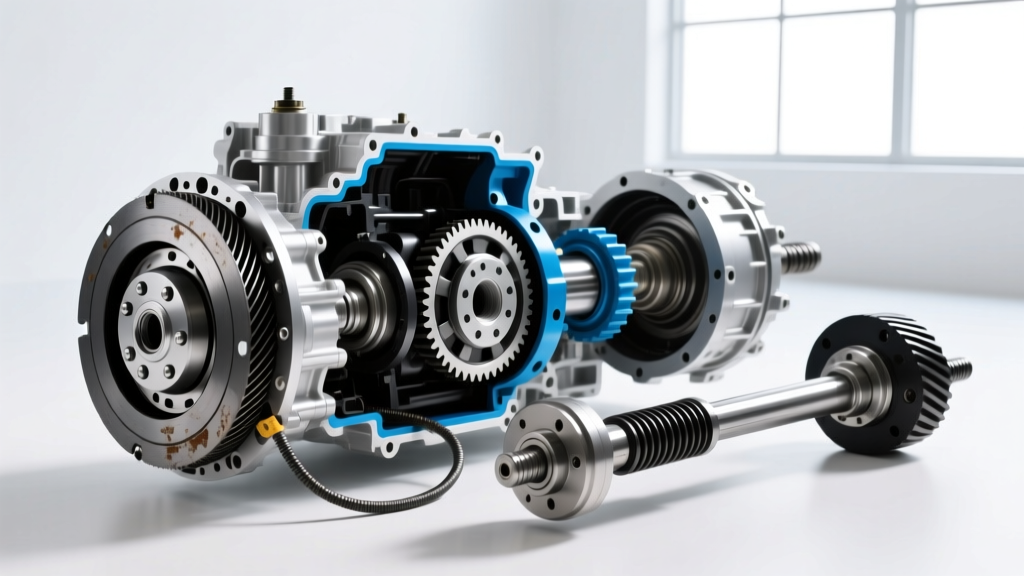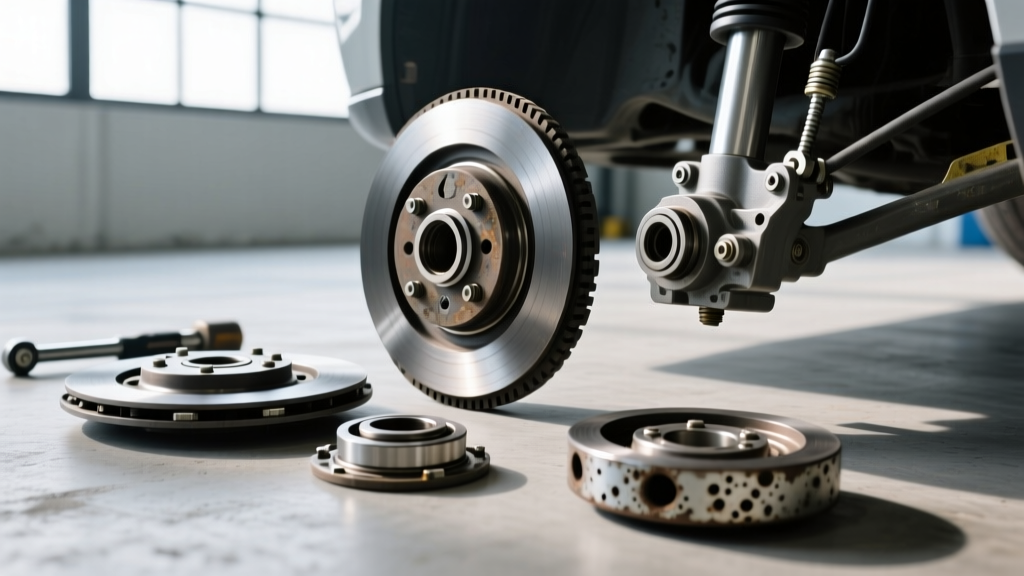
Introduction to Mechanical Clutch Systems
While modern vehicles predominantly rely on hydraulic clutch actuation, the mechanical clutch—utilizing either a solid Z-bar linkage or a braided steel cable—remains a staple in classic muscle cars, vintage 4x4s, and specific light-duty platforms like the Jeep Wrangler YJ and early Ford Mustangs. Unlike hydraulic systems, mechanical linkages offer direct, unfiltered tactile feedback to the driver. However, they are uniquely susceptible to mechanical binding, firewall flex, and linkage wear. As we navigate the 2026 aftermarket landscape, sourcing New Old Stock (NOS) linkage components has become increasingly expensive, making precise diagnosis and maintenance more critical than ever. This step-by-step guide will walk you through diagnosing a mechanical clutch by isolating pedal feel, auditory feedback, and drivetrain vibration.
Phase 1: Diagnosing Pedal Feel and Linkage Geometry
The first indicator of a mechanical clutch issue is the physical feedback at the pedal pad. Because there is no fluid to compress or bleed, any anomaly in pedal feel is a direct result of mechanical friction, misalignment, or structural flex.
Step 1: Measure Pedal Freeplay
Mechanical clutches require strict freeplay specifications to prevent the release bearing from riding against the pressure plate fingers, which causes premature bearing failure and clutch slip. Using a tape measure, check the freeplay at the top of the pedal pad. The industry standard for most cable and Z-bar systems is 3/4-inch to 1-inch (19-25mm) of free movement before resistance is felt.
- Cable Systems: Adjust the freeplay using the threaded quadrant or the inline adjuster nut located near the transmission bellhousing. If the cable is frayed inside the housing, it will feel 'notchy' and require full assembly replacement.
- Z-Bar (Equalizer) Linkage: Inspect the nylon or bronze bushings at the pivot points. In high-mileage applications, these bushings degrade, introducing slop that mimics a worn clutch disc. Replace degraded bushings with heavy-duty polyurethane or bronze alternatives.
Step 2: Check for Firewall and Bracket Flex
Pro-Tip: A notorious issue on platforms like the Foxbody Mustang and Chevy S10 is firewall flex. Under heavy clutch spring pressure, the sheet metal firewall bows inward, robbing the linkage of travel and causing incomplete disengagement. Installing a billet aluminum firewall clutch adjuster kit (such as those from Steeda or BBK) bridges the gap and restores solid pedal geometry.
Phase 2: Auditory Diagnostics (Isolating the Noise)
Clutch noise can originate from the engine bay, the bellhousing, or the transmission input shaft. To accurately diagnose a mechanical clutch noise, perform the following three-step auditory test in a quiet environment with the vehicle in neutral and the parking brake engaged.
Test A: Engine Running, Clutch Released (Pedal Up)
If you hear a rhythmic squealing or chirping that disappears when you slightly depress the pedal, the issue is likely the release (throw-out) bearing making light contact with the pressure plate diaphragm fingers due to insufficient pedal freeplay. If the noise is a deep rumble, inspect the pilot bearing or the transmission input shaft bearing.
Test B: Engine Running, Clutch Fully Depressed (Pedal Down)
A high-pitched squeal or grinding noise that only occurs when the pedal is fully depressed indicates a failing release bearing. Because mechanical linkages apply direct physical force, a binding Z-bar or a misaligned cable can force the bearing into the spinning diaphragm fingers at an angle, causing rapid wear. Consult the AA1Car clutch diagnostic library for further auditory breakdowns.
Test C: Gear Rattle at Idle
If the transmission rattles in neutral but quiets down when the clutch is depressed, you are experiencing gear rattle (torsional vibration). This is common in mechanical clutch setups lacking a Dual-Mass Flywheel (DMF). Upgrading to a clutch disc with advanced marcel springs and a polyurethane dampener hub (such as those found in modern Schaeffler/LuK RepSets) can absorb these torsional spikes and silence the gearbox.
Phase 3: Drivetrain Vibration and Clutch Chatter
Vibration in a mechanical clutch system usually manifests as 'chatter'—a violent shuddering upon initial engagement in first gear. This is not a normal characteristic of high-performance clutches; it is a symptom of improper friction modulation or drivetrain instability.
Identifying the Root Cause of Chatter
- Contamination: The most common cause is oil or grease on the friction disc. Inspect the bellhousing for leaks from the engine rear main seal or the transmission input shaft seal. Even a minor seep will glaze the friction material, causing it to grab and release rapidly.
- Flywheel Runout: A warped or improperly machined flywheel will cause the clutch disc to engage unevenly. According to SAE standards, maximum allowable flywheel runout is 0.003 inches (0.076mm). Use a magnetic base dial indicator to measure runout across the friction surface before installation.
- Drivetrain Slop: Worn engine mounts, transmission crossmember bushings, or U-joints can amplify normal clutch engagement into severe chassis chatter. Ensure the driveline is tightly bound before condemning the clutch assembly.
Diagnostic Matrix: Symptom vs. Verification
| Primary Symptom | Probable Mechanical Cause | Verification & Action Plan |
|---|---|---|
| Notchy Pedal Feel | Frayed inner cable or binding Z-bar pivot ball | Disconnect linkage at bellhousing; move pedal by hand. If smooth, replace bellhousing-side components. |
| Squeal on Depression | Failing release bearing or dry pilot bushing | Requires transmission removal. Replace bearing and hone/replace pilot bushing. |
| Severe Engagement Chatter | Oil contamination, warped flywheel, bad mounts | Inspect disc for hot spots; measure flywheel runout (max 0.003'); torque engine mounts. |
| Incomplete Disengagement | Firewall flex, bent clutch fork, worn quadrant | Install firewall brace; inspect fork pivot ball for wear; upgrade to billet quadrant. |
Phase 4: Teardown, Measurement, and Assembly Specs
When diagnosis dictates that the mechanical clutch assembly must be replaced, precision during teardown and reassembly is mandatory to prevent a comeback. As of 2026, the cost of professional machine shop flywheel resurfacing averages between $50 and $90, while a premium replacement kit (like a Sachs or LuK RepSet) ranges from $150 to $350 depending on the application.
Critical Torque Specifications
Improper torque is a leading cause of premature mechanical clutch failure. Always use a calibrated torque wrench and follow a star-pattern sequence.
- Pressure Plate to Flywheel: For standard M8x1.25 bolts, torque to 22-25 lb-ft. For larger M10x1.5 bolts, torque to 35-40 lb-ft. Never use impact wrenches, as they can warp the pressure plate diaphragm.
- Flywheel to Crankshaft: Clean the crankshaft flange with brake cleaner. Apply a medium-strength thread locker (e.g., Loctite 271) or ARP Ultra-Torque assembly lube if using aftermarket fasteners. Standard OEM flywheel bolts typically require 70-85 lb-ft, but always verify with the factory service manual for your specific engine block.
Bellhousing Alignment
Because mechanical linkages rely on precise geometry, bellhousing misalignment will cause the release bearing to bind on the transmission input shaft collar. If you are swapping engines or installing a new aftermarket bellhousing, use a dial indicator to check bore runout. Total Indicator Runout (TIR) must not exceed 0.005 inches. If it does, install offset dowel pins to correct the centerline. For comprehensive parts sourcing and application guides, platforms like RockAuto provide excellent cross-reference data for legacy mechanical clutch components.
Summary
Diagnosing a mechanical clutch requires a systematic approach that separates linkage geometry from internal bellhousing faults. By verifying pedal freeplay, isolating auditory feedback through the three-step test, and measuring flywheel runout during assembly, you can accurately pinpoint the root cause of noise, vibration, and harshness. Respect the torque specs, address firewall flex, and your mechanical clutch system will deliver the raw, connected driving experience it was designed for.