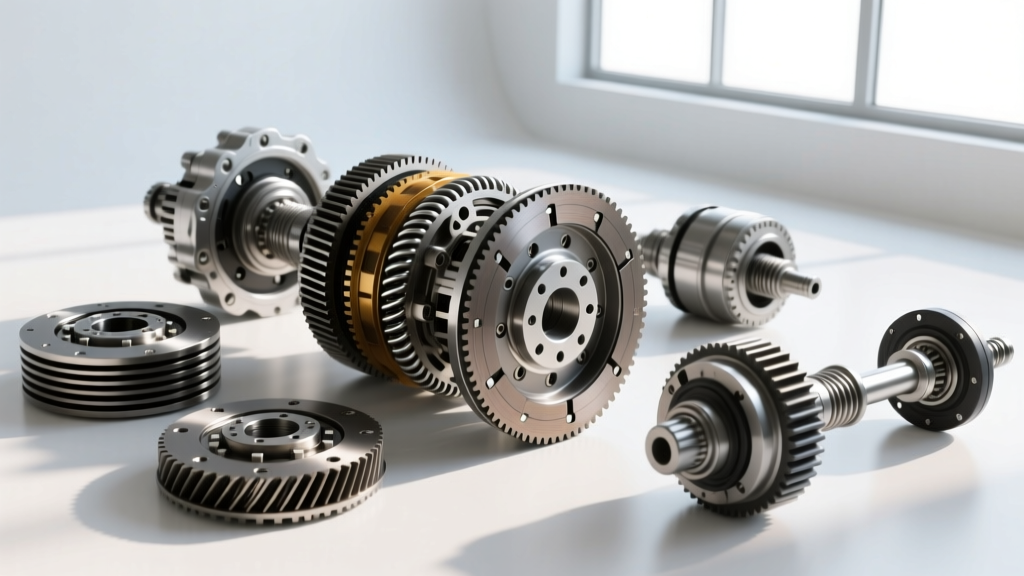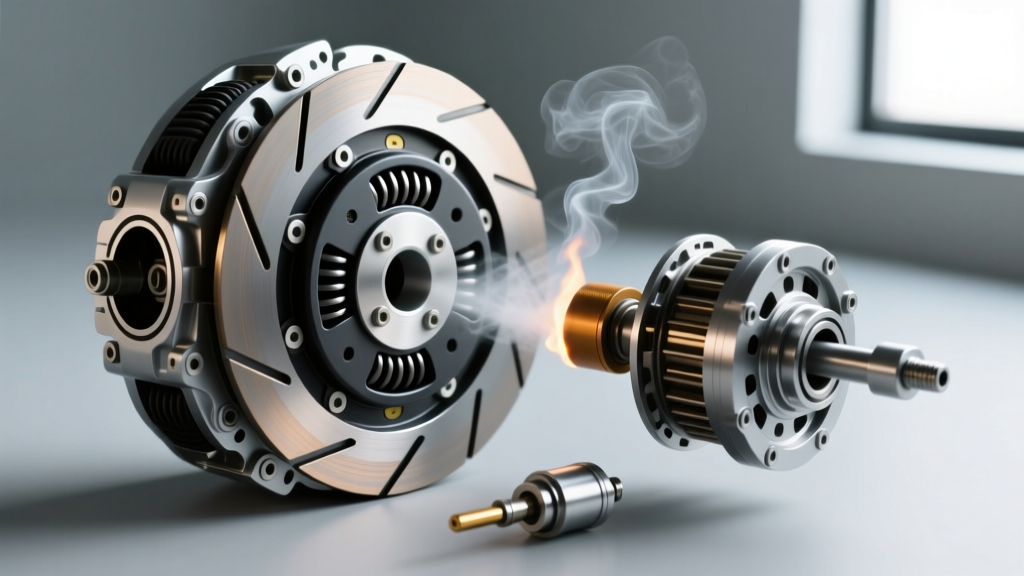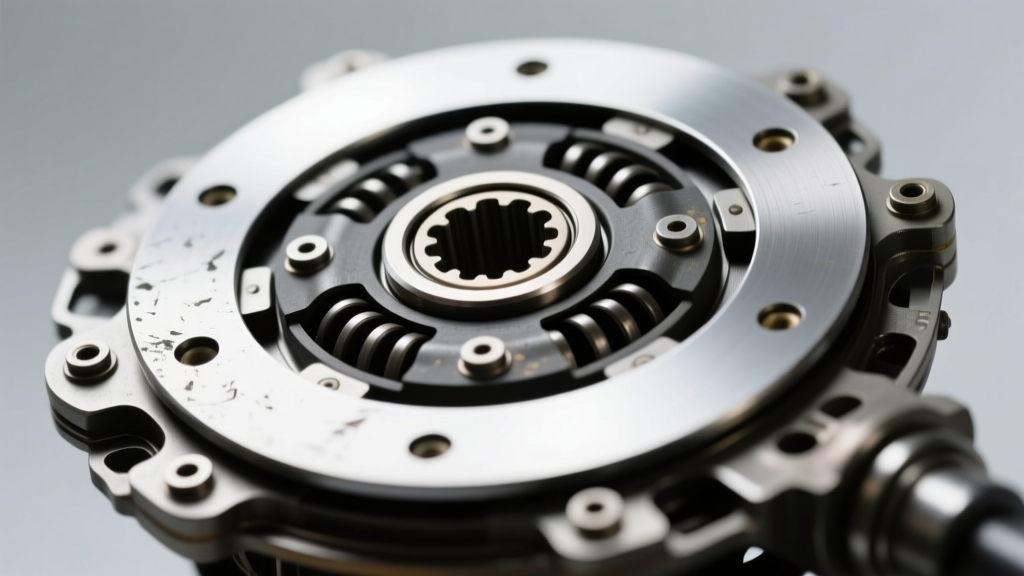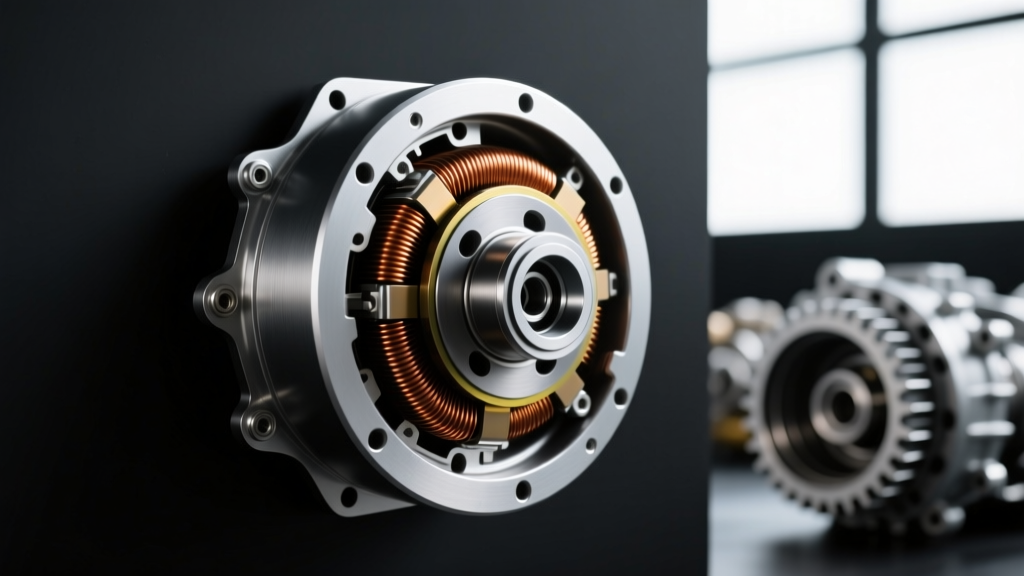
While automotive technicians often associate clutch diagnostics with manual transmissions, torque converter lockup mechanisms, or PTO drivetrain systems, the electromagnetic A/C compressor clutch operates on identical principles of friction material engagement, magnetic holding force, and precise air gap tolerances. In fact, a failing A/C clutch can introduce severe parasitic drag that mimics transmission shudder or torque converter clutch (TCC) slip at idle. When it comes to replacing a/c compressor clutch assemblies, understanding the exact failure mode is critical to preventing repeat failures and avoiding unnecessary compressor replacements.
This comprehensive 2026 buyer's guide and diagnostic manual breaks down the root causes of electromagnetic clutch failure, provides exact testing specifications, and compares the best OEM and aftermarket replacement kits on the market.
The Anatomy of Electromagnetic A/C Clutch Failures
The typical A/C compressor clutch (found on Sanden, Denso, and Harrison compressors) consists of three primary components. Failure can occur in any of these zones, and accurate diagnosis requires isolating the faulty element before purchasing a replacement kit.
1. Electromagnetic Coil Burnout
The coil generates the magnetic field required to pull the friction plate against the spinning pulley. Coils fail primarily due to thermal degradation of the internal copper windings or voltage spikes. Diagnostic Spec: A healthy 12V clutch coil should read between 3.0 and 4.5 ohms at 68°F (20°C). If your multimeter reads infinite resistance (open circuit) or near zero (short circuit), the coil is dead. Always test at the clutch connector, not just the relay, to rule out wiring harness voltage drops.
2. Friction Plate and Air Gap Drift
As the friction material on the hub wears over time, the 'air gap' between the hub and the pulley face increases. Magnetic holding force decreases exponentially as the gap widens. Once the gap exceeds 0.040 inches (1.0mm), the coil cannot fully engage the hub when the engine bay is hot, resulting in clutch slip, severe friction heat, and eventual glazing of the mating surfaces.
3. Pulley Bearing Seizure
The pulley rides on a sealed double-row angular contact bearing. When this bearing fails, it generates high-frequency NVH (Noise, Vibration, and Harshness) that can be mistaken for transmission input shaft bearing whine. A seized bearing will snap the serpentine belt and potentially damage the compressor front seal.
Root Cause Analysis: Beyond the Broken Part
According to the Mobile Air Climate Systems (MACS) association, simply swapping the clutch without addressing the root cause is the leading reason for warranty returns. Before replacing a/c compressor clutch components, investigate these underlying system faults:
- High Head Pressure / Condenser Restriction: If the condenser is blocked or the system is overcharged, discharge pressures can exceed 350 PSI. This dramatically increases the torque required to turn the compressor, overloading the friction plate and causing it to slip and burn.
- Voltage Drop at the Coil: Corroded bulkhead connectors or failing A/C relays can drop the voltage reaching the coil below 11.5V. At this lower voltage, the magnetic field is too weak to hold the clutch engaged under load, leading to micro-slipping and heat destruction.
- Front Shaft Seal Oil Leaks: If the compressor's main shaft seal is weeping PAG or POE oil, it will sling refrigerant oil directly onto the clutch friction surfaces. Oil contamination destroys the coefficient of friction, guaranteeing immediate clutch slip.
Expert Diagnostic Tip: If you find heavy oil residue on the friction plate, do not just replace the clutch. The compressor front seal is compromised, and the system must be recovered, the compressor replaced, and the system recharged in accordance with EPA Section 609 guidelines.
Comparing Replacement Options: OEM vs. Aftermarket Kits
When replacing the clutch, you can choose between complete compressor assemblies (unnecessary and expensive), dealer-only OEM clutches, or aftermarket clutch-only kits. The aftermarket has vastly improved in quality, but brand selection matters.
| Brand / Manufacturer | Target Application | Avg. Price (2026) | Kit Contents | Warranty |
|---|---|---|---|---|
| Denso (OEM) | Toyota, Honda, Lexus, Subaru | $85 - $140 | Coil, Pulley, Hub, Snap Rings, Shims | 12 Months |
| Four Seasons | GM, Ford, Chrysler, Fleet | $55 - $95 | Coil, Pulley, Hub, Hardware | Limited Lifetime |
| GPD (Global Parts Dist.) | Universal / Import / Domestic | $45 - $75 | Coil, Pulley, Hub (Shims sold sep.) | 12 Months |
| Santech / Omega | Budget / High-Mileage Repairs | $35 - $50 | Basic 3-Piece Kit | 90 Days |
2026 Buyer's Guide: Top Kits for Replacing A/C Compressor Clutch
Based on current workshop data and parts availability, here are the top recommended kits for specific scenarios.
Best Overall for Asian Imports: Denso 471-Series Kits
For vehicles equipped with Denso 10S17C or 10PA17C compressors, sticking with OEM Denso clutch kits is non-negotiable for professional results. Denso kits (e.g., part number 471-1531 for select Toyota applications) include precisely laser-cut shims and exact-match friction materials. The coil windings are potted with high-temperature epoxy that resists under-hood heat soak far better than budget alternatives. Expect to pay around $115, but the fitment guarantees the correct air gap without trial-and-error shimming.
Best for Domestic V8 Trucks: Four Seasons 47181 / 47XXX Series
For GM trucks utilizing the Harrison HT6 or Delco H6 compressors, Four Seasons offers robust, heavy-duty clutch kits. These kits feature upgraded pulley bearings capable of handling the higher serpentine belt tension found on modern V8 accessory drives. Priced around $65, they offer exceptional value and include the specific internal/external snap ring pliers required for some GM applications in premium boxed kits.
Best Budget/Emergency Kit: GPD 65-Series
If you are performing a repair on an older daily driver or a secondary fleet vehicle where cost is the primary driver, GPD offers functional replacement clutches starting around $45. Warning: GPD kits frequently omit the precision shim washers. You must retain and carefully measure the original shims from the failed clutch hub to re-establish the correct air gap.
Precision Installation: Torque Specs and Air Gap Calibration
The most common mistake DIYers and junior technicians make when replacing a/c compressor clutch assemblies is ignoring the air gap and center bolt torque specifications. Treat this electromagnetic clutch with the same precision you would apply to a manual transmission clutch pressure plate.
Step 1: Hub Removal and Shaft Protection
Do not pry the friction hub off with screwdrivers; you will score the compressor nose and damage the front seal. Use a dedicated clutch puller (such as the OTC 4524 or an equivalent M8/M10 threaded puller) to extract the hub safely. Inspect the compressor shaft splines for wear or twisting, which indicates previous severe slipping.
Step 2: Coil and Pulley Replacement
After removing the external snap ring, use a pulley puller to remove the bearing/pulley assembly. Clean the compressor nose thoroughly with brake cleaner. Press or tap the new pulley assembly on, ensuring it is fully seated, and install a new snap ring (never reuse the old one, as the tension fatigues over time).
Step 3: Air Gap Shimming (The Critical Step)
The air gap must be set between 0.020' and 0.030' (0.5mm - 0.75mm).
1. Install the new friction hub without the center bolt.
2. Use a feeler gauge to measure the gap between the friction plate and the pulley face at three equidistant points.
3. Add or remove the provided shim washers on the compressor shaft until the spec is met.
If the gap is too tight (<0.015'), the clutch will drag when disengaged, causing the pulley bearing to overheat and the transmission idle control to hunt. If too wide (>0.040'), the clutch will slip under high ambient temperatures.
Step 4: Center Bolt Torque
The center retaining bolt (typically M8x1.25 or M10x1.25) must be torqued to 11 to 15 lb-ft (15-20 Nm). Apply a drop of blue (medium strength) threadlocker to the bolt threads. Over-torquing can stretch the bolt or strip the soft aluminum threads inside the compressor shaft; under-torquing will allow the hub to spin on the shaft, destroying the splines and requiring a full compressor replacement.
By understanding these failure modes, selecting the correct OEM or premium aftermarket kit, and adhering to strict air gap tolerances, you ensure the longevity of the A/C system and eliminate parasitic drivetrain drag that can confuse modern engine and transmission control modules.