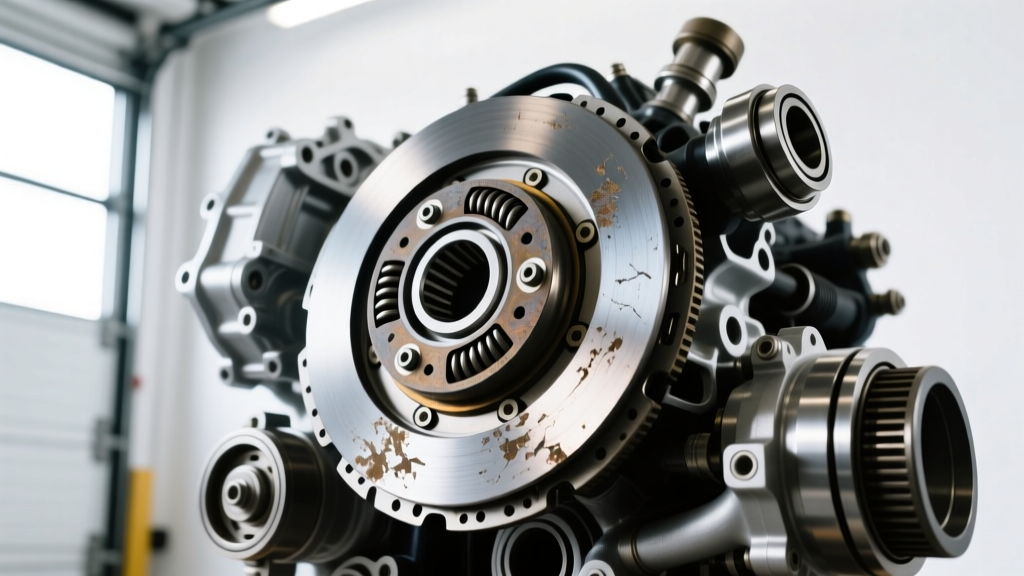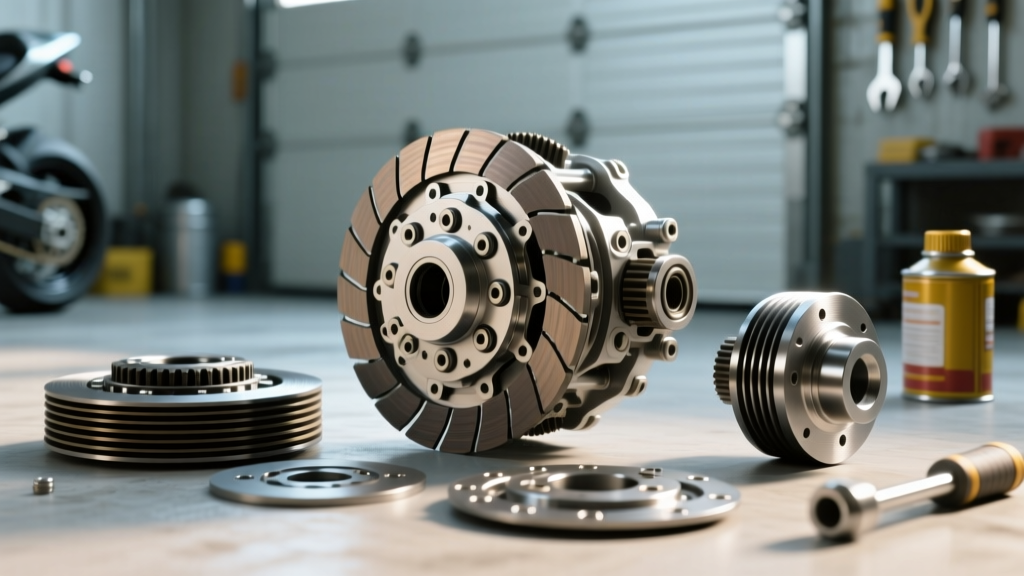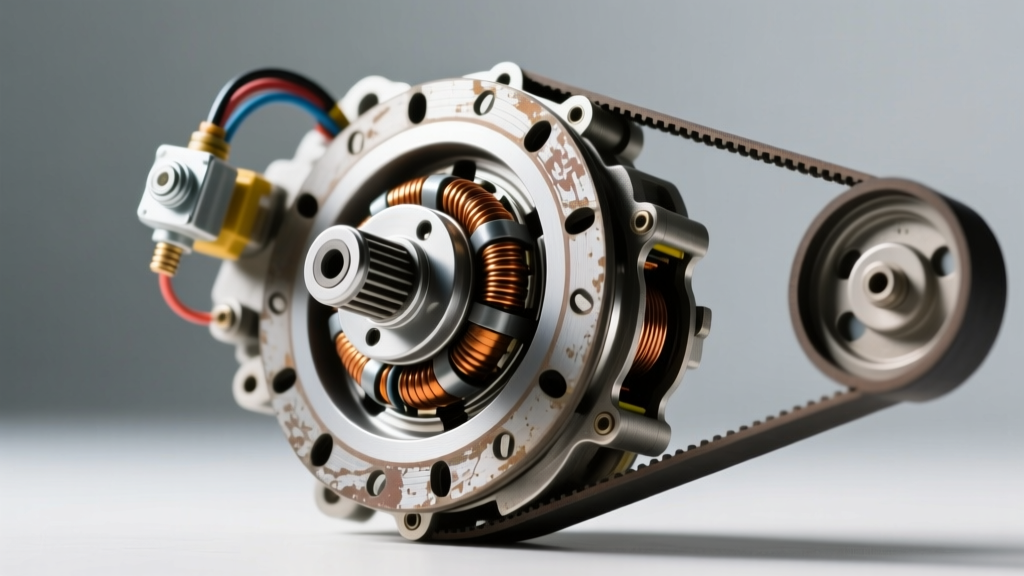
The Anatomy of AC Compressor Short-Cycling
While AutoGearNexus primarily focuses on transmission and drivetrain clutches, the electromagnetic clutch on your vehicle's air conditioning compressor operates on identical friction and magnetic principles. When drivers report an ac clutch engaging and disengaging every two to five seconds, they are experiencing 'short-cycling.' This is not just an annoyance that results in warm cabin air; it is a critical symptom of intermittent clutch problems that can lead to catastrophic compressor failure, excessive serpentine belt wear, and drivetrain NVH (Noise, Vibration, and Harshness) issues.
Normal AC systems utilizing an orifice tube and accumulator setup will naturally cycle the compressor clutch every 15 to 30 seconds to prevent evaporator core freezing. However, rapid short-cycling indicates that a mechanical, electrical, or thermodynamic threshold is being breached and immediately reset. To accurately perform intermittent clutch problems diagnosis, we must isolate the failure to one of four primary domains: refrigerant starvation, electrical intermittency, mechanical air-gap degradation, or high-side restriction.
Refrigerant Starvation and the Low-Pressure Cutoff Switch
The most frequent culprit behind rapid clutch cycling is a low refrigerant charge. The low-pressure cycling switch, typically located on the accumulator or low-side service port, is designed to protect the compressor from operating without adequate lubrication. The compressor relies on the refrigerant to carry the PAG or POE oil through the system.
Pressure Thresholds and Gauge Diagnostics
For standard R-134a systems operating at a 75°F (24°C) ambient temperature, normal low-side pressure should hover between 35 and 40 PSI. The low-pressure cutoff switch will typically interrupt the clutch ground circuit when pressure drops below 22 to 28 PSI. If the system is low on charge, the moment the compressor engages, it rapidly evacuates the remaining vapor from the low side, dropping the pressure below 22 PSI in seconds. The switch opens, the clutch disengages, pressure equalizes and rises back to 35 PSI, and the PCM (Powertrain Control Module) re-engages the clutch.
With the industry-wide transition to R-1234yf refrigerant in modern vehicles, technicians must note that R-1234yf operates at slightly different thermodynamic curves. A low-side reading of 25 PSI on an R-1234yf system at 75°F ambient indicates a much more severe undercharge than the same reading on an R-134a system. Always consult OEM-specific pressure-temperature charts before adding refrigerant, as overcharging will trigger the high-pressure cutoff switch, causing the exact same short-cycling symptom from the opposite end of the spectrum.
Electrical Intermittency: Coil Resistance and Voltage Drop
If manifold gauges confirm that static and dynamic pressures are well within specification, the diagnosis must shift to the electromagnetic clutch coil and its control circuit. Intermittent clutch problems diagnosis requires verifying both the integrity of the copper windings inside the clutch coil and the voltage delivery from the PCM or AC relay.
Testing the Clutch Coil
Disconnect the electrical connector at the compressor clutch. Using a digital multimeter (DMM) set to Ohms, measure the resistance across the clutch coil terminals. A healthy 12-volt AC clutch coil typically exhibits a resistance between 3.5 and 5.0 ohms.
- Infinite Resistance (OL): The coil has an internal open circuit. The clutch will never engage.
- Less than 2.5 Ohms: The coil has shorted windings. This will draw excessive amperage, potentially melting the wiring harness or triggering a PCM driver fault code (e.g., U0100 or specific HVAC DTCs).
- Fluctuating Resistance: If the resistance jumps erratically while wiggling the pigtail, you have identified an intermittent wiring fault or a failing internal coil solder joint.
The Thermal Air-Gap Failure Mode
A highly specific, often-missed cause of intermittent AC clutch engagement is thermal expansion altering the mechanical air gap. The clutch armature (the front plate) is pulled against the rotor pulley by electromagnetism. The factory specification for this air gap is incredibly tight, usually between 0.4mm and 0.8mm (0.015 to 0.030 inches).
As the clutch faces wear over 100,000 miles, the gap widens. When the engine bay is cold, the magnetic field is just strong enough to bridge the 0.9mm gap and engage the clutch. However, as the compressor operates and generates heat, the metal armature expands. If the gap exceeds the magnetic pull threshold (often around 1.0mm), the clutch will physically slip or fail to engage entirely until the system cools down. Diagnose this by measuring the gap with a metric feeler gauge. If it exceeds 0.8mm, remove the center bolt (usually a 10mm or 6mm hex), remove the armature, and take out one of the internal shimming washers to restore the 0.5mm specification.
2026 Perspective: Variable Displacement and Electronic Control Valves
As automotive thermal management has evolved, traditional fixed-displacement compressors with magnetic clutches have been largely replaced by Variable Displacement Compressors (VDC). Brands like Denso, Sanden, and Hanon Systems now supply electronically controlled compressors to nearly all major OEMs.
In a VDC system, the compressor pulley is often driven continuously via a lock-up clutch or a breakaway torque limiter. The 'cycling' is not done by a magnetic clutch, but by an Electronic Control Valve (ECV) that alters the swashplate angle via a Pulse Width Modulated (PWM) signal from the HVAC module. If you hear a rapid clicking or engaging/disengaging noise on a modern vehicle equipped with a VDC, you are likely hearing the ECV solenoid rapidly pulsing due to a failing internal swashplate pivot pin, contaminated POE oil, or a failing PWM driver in the HVAC control head. Replacing the ECV valve (Part numbers like Denso 4711630 or equivalent OEM units, costing $60-$120) requires recovering the refrigerant, swapping the valve on the rear of the compressor, and performing a full vacuum and recharge, but it saves the cost of a complete $800+ compressor assembly replacement.
Diagnostic Troubleshooting Matrix
Use the following matrix to quickly narrow down the root cause of your AC clutch short-cycling based on your initial manifold gauge and multimeter readings.
| Symptom / Observation | Probable Root Cause | Diagnostic Test Method | Expected Specification / Value |
|---|---|---|---|
| Low-side drops below 25 PSI instantly upon engagement | Refrigerant Undercharge or Orifice Tube Blockage | Connect Manifold Gauges; monitor dynamic low-side pressure | 35-40 PSI (R-134a at 75°F) |
| High-side spikes above 350 PSI instantly upon engagement | Condenser Fan Failure or System Overcharge | Verify condenser fan operation; check high-side gauge | 150-225 PSI (Dynamic High-Side) |
| Clutch engages when cold, slips when hot | Excessive Armature Air-Gap | Measure gap with feeler gauge at 3 points | 0.4mm - 0.8mm (0.015' - 0.030') |
| Clutch receives 12V but does not engage | Open Clutch Coil or Bad Ground | Multimeter Ohms test across coil terminals | 3.5 to 5.0 Ohms |
| Rapid clicking from rear of compressor (Modern VDC) | Failing Electronic Control Valve (ECV) | Oscilloscope PWM signal test; check swashplate movement | Clean 10-50% Duty Cycle PWM Signal |
Step-by-Step Diagnostic Protocol
To ensure a definitive diagnosis and avoid throwing unnecessary parts at the vehicle, follow this strict diagnostic sequence recommended by the Mobile Air Climate Systems Association (MACS):
- Visual and Auditory Inspection: Start the engine, set HVAC to Max AC, and observe the clutch. Time the cycles. Note any abnormal squealing (belt slip) or grinding (clutch bearing failure).
- Static Pressure Test: Connect manifold gauges before starting the engine. Both high and low-side gauges should read roughly equal to ambient temperature in PSI (e.g., 80 PSI at 80°F). If static low-side is below 30 PSI, you have a leak. Perform a UV dye or electronic sniff test in accordance with EPA Section 609 regulations before attempting a recharge.
- Dynamic Pressure Test: Start the engine. If the clutch cycles every 3 seconds and the low-side gauge drops to 15 PSI, the system is starved. If pressures remain stable at 35/200 PSI but the clutch still cycles, bypass the low-pressure switch temporarily with a jumper wire. If the clutch stays engaged, the pressure switch is faulty.
- Electrical Verification: If the clutch fails to engage even with a jumper wire, back-probe the clutch connector with a test light. If you have 12 volts and a solid ground, but the clutch won't pull in, the coil is dead or the air-gap is too wide. Tap the clutch face lightly with a rubber mallet; if it suddenly engages, the air-gap or a sticky friction surface is your culprit.
Final Thoughts on Drivetrain and Accessory Harmony
While the AC compressor is an accessory, its clutch engages and disengages directly off the main serpentine belt, which is tied to the harmonic balancer and the front of the crankshaft. A rapidly short-cycling AC clutch introduces severe torsional vibration into the front-end accessory drive (FEAD). Over time, this can accelerate wear on the main crankshaft seal, the belt tensioner dampener, and even cause micro-fractures in the harmonic balancer rubber. Addressing intermittent AC clutch problems promptly is not just about cabin comfort; it is a vital step in preserving the mechanical integrity of your engine's drivetrain and accessory systems.