The 6L80 Torque Converter Leak: Beyond the Front Seal
The GM 6L80 (RPO MYC) and 6L90 (RPO MYD) transmissions are robust six-speed automatics found in millions of Silverados, Sierras, Tahoes, and Camaros. However, as these units age past the 120,000-mile mark, a persistent torque converter leak becomes one of the most common drivetrain complaints. Many DIY mechanics and general repair shops mistakenly assume that simply swapping the front pump seal will solve the issue. In the 6L80 platform, the front seal is rarely the root cause; it is merely the victim of deeper mechanical wear.
This model-specific repair guide details the exact torque converter replacement procedures required to permanently resolve front-end fluid leaks on the 6L80 platform. We will cover the critical inspection of the converter hub, the specialized tools required for the PTFE front seal, and the precise torque specifications needed for a successful reassembly.
Root Cause Analysis: Why 6L80 Converters Leak
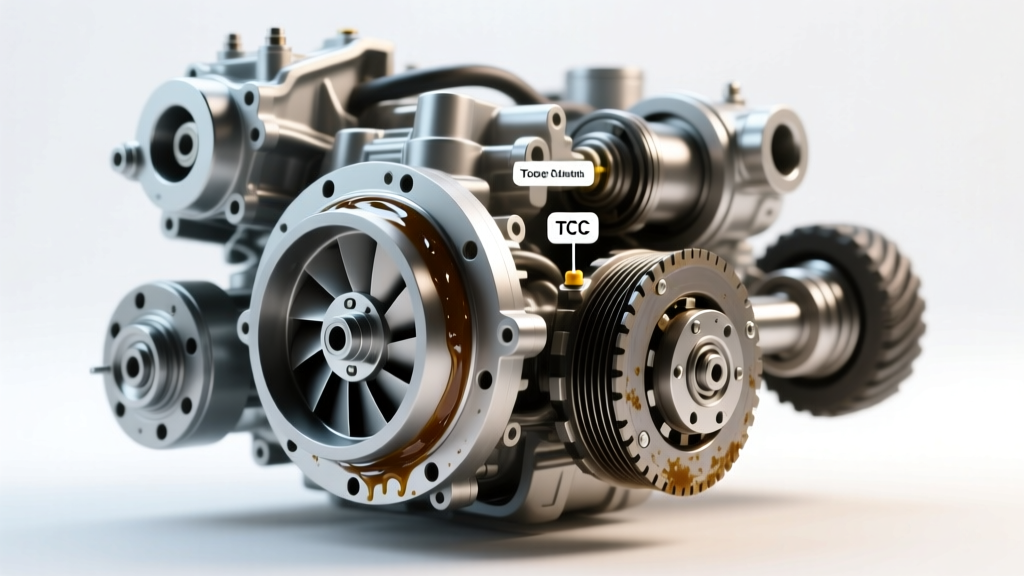
Before unbolting the bellhousing, it is vital to understand the anatomy of a 6L80 torque converter leak. The front pump assembly utilizes a PTFE (Teflon) sealing ring rather than a traditional rubber lip seal. This design handles high RPMs and temperatures exceptionally well but is highly sensitive to radial runout.
- Front Pump Bushing Wear: The most common culprit. As the front pump bushing wears, the torque converter hub rotates eccentrically. This wobble destroys the PTFE seal, allowing Dexron VI fluid to escape past the converter neck.
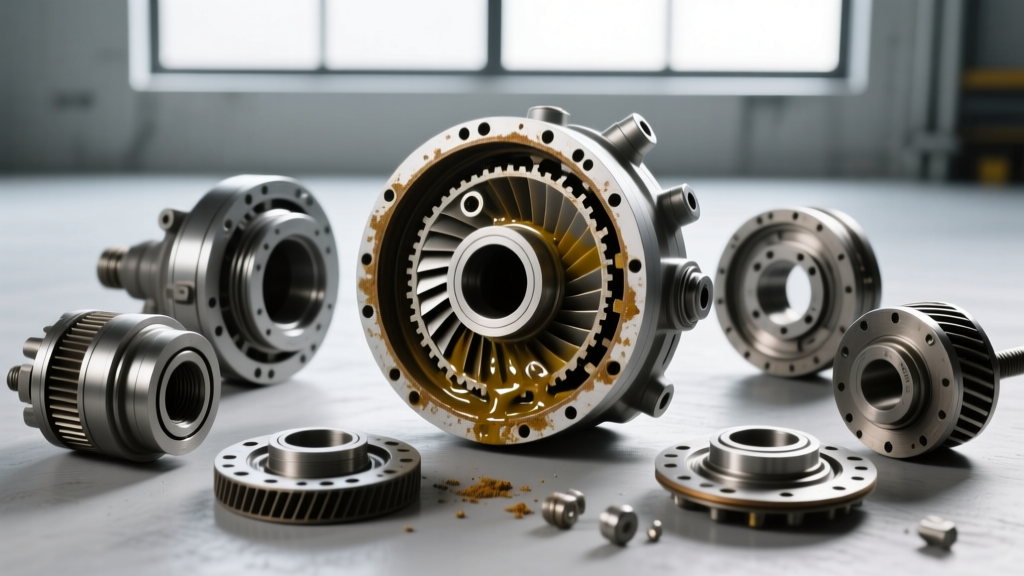
- Converter Hub Scoring: If the bushing wears through, the hardened steel converter hub will score against the aluminum front pump housing. Installing a new seal and converter on a scored hub guarantees an immediate comeback.
- Stator Support O-Rings: The stator support shaft features two critical O-rings that seal the lubrication and cooling circuits. Over time, these O-rings flatten and extrude, causing internal cross-leaks that manifest as external weeping near the seal area.
Essential Parts and Specialized Tooling
To execute this repair correctly, you must source the correct OEM or high-quality aftermarket components. According to Sonnax Technical Resources, addressing the bushing and seal sizing is non-negotiable for the 6L80.
| Component | Part Number (OEM / Reference) | Notes / Requirements |
|---|---|---|
| Remanufactured Torque Converter | ACDelco 24254654 / Yanks Billet | Ensure hub is polished or replaced; verify stall speed matches engine RPO. |
| PTFE Front Seal | ACDelco 24238716 | Do NOT substitute with standard rubber lip seals. |
| Front Pump Bushing | Sonnax 104016-01K | Requires reaming tool if using oversized bushing kits. |
| Stator Support O-Rings | Precision International GM-6L80-SK | Include in complete overhaul kit; use Viton material if available. |
| PTFE Seal Sizing Tool | OTC 7197 / Kent Moore J-41558 | Mandatory to compress the PTFE seal before converter insertion. |
| Flexplate Bolts (M10x1.5) | GM 11561263 (Qty 6) | TTY (Torque-to-Yield); must be replaced every removal. |
Step-by-Step Torque Converter Replacement Procedure
Phase 1: Drivetrain Extraction and Teardown
Begin by supporting the vehicle on a symmetric two-post lift. Disconnect the battery and drain the transmission pan. Remove the driveshaft, transfer case (if 4WD), and crossmember. Support the 6L80 with a transmission jack equipped with a wide, flat cradle to avoid crushing the aluminum pan.
Remove the six torque converter-to-flexplate bolts through the starter access cover. Pro Tip: Mark the flexplate and converter with a paint pen before removal to maintain the original balance orientation during reassembly. Unbolt the bellhousing from the engine block and carefully slide the transmission rearward. Once the input shaft clears the pilot bearing, lower the assembly.
Phase 2: Pump Inspection and Seal Installation
With the transmission on the bench, pull the torque converter straight out. Inspect the converter hub for deep grooves. If your fingernail catches on a groove, the converter must be replaced or sent to a rebuilder for a new billet hub sleeve. Next, remove the front pump assembly (using the designated M8 puller holes, never pry between the pump and case).
Drive out the old front pump bushing. Press in the new bushing and hone it to the exact clearance specified by GM (typically 0.002 to 0.004 inches of diametral clearance). Install the new PTFE front seal. Critical Step: You must use the PTFE seal sizing cone tool. The Teflon ring must be expanded over the cone and allowed to 'set' against the converter hub diameter for at least 30 minutes before installation, or it will cut upon entry.
Phase 3: Priming and Seating the Converter
Never install a dry torque converter into a 6L80. The front pump will cavitate instantly, leading to immediate clutch pack failure. Pour a minimum of 1.5 quarts of Dexron VI directly into the converter hub before mating it to the transmission.
Master Technician Warning: The 6L80 torque converter requires a specific 'three-click' seating procedure. As you slide the converter onto the input shaft, you must feel three distinct engagements: the turbine splines, the stator support shaft, and finally, the front pump drive gear. If the converter sits flush with the bellhousing mating surface without all three clicks, it is not seated. Forcing it with the bellhousing bolts will crack the front pump housing, resulting in a catastrophic failure.
Critical Torque Specifications and Clearances
Proper fastener management is vital for the 6L80. The aluminum case and high-torque engine applications require strict adherence to GM engineering specs. Refer to RockAuto's GM service literature references for verification based on your specific engine RPO code.
| Fastener Location | Thread Size | Torque Specification | Additional Notes |
|---|---|---|---|
| Torque Converter to Flexplate | M10 x 1.5 | 46 lb-ft (62 Nm) | Apply medium threadlocker (Loctite 243). Use new bolts. |
| Bellhousing to Engine Block | M12 x 1.75 | 37 lb-ft (50 Nm) | Verify alignment dowels are present and undamaged. |
| Transmission Cooler Lines (Case) | M12 Quick-Connect | 18 lb-ft (24 Nm) | Replace O-rings and use a backup wrench to prevent case cracking. |
| Pan Bolts (M6) | M6 x 1.0 | 106 lb-in (12 Nm) | Do not over-torque; pan gasket is reusable if silicone bead is intact. |
Fluid Fill, TCM Relearn, and Adaptation
The 6L80 utilizes a specific fluid level checking procedure that relies on temperature rather than a traditional dipstick. Fill the transmission through the fill plug on the side of the case until fluid begins to weep out. Start the engine, cycle through all gears, and monitor the Transmission Fluid Temperature (TFT) via a bi-directional OBD2 scan tool.
When the TFT reaches exactly 104°F to 113°F (40°C to 45°C), remove the level check plug (located inside the fill hole tube). Allow excess fluid to drain until it slows to a drip, then reinstall the plug to 18 lb-ft.
Finally, perform a Transmission Control Module (TCM) adaptation reset using your scan tool. The 6L80 relies on adaptive pressure tables to command the Torque Converter Clutch (TCC). Because the new converter has different volumetric fill characteristics than the worn original unit, failing to reset the TCM will result in harsh TCC lockup, shudder, or slip codes (such as P0741) within the first 50 miles.
Cost Breakdown: Professional vs. DIY
Addressing a torque converter leak on a 6L80 is labor-intensive due to the RWD/4WD drivetrain layout. In the current market, dealership labor rates and OEM parts pricing reflect the complexity of the job.
- Dealership Repair: $2,800 - $3,600 (Includes OEM remanufactured converter, 10+ hours of labor, and Dexron VI fluid).
- Independent Transmission Shop: $2,100 - $2,700 (Often utilizes high-quality aftermarket converters from brands like Stallion or Yanks, which may include upgraded billet hubs).
- DIY Home Mechanic: $650 - $950 (Cost of remanufactured converter, seal kit, fluid, and specialized PTFE sizing tools).
By understanding the root causes of the 6L80 torque converter leak and adhering to the strict seating and sealing procedures outlined above, you can perform a definitive repair that restores factory shift quality and eliminates fluid loss for the life of the vehicle.