The A750E/A750F Weak Link: Why 4Runner Torque Converters Fail
As we move through 2026, the 4th and 5th generation Toyota 4Runners (2003–2024) remain some of the most heavily modified SUVs on the trail and street. Whether you are running the 4.0L V6 (1GR-FE) or the 4.7L V8 (2UZ-FE), your rig relies on the robust A750E, A750F, or A760E 5-speed automatic transmissions. However, when you add 33-inch tires, heavy steel bumpers, roof tents, or forced induction, the factory fluid-coupled torque converter becomes the primary bottleneck. Understanding the bad torque converter symptoms and the true Toyota 4Runner torque converter replacement cost is critical before you end up stranded with a burnt-up transmission.
From a performance perspective, simply swapping a failing OEM unit for another stock Aisin converter is often a missed opportunity. Upgrading to a billet, high-stall torque converter not only cures inherent factory flaws but fundamentally transforms the 4Runner’s off-road crawling capability and highway passing power. Below, we break down the exact symptoms of failure, real-world 2026 pricing data, and the critical installation specs required for a performance upgrade.
Decoding Bad Torque Converter Symptoms in the 4Runner
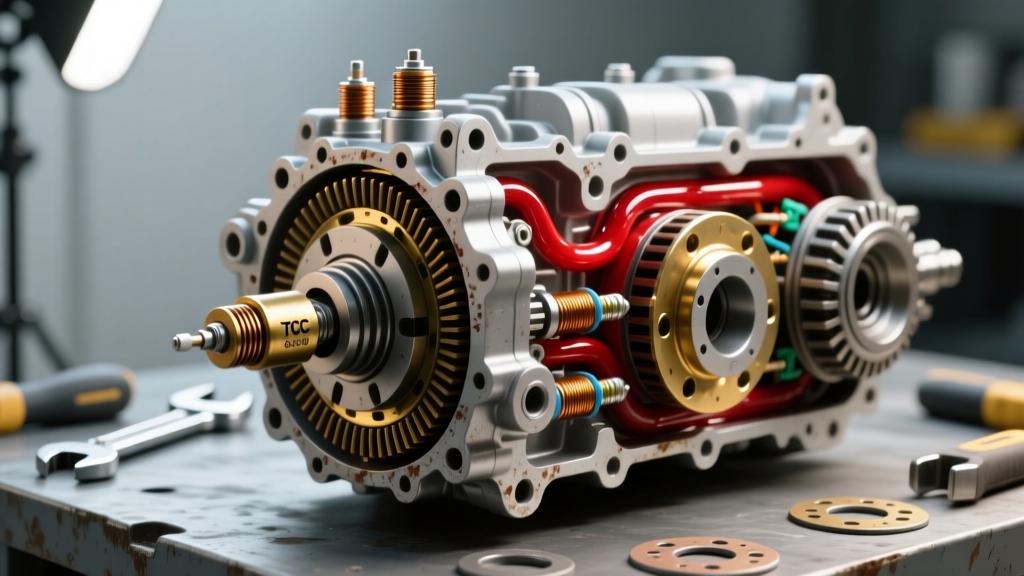
The Torque Converter Clutch (TCC) in the A750 series transmission uses a Pulse Width Modulation (PWM) solenoid to apply lockup smoothly. When the internal friction materials degrade or the internal stator clutch fails, the symptoms are distinct. According to diagnostic data from Transmission Digest, ignoring these early warnings will rapidly contaminate the transmission valve body with clutch material debris.
- TCC Shudder (The 'Rumble Strip' Effect): The most common symptom. Occurring typically between 35–50 MPH under light throttle, the SUV will violently vibrate as the TCC rapidly slips and grabs. This is caused by glazed friction material on the lockup piston or degraded Toyota WS fluid losing its friction modifiers.
- RPM Flares and Slip Codes (P0741 / P0742): If the TCC cannot maintain a 1:1 lockup ratio, the ECU detects excessive slip RPM and triggers a Check Engine Light. Code P0741 (TCC Performance/Stuck Off) is notoriously common on high-mileage 4Runners towing heavy loads.
- Stator Whine and Cavitation: A high-pitched whining noise that increases with engine RPM (but not vehicle speed) indicates a failing one-way stator clutch inside the converter. The stator is freewheeling when it should be locked, destroying hydraulic efficiency and causing massive heat.
- Transmission Fluid Overheating: A healthy A750F should maintain fluid temperatures below 190°F (87°C) on the highway. If your OBD2 scanner reads consistent temperatures above 215°F during normal driving, the converter is slipping internally, generating destructive shear heat.
2026 Toyota 4Runner Torque Converter Replacement Cost Breakdown
When calculating the Toyota 4Runner torque converter replacement cost, labor dominates the invoice. Because the transfer case (on 4WD models) and transmission must be dropped, the labor time is essentially fixed whether you install a cheap stock unit or a premium performance billet converter. Therefore, the smartest financial move for a modified 4Runner is to upgrade the hardware while the transmission is out.
| Component / Service | OEM Aisin Replacement | Performance Billet Upgrade (e.g., 2400 Stall) |
|---|---|---|
| Torque Converter Part Cost | $350 – $450 | $750 – $1,100 |
| Transmission Fluid (Toyota WS / Amsoil) | $90 (8 Qts) | $110 (9 Qts) |
| Rear Main Seal & Flexplate Bolts | $45 | $45 |
| Shop Labor (R&R Trans & T-Case) | $900 – $1,300 | $900 – $1,300 |
| Total Estimated Cost (2026) | $1,385 – $1,885 | $1,805 – $2,555 |
Note: Pricing reflects national averages for independent transmission specialists in 2026. Dealership labor rates will push OEM totals well over $2,500. Parts sourcing via RockAuto can reduce OEM part costs, but performance converters must be ordered direct from manufacturers.
The Performance Argument: Why Upgrade Stall Speed?
The factory A750E/A750F torque converter stalls at roughly 1,800 to 2,000 RPM. While this is excellent for EPA fuel economy ratings, it is terrible for moving a 5,000+ lb rig with oversized tires. By upgrading to a performance torque converter with a 2,400 to 2,600 RPM stall speed, you shift the torque multiplication band directly into the 1GR-FE V6’s powerband.
Billet Covers and Carbon-Fiber Clutches
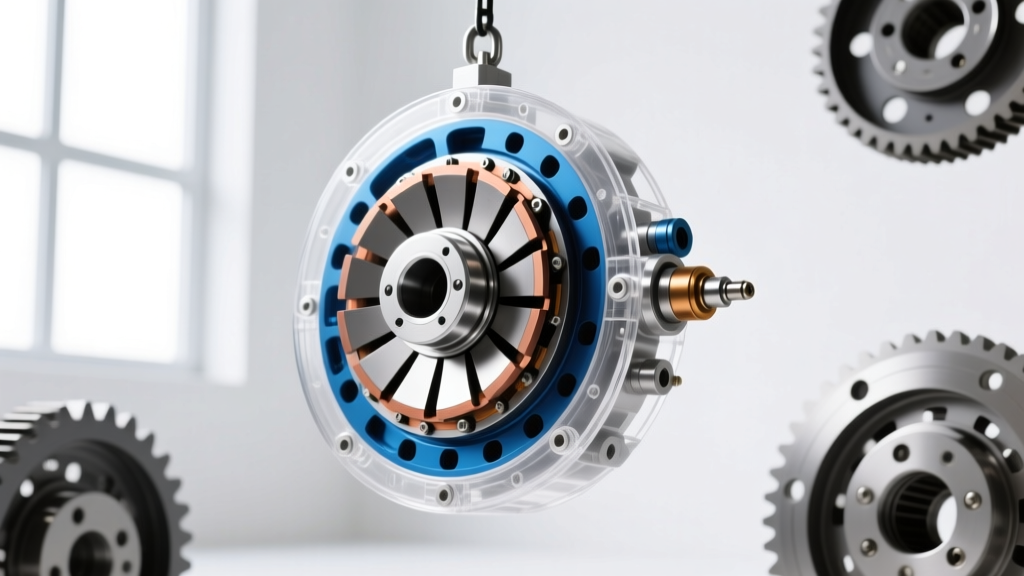
Performance converters from top-tier manufacturers utilize CNC-machined billet steel covers. Unlike the stamped steel OEM covers that can balloon and flex under high line pressures (causing premature clutch failure), a billet cover maintains absolute dimensional stability. Furthermore, performance units replace the fragile OEM paper/friction lining with woven carbon-fiber or Kevlar TCC materials. This allows the converter to handle aggressive lockup apply rates without shudder, even when running 300+ wheel horsepower via supercharger kits.
Critical Installation Specs & Torque Sequences
Installing a torque converter in an A750 series transmission is not a simple 'bolt-in' job. Improper installation will destroy the front transmission pump before the engine even fires. Adhere strictly to these Toyota factory specifications and performance best practices.
1. Pre-Fill and Seating Verification
CRITICAL WARNING: Never install a dry torque converter. You must pre-fill the new converter with 1.5 to 2.0 quarts of Toyota WS (or compatible synthetic) fluid. Furthermore, you must feel the 'Three Clicks' as the converter slides into the transmission: (1) The input shaft splines, (2) The stator support shaft, and (3) The front pump drive gear.
Once seated, place a straight edge across the flexplate mounting surface. The torque converter mounting pads should sit 1/8-inch to 3/16-inch (3mm to 5mm) below the flexplate. If the pads are flush or protruding, the converter is NOT fully seated in the pump. Forcing the bellhousing bolts tight in this state will crack the front pump housing instantly.
2. Fastener Torque Specifications
Use new, high-grade OEM flexplate bolts. Do not reuse stretched factory hardware. Apply a medium-strength threadlocker (blue) to the threads.
- Torque Converter to Flexplate Bolts (M10x1.25): 45 lb-ft (61 Nm). *Use a star-pattern sequence to ensure even clamping force and prevent flexplate warping.*
- Transmission Bellhousing to Engine Block (M12): 53 lb-ft (72 Nm).
- Transmission Crossmember to Frame: 63 lb-ft (85 Nm).
- Transfer Case to Transmission Adapter: 29 lb-ft (39 Nm).
3. Fluid Selection and Fill Procedure
The A750E/F requires Toyota WS (World Standard) fluid. While OEM fluid is available via Toyota Motor North America parts departments, many performance builders in 2026 opt for high-quality synthetic alternatives like Amsoil Signature Series Multi-Vehicle ATF, which offers superior shear stability and higher flash points for heavy towing and off-road crawling. The total dry-fill capacity is 11.5 quarts, but a standard pan-drop and converter swap will require roughly 8.5 to 9.5 quarts. Always verify the fluid level using the transmission dipstick with the engine idling and the fluid at normal operating temperature (176°F - 185°F).
Final Verdict: Repair or Upgrade?
If your 4Runner is completely stock and driven gently, an OEM Aisin replacement is a cost-effective way to reset the clock. However, if you are experiencing bad torque converter symptoms on a rig equipped with larger tires, armor, or a supercharger, the OEM unit will simply fail again under the increased load. Investing the extra $400–$600 into a billet performance torque converter with an optimized stall speed will yield massive drivability improvements, lower transmission operating temperatures, and unparalleled reliability on the trail.