Understanding the 4L60E 3-4 Clutch Pack: A Beginner's Guide
If you are diving into the world of automatic transmission rebuilding, the GM 4L60E is likely your first major project. As we navigate the automotive landscape in 2026, the 4L60E remains one of the most prolific rear-wheel-drive transmissions ever built, meaning millions of them are currently on their second or third rebuild cycles. The most notorious wear item in this unit? The 4L60E 3-4 clutch pack. This specific assembly is responsible for applying third and fourth gears (including overdrive), and it handles the brunt of the highway cruising heat and torque.
However, beginners often hit a wall when researching replacement parts and assembly procedures, particularly when they encounter the term "pressure plate bolt patterns." In this comprehensive explainer, we will bridge the gap between manual transmission terminology and automatic transmission reality, breaking down exactly how pressure plates, spline patterns, and retainer setups function inside the 4L60E.
The "Bolt Pattern" Misconception: Manual vs. Automatic
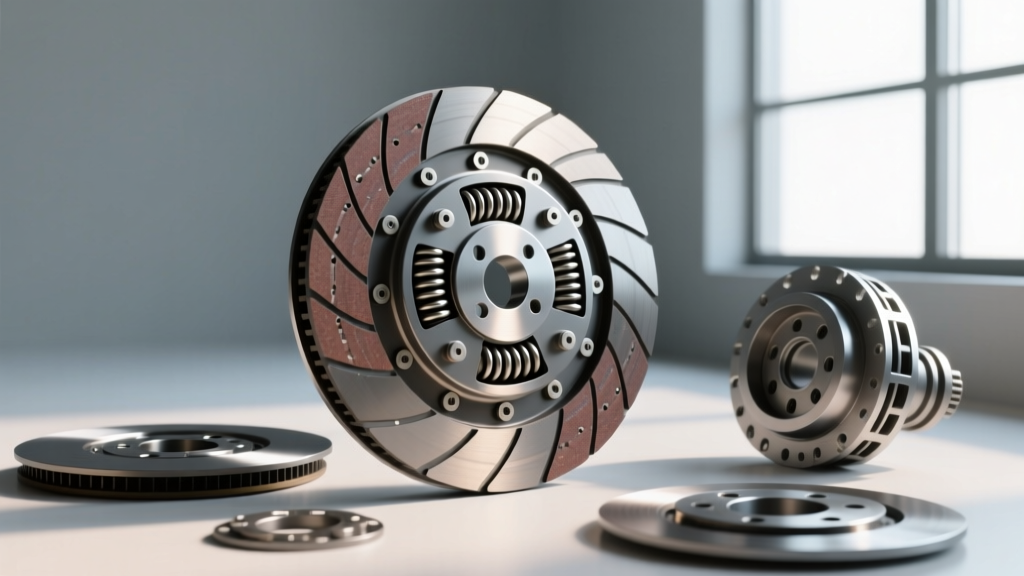
When enthusiasts search for clutch pressure plate bolt patterns, they are usually thinking of manual transmission flywheels. In a manual setup, the pressure plate physically bolts to the flywheel. For example, a classic GM V8 manual setup requires you to match a 10.5-inch or 11.5-inch bolt circle pattern depending on whether the engine has a one-piece or two-piece rear main seal. You must count the bolts (usually 6) and measure the diagonal spread to ensure the pressure plate mates correctly.
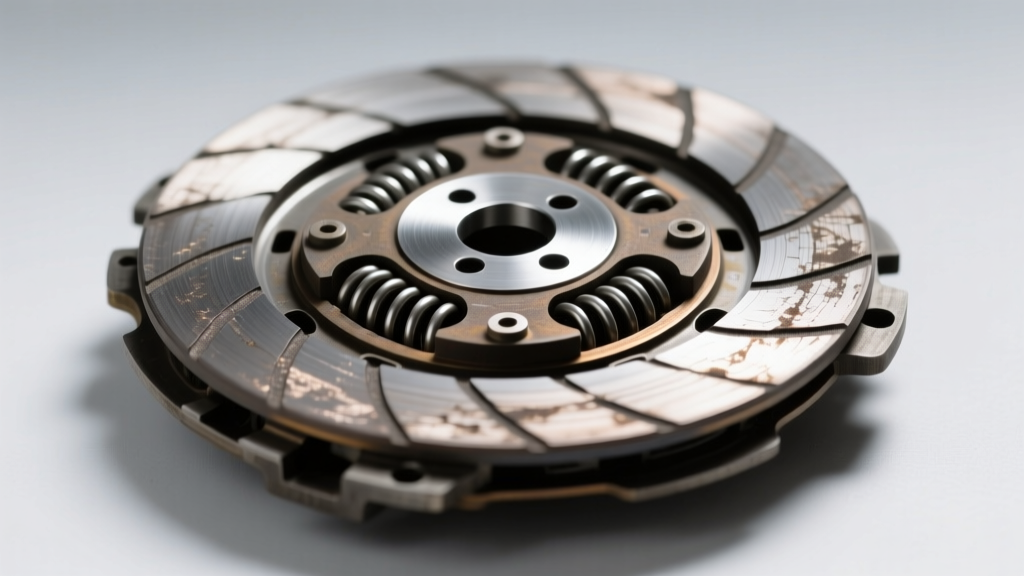
Automatic transmissions do not use bolts to secure clutch packs. Instead of a flywheel and bolt-on pressure plate, the 4L60E uses a cylindrical clutch drum, a stack of alternating friction discs and smooth steel reaction plates (the automatic equivalent of pressure plates), and a snap-ring retainer system. Therefore, when we talk about "patterns" in the 4L60E 3-4 clutch pack, we are actually referring to spline patterns, drum mating interfaces, and backing plate configurations.
Expert Insight: Never attempt to drill or modify the 4L60E clutch drum or pressure plates to create a custom "bolt pattern." The torque transfer relies entirely on the precision-cut outer and inner splines. Damaging these splines will result in immediate catastrophic failure and stripped drums.
Inside the 3-4 Clutch Pack: Splines and Mating Surfaces
To understand how the pack holds together under immense hydraulic pressure, you must understand the two distinct spline patterns at play:
- Outer Spline Pattern (The Steels/Pressure Plates): The smooth steel reaction plates feature external teeth (splines) that lock into the internal grooves of the 3-4 clutch drum. This prevents the steels from spinning, anchoring them to the transmission housing's rotational axis.
- Inner Spline Pattern (The Frictions): The friction discs feature internal teeth that mate with the external splines of the input shaft or turbine shaft hub. When hydraulic fluid pushes the apply piston, it clamps the spinning frictions against the stationary steels, locking the shaft to the drum and engaging the gear.
The Role of the Backing Plate and Snap Ring
Instead of a bolt pattern holding the pack in place, the 4L60E uses a thick, selective backing plate at the top of the drum. This plate is secured by a heavy-duty snap ring that seats into a machined groove in the clutch drum. The "pattern" here refers to the specific thickness of the backing plate (selective fitment) required to achieve the correct clutch pack clearance. If your snap ring is not fully seated in its groove pattern, the pack will explode outward under line pressure, destroying the drum.
4L60E 3-4 Clutch Pack Specifications & Upgrades
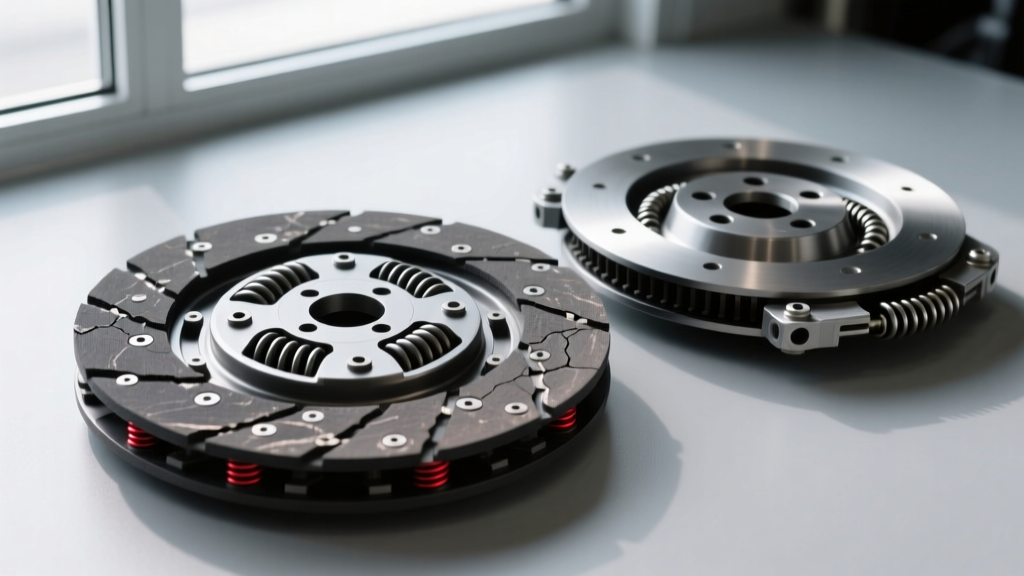
The OEM 3-4 clutch pack is notoriously weak for heavy towing or modified engines. The factory setup typically uses thinner steels, which warp under heat, leading to the infamous "3-4 clutch burnout." Below is a comparison of the standard OEM setup versus the highly recommended Z-Pack upgrade.
| Specification | OEM Standard Pack | Alto Z-Pack (04700B) | Why It Matters |
|---|---|---|---|
| Friction Count | 5 or 6 (Year Dependent) | 5 | Z-Pack uses thinner frictions to make room for thicker steels. |
| Steel (Pressure Plate) Thickness | 0.070" - 0.090" | 0.125" | Thicker steels resist warping and absorb more heat. |
| Friction Thickness | 0.062" | 0.061" | Allows for 5 frictions and 5 thick steels in the same drum space. |
| Target Clearance | 0.050" - 0.070" | 0.040" - 0.060" | Tighter clearance reduces apply time and prevents slipping. |
For a street-driven 4L60E in 2026, upgrading to a Z-Pack configuration or using BorgWarner High-Energy frictions paired with 0.106" steels is the baseline for reliability. Additionally, installing a Corvette servo (part number 10466900) increases the apply pressure on the 3-4 pack, further preventing slippage.
Step-by-Step Assembly: Avoiding Beginner Mistakes
Assembling the 4L60E 3-4 clutch pack requires patience and adherence to specific clearances. Here is a beginner-friendly workflow to ensure your spline patterns mate correctly and the pack survives.
1. Pre-Soak the Frictions
Never install dry friction discs. Submerge your new frictions in the exact ATF you plan to use (e.g., Dexron VI or a dedicated synthetic racing ATF) for a minimum of 2 hours, preferably overnight. This allows the porous friction material to become fully saturated, preventing instant burnout upon the vehicle's first startup.
2. Align the Spline Patterns Carefully
When dropping the 3-4 clutch hub into the drum, the inner splines of the frictions must perfectly align with the hub's external teeth. Do not force it. If you meet resistance, rotate the hub slightly while applying gentle downward pressure. Forcing the hub will shave the edges off the friction splines, contaminating the valve body with debris.
3. Air-Check the Apply Piston
Before installing the backing plate and snap ring, you must verify the piston seals are intact.
- Route a rubber-tipped air nozzle to the 3-4 clutch apply feed hole in the pump or case.
- Apply regulated shop air at 30 to 50 PSI.
- You should hear a distinct, solid "thud" as the piston compresses the clutch pack.
- If you hear a continuous hissing sound, your inner or outer piston O-rings are pinched or cut. Disassemble and replace the seals immediately.
4. Measure Pack Clearance with a Dial Indicator
This is where the "selective pattern" of the backing plate comes into play. Mount a dial indicator on the transmission case, resting the plunger on the top friction disc. Pry up gently on the disc and note the travel. If your clearance is outside the 0.040" to 0.070" range, you must swap the selective backing plate for a thicker or thinner variant to achieve the correct specification. Ignoring this step is the number one cause of premature 3-4 clutch failure.
Final Thoughts on 4L60E Longevity
While the terminology of "bolt patterns" belongs to the manual transmission world, understanding the spline interfaces, drum mating surfaces, and retainer snap-ring patterns of the 4L60E 3-4 clutch pack is just as critical. By upgrading to thicker steels, verifying your clearances with a dial indicator, and utilizing resources like Sonnax technical documentation or TransGo shift kits to improve hydraulic line pressure, you can transform the 4L60E's weakest link into a reliable, bulletproof assembly capable of handling modern torque demands.