Introduction: The AAM 11.5-Inch Axle and Rebuild Necessity
The 2020 Ram 1500 equipped with the 5.7L HEMI V8, the 3.0L EcoDiesel, or the Max Tow package relies heavily on the robust American Axle & Manufacturing (AAM) 11.5-inch rear differential. While this semi-floating axle is engineered for heavy-duty towing and high torque output, it is not immune to catastrophic failure. Water ingestion through compromised axle seals, extreme thermal breakdown from towing heavy fifth-wheel trailers, or simple high-mileage bearing fatigue can lead to whining, howling, and eventual gear seizure.
As of 2026, replacing the entire axle assembly with a dealer unit can cost upwards of $2,800 to $3,500. A complete differential rebuild, however, can be performed for a fraction of the cost if you possess the right tools, patience, and technical knowledge. Crucially, a rebuild is not just about swapping bearings and shims; it requires a complete evacuation and replacement of the lubricant. Understanding the exact 2020 Ram 1500 differential fluid specifications is just as critical as setting the correct gear backlash, as the wrong viscosity or additive package will destroy a freshly rebuilt locker or limited-slip unit within a few thousand miles.
Essential Tools, Parts, and Fluid Specifications
Before unbolting the driveshaft, you must gather specialized drivetrain tools. A standard torque wrench is insufficient for setting pinion preload; you will need a calibrated inch-pound beam-style torque wrench. Additionally, a dial indicator with a magnetic base is mandatory for measuring gear backlash.
2020 Ram 1500 AAM 11.5 Rebuild Bill of Materials
| Component / Fluid | OEM / Aftermarket Part Number | Specification / Torque |
|---|---|---|
| Differential Gear Oil | Mopar 75W-140 Synthetic (68218655AA) | 3.5 Quarts (3.3 Liters) |
| Ring Gear Bolts (12x) | OEM Mopar or Grade 10.9 ARP | 125 lb-ft + 90 degrees |
| Bearing Cap Bolts (4x) | Reuse OEM with Red Loctite 271 | 110 lb-ft |
| Axle Shaft Retainer Bolts | Reuse OEM | 50 lb-ft |
| Pinion Nut (Prevailing Torque) | Mopar 68340584AA (Replace every time) | Torque to 15-25 in-lbs preload |
| Friction Modifier | NOT REQUIRED for ELRD (Electronic Locker) | N/A |
Expert Warning: Many 2020 Ram 1500 trucks are equipped with the Electronic Locking Rear Differential (ELRD). Unlike the older mechanical Trac-Lok limited-slip differentials, the ELRD uses a dog-clutch engagement mechanism. According to Mopar Official Parts documentation, you must never add limited-slip friction modifier to an ELRD. Doing so will cause the locking collar to slip, resulting in a failure to engage the locker and premature wear to the engagement teeth.
Phase 1: Safe Teardown and Diagnostics
The first step in any rebuild is extracting the old 2020 Ram 1500 differential fluid to perform a visual and olfactory diagnostic. Place a large drain pan beneath the differential. Remove the 10mm hex bolts securing the rear cover. If the fluid smells severely burnt, the pinion bearing likely suffered from thermal overload due to low fluid levels or extreme towing. If you find large, jagged chunks of metal rather than fine glitter, expect severe damage to the ring and pinion gear teeth, necessitating a full gear set replacement rather than just a bearing kit.
Once drained, remove the rear driveshaft. Always mark the driveshaft flange to the pinion yoke with a paint pen before removal to ensure proper reassembly and prevent driveline vibrations. Next, remove the brake calipers and rotors. Unbolt the eight 13mm retaining bolts securing the axle shafts. Carefully pull the axle shafts out of the housing. Inspect the shaft bearings and seals; if the shafts show grooving where the seal rides, replace the axle shaft bearings and seals using a specialized slide-hammer puller.
Phase 2: Carrier Extraction and Component Inspection
With the axle shafts removed, you can access the carrier bearing caps. Use a punch to make witness marks on the bearing caps and the differential housing so they are reinstalled in the exact same orientation and location. Bearing caps are line-bored with the housing from the factory; mixing them up or installing them backward will cause severe binding and catastrophic bearing failure.
Remove the four bearing cap bolts and carefully pry the carrier assembly out of the housing using a brass drift or specialized carrier spreader tool. Do not pry on the machined mating surfaces of the housing. Once the carrier is on the bench, unbolt the ring gear. Clean all old threadlocker from the ring gear and carrier bolt holes using a wire wheel and brake cleaner.
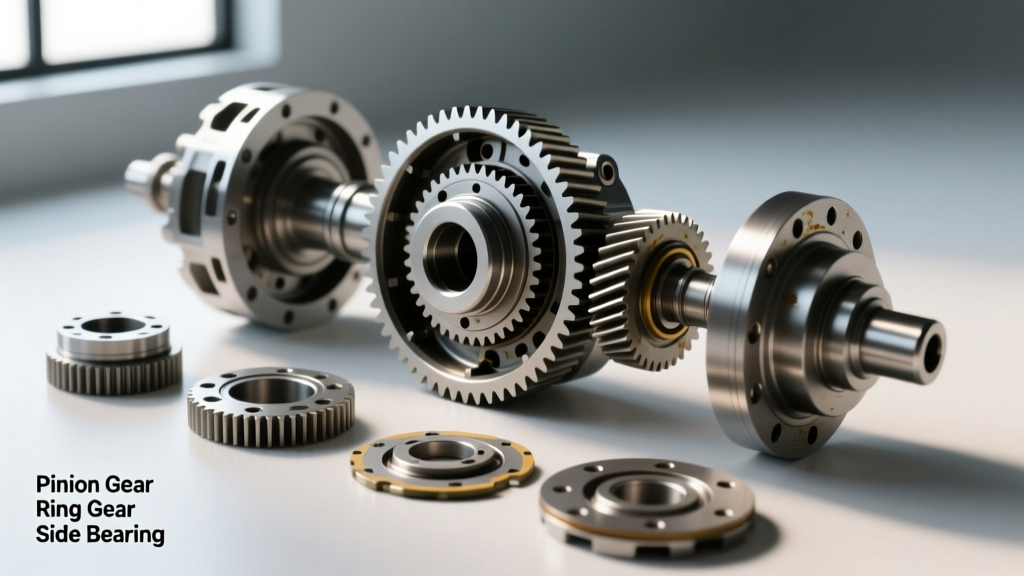
Consulting resources from Randy's Ring & Pinion, inspect the ring and pinion teeth. You are looking for smooth wear patterns. If you see pitting, spalling, or chipped teeth on the drive or coast side, the gear set must be replaced. If the gears are in good condition, you can proceed with a master bearing kit, which includes new carrier bearings, pinion bearings, shims, a new crush sleeve, and seals.
Phase 3: Pinion Depth and Backlash Calibration
This is the most technically demanding phase of the rebuild. The pinion gear must be set to a specific depth relative to the ring gear centerline. This depth is dictated by the pinion head shim located between the pinion bearing cup and the housing. Use a pinion depth setting tool to measure the required shim thickness. Apply American Axle & Manufacturing recommended Loctite 638 to the bearing cups if the housing bore is slightly worn to prevent cup spin.
Once the pinion is installed with the new inner and outer bearings and a fresh crush sleeve, you must set the pinion bearing preload. Install the new prevailing-torque pinion nut and tighten it incrementally while measuring the rotational drag with your inch-pound torque wrench. For new bearings, the target preload is typically between 15 and 25 in-lbs of rotational resistance. Do not overshoot this spec. If you over-tighten the crush sleeve, you must install a brand-new crush sleeve and start over; you cannot back off the nut to reduce preload.
Next, install the carrier with the newly torqued ring gear (using Red Loctite 271 and torquing to 125 lb-ft plus a 90-degree turn). Install the bearing caps and torque to 110 lb-ft. Mount your dial indicator to the housing with the probe resting perpendicular to a ring gear tooth. Measure the backlash by rocking the ring gear back and forth while holding the pinion yoke stationary. The target backlash for the AAM 11.5 is generally between 0.006 and 0.010 inches. Adjust the side bearing shims (or threaded adjusters, depending on your specific housing variant) until the backlash is within spec and side bearing preload is achieved.
Phase 4: Sealing and Filling the 2020 Ram 1500 Differential Fluid
After verifying the gear contact pattern using yellow gear marking compound, clean the housing mating surface thoroughly with acetone. Apply a continuous 3/8-inch bead of high-temp RTV silicone (such as Permatex Ultra Black) to the differential cover. Allow it to skin over for 10 minutes before mating it to the housing. Torque the cover bolts in a star pattern to 30 lb-ft.
Now, it is time to fill the axle with the correct 2020 Ram 1500 differential fluid. For the AAM 11.5-inch axle, Mopar specifies a full synthetic 75W-140 gear oil. This heavier viscosity is required to maintain the hydrodynamic lubrication film between the hypoid gear teeth under the extreme shearing forces of towing. Slowly pump 3.5 quarts of the 75W-140 synthetic fluid into the fill hole until it reaches the bottom edge of the fill plug threads. Reinstall the fill plug and torque to 25 lb-ft.
Phase 5: The 500-Mile Break-In Protocol
A freshly rebuilt differential requires a strict break-in procedure to properly mate the new bearings and burnish the gear teeth. For the first 500 miles, avoid towing heavy loads, aggressive acceleration, and sustained highway speeds above 65 MPH. Drive in 15-minute intervals, allowing the axle housing to cool to ambient temperature between drives. This heat-cycling process allows the RTV to fully cure and the synthetic 75W-140 fluid to properly condition the metal surfaces.
While some OEM manuals state that synthetic differential fluid is a 'lifetime' fill, professional drivetrain builders highly recommend draining and refilling the differential after the initial 500-mile break-in period. This flushes out microscopic metal shavings generated during the initial mating of the gears and bearings, as well as any residual assembly lubricant. After this 500-mile fluid change, your AAM 11.5 axle will be primed for another 150,000+ miles of reliable, heavy-duty service.