Introduction: Diagnosing Bearing and Seal Failures
When a rear axle begins to howl at highway speeds or leaves puddles of 75W-90 gear oil on your garage floor, it is time for a teardown. Differential bearing and seal failures are among the most common drivetrain issues on high-mileage trucks, SUVs, and off-road vehicles. A failing pinion bearing typically announces itself with a distinct whine that changes pitch during deceleration, while a worn carrier bearing will produce a low-frequency rumble that mimics aggressive mud-terrain tire noise. Meanwhile, degraded axle and pinion seals lead to fluid starvation, which accelerates gear and bearing wear exponentially.
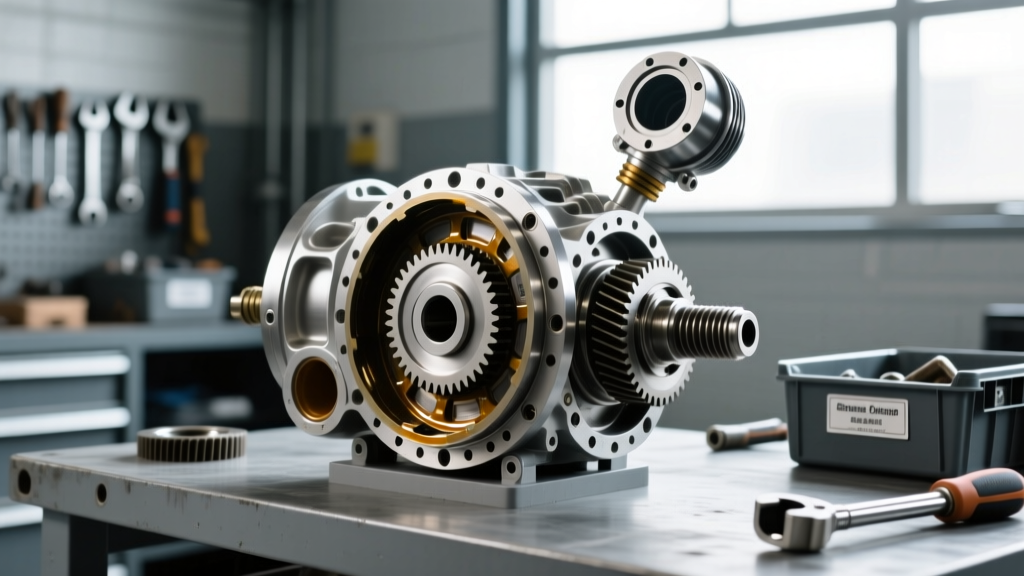
As an automotive drivetrain specialist, I cannot stress this enough: attempting a partial repair is a false economy. If you are pulling the axles and dropping the third member or differential carrier, you must replace every wear component simultaneously. Below, we provide the definitive rear differential parts list and expert best practices to ensure your rebuild survives the next 150,000 miles.
The Definitive Rear Differential Parts List for Rebuilds
Sourcing the correct components is critical. The aftermarket is flooded with cheap, unbranded bearing kits that fail prematurely due to inferior metallurgy and poor roller tolerances. Always insist on OEM-tier manufacturers like Timken, Koyo, SKF, or NTN. As of 2026, expect to pay between $160 and $280 for a high-quality master rebuild kit, while individual premium seals will run $25 to $45 each.
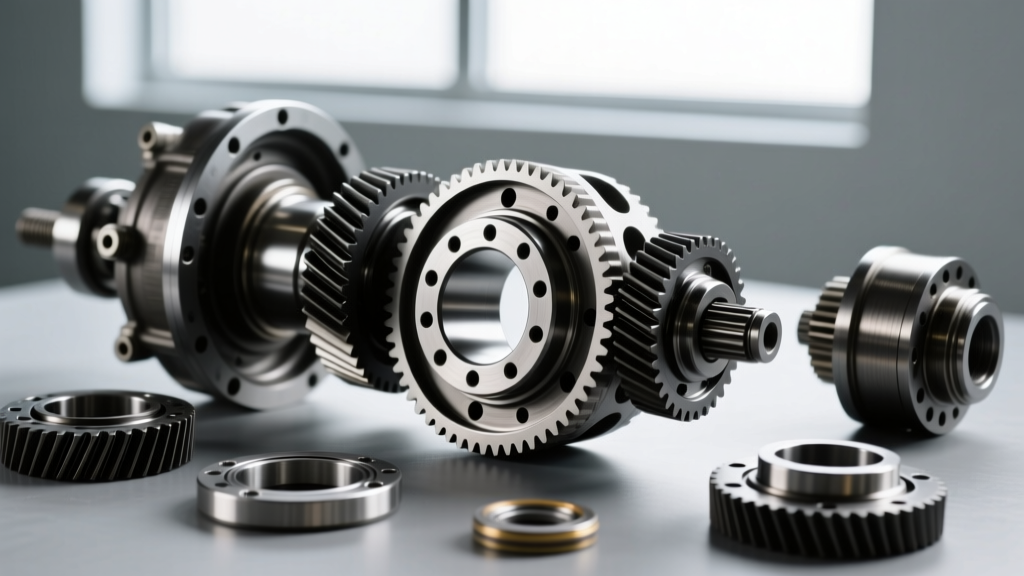
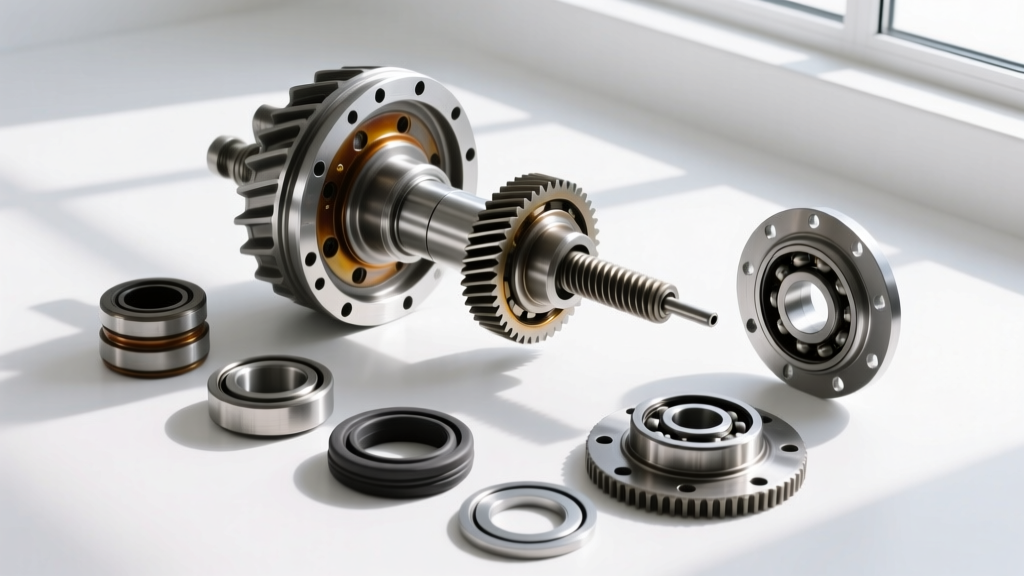
Here is the comprehensive rear differential parts list you need for a complete bearing and seal overhaul:
- Pinion Bearings (Inner and Outer): The tapered roller bearings that support the pinion gear shaft. (e.g., Timken SET 401 for Ford 8.8-inch axles).
- Carrier Bearings: The two large tapered bearings that support the differential case and ring gear. (e.g., Timken SET 35).
- Pinion Seal: Prevents gear oil from leaking past the pinion yoke. Must match your specific yoke spline count and diameter.
- Axle Shaft Seals: Pressed into the axle tube ends to keep fluid in and debris out of the bearing pockets.
- Crush Sleeve or Solid Preload Spacer: Dictates the pinion bearing preload. Never reuse a crush sleeve.
- Pinion Nut and Washer: A new staked or nylon-insert pinion nut is mandatory to prevent backing off under load.
- Ring Gear Bolts: If you are removing the ring gear to access the carrier bearings, you must use new high-strength bolts and thread locker.
- Shim Kits: Essential for setting carrier bearing side-play and pinion depth. A master shim kit with increments of 0.001-inch to 0.010-inch is required.
- Gear Marking Compound: Yellow or white paste used to verify the ring and pinion contact pattern before final assembly.
Application-Specific Torque Specs and Part Numbers
To illustrate the precision required, here is a data table covering three of the most common rear axles in the North American market: the Ford 8.8-inch, the Dana 44, and the GM 10-Bolt 8.5-inch. Always verify against your specific factory service manual, but these baseline specifications are standard industry practice.
| Axle Model | Pinion Bearing Kit | Carrier Bearing Kit | Pinion Seal | Pinion Nut Torque | Preload Spec (New) |
|---|---|---|---|---|---|
| Ford 8.8-inch | Timken SET 401 | Timken SET 35 | National 711004 | 160-215 ft-lbs | 16-29 in-lbs |
| Dana 44 (JL/Gladiator) | Timken SET 36 | Timken SET 35 | National 710924 | 200-250 ft-lbs | 14-25 in-lbs |
| GM 10-Bolt 8.5-inch | Timken SET 34 | Timken SET 34 | National 710928 | 125-275 ft-lbs | 20-30 in-lbs |
For authoritative technical data and cross-referencing part numbers, industry professionals rely on resources like Timken Automotive Bearings and the engineering catalogs provided by Dana Off-Highway Drivetrain Technologies.
Expert Best Practices: Setting Pinion Preload
The most common point of failure in a DIY differential rebuild is improper pinion bearing preload. Preload is the rotational resistance of the pinion shaft caused by the compression of the tapered roller bearings. If it is too loose, the pinion gear will deflect under load, destroying the ring and pinion teeth. If it is too tight, the bearings will overheat and grenade within a few hundred miles.
Crush Sleeves vs. Solid Spacers
Most factory axles use a crush sleeve—a thin metal spacer that deforms as you tighten the pinion nut. The traditional method involves tightening the nut in small increments and checking the rotational torque with an inch-pound beam wrench. The danger here is over-crushing the sleeve. If you exceed the target inch-pound specification by even a fraction, you must press the pinion bearing back off, replace the crush sleeve, and start over.
Expert Tip: Ditch the crush sleeve entirely and install a Solid Preload Spacer kit (available from brands like Ratech or Yukon Gear). A solid spacer uses precision-machined steel shims to set the exact distance between the inner and outer pinion bearings. This eliminates the risk of over-crushing, allows for infinite re-adjustability, and provides a more rigid pinion support structure, which is highly recommended for lifted trucks or vehicles running larger-than-stock tires.
The Inch-Pound Torque Wrench Requirement
You cannot set bearing preload with a standard half-inch drive click-torque wrench. You must use a dedicated inch-pound beam-style torque wrench. When measuring preload, wrap the wrench around the pinion nut and pull slowly. You are measuring the breakaway torque plus the rolling resistance. For new bearings, the spec is typically higher (e.g., 16-29 in-lbs on a Ford 8.8) to account for the stiffness of fresh rollers and cages. For reused bearings, the spec drops significantly (e.g., 8-14 in-lbs).
Carrier Bearing and Side Seal Replacement
Replacing the carrier bearings requires extracting the differential case from the housing. On a Ford 8.8-inch axle, the carrier is held in place by two vertical bearing caps. You must mark these caps with a punch or paint pen before removal; they are line-bored from the factory and are not interchangeable side-to-side. Reversing them will destroy your new carrier bearings immediately.
The side seals (axle shaft seals) should be pried out using a dedicated seal puller to avoid scoring the soft aluminum or cast-iron axle tube bore. When pressing in the new National or SKF seals, use a seal driver that matches the exact outer diameter of the seal housing. Driving the seal in crooked will pinch the inner lip, resulting in an immediate leak once the axle shaft is inserted. Always apply a thin layer of synthetic grease to the inner rubber lip of the new seal before sliding the axle shaft back into the housing to prevent dry-start tearing.
Fluid Selection, Capacity, and Break-In Procedures
No rear differential parts list is complete without addressing the lifeblood of the assembly: the gear oil. For most modern light-duty truck and SUV axles, a high-quality 75W-90 or 75W-140 full synthetic gear oil is mandated.
Crucial Warning for Limited-Slip Differentials (LSD): If your axle is equipped with a clutch-type limited-slip differential (such as the Ford Trac-Lok, Dana Trac-Lok, or Eaton Positraction), you must add a dedicated friction modifier additive (e.g., Motorcraft XL-3 or equivalent). Failing to add the modifier will result in severe chatter, binding, and rapid destruction of the clutch packs during low-speed turns. Note that many modern synthetic gear oils claim to be 'LS Compatible,' but veteran drivetrain builders still recommend adding a half-bottle of dedicated modifier to guarantee smooth operation.
Fluid capacities generally range from 2.0 to 3.5 quarts depending on the axle housing and whether you have an aftermarket deep-sump differential cover. Always fill until the fluid level is even with the bottom of the fill hole threads.
The 500-Mile Break-In Rule: Fresh ring and pinion gears, as well as new bearings, generate immense friction and heat during their initial mating phase. After reassembly, drive the vehicle conservatively for the first 500 miles. Avoid sustained highway speeds and heavy towing. After 500 miles, drain the differential fluid. You will likely find a fine, glittery metallic paste on the magnetic drain plug—this is the normal break-in wear material. Refill with fresh synthetic gear oil, and your differential will be ready for decades of reliable service.
For further reading on advanced gear setup patterns and shim calculations, the technical archives at Ring & Pinion Service offer excellent visual guides on interpreting gear marking compound patterns.