The True Cost of a ZF Transmission Rebuild in 2026
Before tearing into the casing, it is critical to understand the financial landscape of a ZF transmission rebuild. The ZF 8HP series (8HP45, 8HP70, 8HP90) is an engineering marvel found in everything from BMWs and Audis to Dodge Chargers and Ram trucks. However, its tight tolerances and complex mechatronic unit mean that cutting corners on the bench will result in immediate shift flares or limp-mode failures. Below is a 2026 cost breakdown comparing a DIY bench build, a professional specialist rebuild, and a remanufactured unit.
| Rebuild Strategy | Estimated Cost (2026) | What is Included | Risk Level |
|---|---|---|---|
| DIY Bench Build | $900 - $1,600 | Master overhaul kit, ZF LifeguardFluid 8, Sonnax Zip Kit, specialty tools, R&R equipment. | High (Requires precision tooling and scan tool adaptation) |
| Specialist Pro Rebuild | $3,200 - $4,800 | R&R labor, dyno testing, custom valve body calibration, warranty (usually 2-3 years). | Low (Best for daily drivers and high-torque applications) |
| Remanufactured Unit | $3,800 - $5,500 | Fully reman unit with upgraded torque converter, pre-programmed mechatronic, core charge. | Lowest (Drop-in ready, but requires coding to the TCM) |
Preparation: Essential Tooling for the ZF 8HP
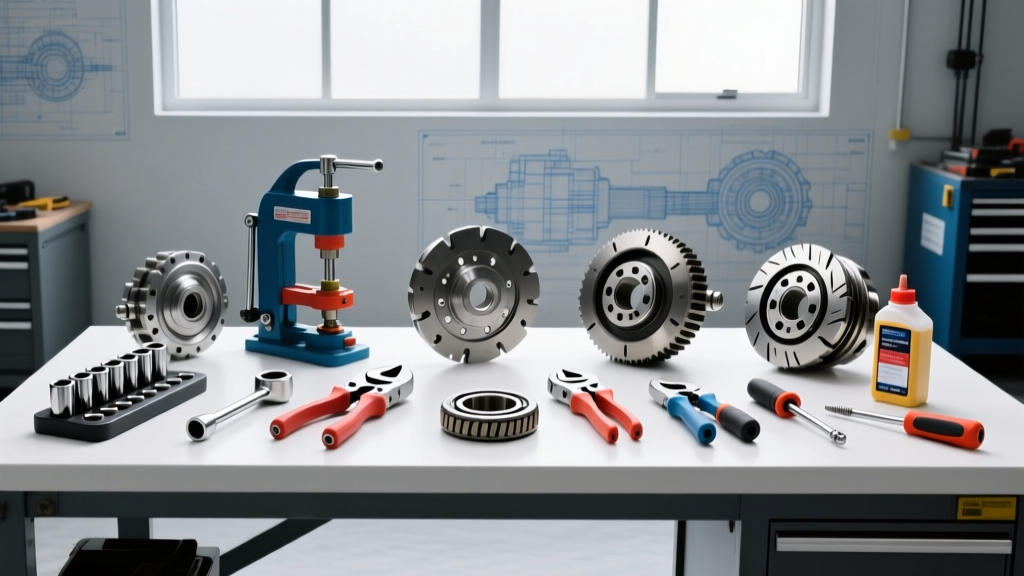
You cannot rebuild an 8HP transmission with standard automotive hand tools. The bench build requires metric precision and specific alignment fixtures. Ensure your bench is equipped with the following:
- Inch-Pound Torque Wrench: Essential for valve body and pump bolts (calibrated to 5-100 in-lbs).
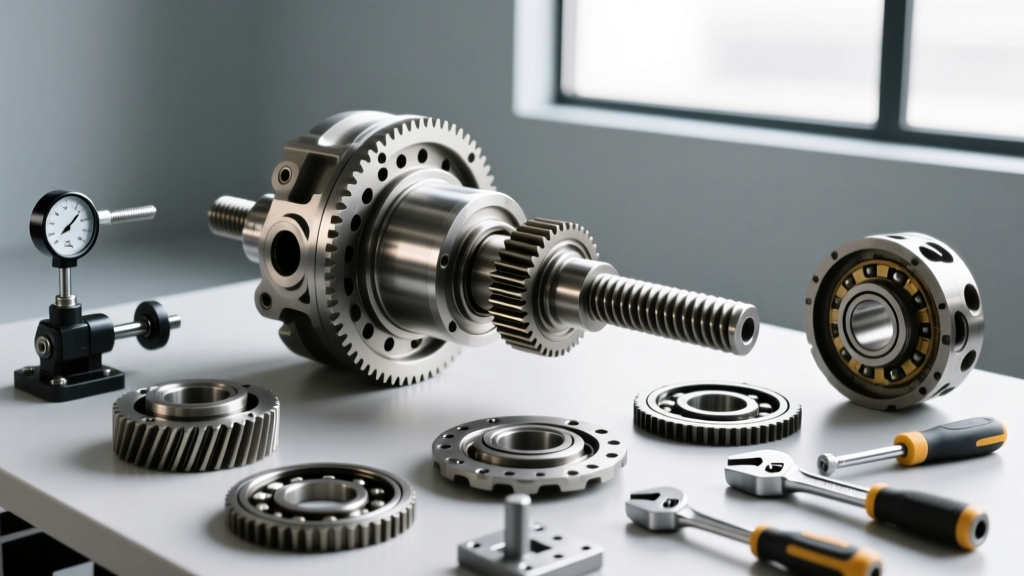
- Dial Indicator with Magnetic Base: Required for measuring clutch pack clearances and final endplay.
- Internal/External Snap Ring Pliers: Specifically angled tips for deep-bore retaining rings.
- Lint-Free Shop Towels & Compressed Air: The ZF valve body is hypersensitive to microscopic debris.
- Bi-Directional Scan Tool: Required for post-build adaptation resets (e.g., Autel MaxiSYS, BMW ISTA, or ZF TRA-C).
Step-by-Step Bench Build Procedures
The following procedures assume the transmission case has been thoroughly cleaned, inspected for bore wear (specifically the sleeve and pump bores), and that the torque converter has been professionally flushed or replaced.
Step 1: Clutch Pack Assembly and Clearances
The 8HP utilizes five primary clutch packs (A, B, C, D, and E) to achieve its 8 forward gears. Unlike older 4-speed or 6-speed units, the 8HP relies on overlapping clutch applications. Clearance is everything.
- Soak the Frictions: Submerge all new OEM paper/cellulose friction plates in ZF LifeguardFluid 8 for a minimum of 2 hours before assembly. Installing dry frictions will cause immediate glazing upon first startup.
- Measure Pack Clearance: Assemble the steels and frictions into the drum. Using your dial indicator, measure the total travel. The general ZF specification targets 0.40mm to 0.60mm per friction element. For example, a clutch pack with 4 frictions should yield a total clearance between 1.60mm and 2.40mm.
- Select the Snap Ring: ZF provides selective thickness snap rings for each pack. If your clearance is too tight, you will experience dragging and burnt fluid; too loose, and you will get shift flares. Always select the ring that puts you in the middle of the specification.
Step 2: Oil Pump Installation and Front Seal
The 8HP uses a high-efficiency vane pump. Before installation, lubricate the pump gears and the front seal lip with assembly grease or LifeguardFluid 8.
- Seal Installation: Use a dedicated seal driver to seat the front seal perfectly square. A cocked seal will leak immediately and destroy the torque converter hub.
- Pump Alignment: The pump must be aligned with the torque converter hub before torquing. Install the M8 pump bolts hand-tight, rotate the input shaft to bind the gears into alignment, then torque to 8 Nm (71 in-lbs) in a crisscross pattern.
Step 3: The Mechatronic Unit and Valve Body
The Mechatronic unit (the integrated TCM and valve body) is the brain of the ZF transmission. The most common failure point on the bench is the electrical pass-through sleeve.
Expert Tip: Never reuse the factory mechatronic sleeve O-rings. The factory rubber degrades, causing fluid to leak into the TCM connector, leading to catastrophic electronic failure. Upgrade to a reinforced sleeve kit, such as the Sonnax 930008K, which features upgraded O-rings and a positive-locking tab to prevent sleeve rotation during harness installation.
Valve Body Torque Specs: When mating the mechatronic unit to the transmission case, the M6x1.0 bolts must be torqued to exactly 10 Nm (89 in-lbs). Over-torquing will warp the aluminum valve body separator plates, causing cross-leaks between the clutch apply circuits.
Warning: The flexible printed circuit board (ribbon cable) inside the mechatronic is incredibly fragile. Never pull on the harness, and ensure the locking tabs on the solenoid connectors are fully seated. A broken trace on this ribbon cable requires a complete mechatronic replacement (a $1,200+ mistake).
Step 4: Final Case Assembly and Endplay Verification
Once the gearsets, shafts, and clutch packs are loaded into the case and the rear output flange is secured, you must verify endplay before installing the bell housing.
- Mount the dial indicator to the rear of the case, with the plunger resting on the output shaft.
- Pry the shaft forward and backward to measure total axial movement.
- The ZF 8HP endplay specification is strictly 0.25mm to 0.55mm (0.010" - 0.022").
- If endplay is excessive, you must swap the selective thrust washer located between the planetary carrier and the rear bearing. If endplay is too tight, the gearsets will bind and overheat under load.
Once endplay is verified, install the bell housing. Torque the perimeter casing bolts to 25 Nm (18 ft-lbs).
Fluid Fill and Digital Adaptation
The ZF 8HP has no dipstick. Fluid level is set via an overflow plug on the transmission pan, and the procedure is entirely temperature-dependent.
- Fluid Selection: You must use ZF LifeguardFluid 8 (or an approved equivalent like Shell M-1375.4). Sourcing this from reputable suppliers like FCP Euro ensures you are not getting counterfeit fluid, which is rampant on third-party marketplaces. Expect to use 8.5 to 9.5 liters for a dry fill.
- Temperature Target: Using your scan tool, monitor the Transmission Fluid Temperature (TFT). The fill procedure must be performed when the fluid is between 30°C and 50°C (86°F - 122°F).
- The Fill Process: With the engine idling and the vehicle perfectly level, cycle the gear selector through all positions, pausing for 2 seconds in each. With the engine still running, remove the overflow plug. When the fluid slows from a stream to a steady drip, reinstall and torque the plug to 12 Nm.
- Adaptation Reset: This is the most skipped step by amateurs. You must use your bi-directional scan tool to clear the Transmission Control Module (TCM) adaptation values. The 8HP learns clutch fill volumes and shift pressures dynamically. If you do not reset these values, the TCM will apply the worn-out pressure maps of the old transmission to your newly rebuilt clutches, resulting in harsh, banging shifts or immediate clutch burnout.
Expert Sourcing and References
A successful ZF transmission rebuild relies on OEM-quality components and accurate data. Always cross-reference your build with the latest technical service bulletins. For further reading on valve body diagnostics and sleeve upgrades, consult the engineering resources at ZF Aftermarket and the technical whitepapers provided by Sonnax Industries. Proper bench procedures, combined with precise torque specs and digital adaptations, will yield an 8HP transmission capable of surviving well past 200,000 miles.