The Economics of Performance Transmission Tooling
Building a high-horsepower transmission in your home garage is one of the most rewarding projects an automotive enthusiast can undertake. However, as power levels push past the 600-wheel-horsepower mark, the margin for error drops to zero. Selecting the right tools for rebuilding transmission assemblies is not just about convenience; it is about achieving the microscopic tolerances required for survival on the drag strip or road course. From a cost perspective, outfitting a dedicated transmission bench requires capital, but the return on investment becomes apparent when compared to the $4,500 to $7,000 price tags commanded by top-tier performance shops in 2026.
Expert Insight: A professional performance rebuild relies on metrology, not just brute force. If you cannot measure clutch pack clearance to the thousandth of an inch, you cannot reliably tune line pressure for high-RPM shifts.
This guide breaks down the step-by-step transmission overhaul process, focusing on the GM 6L80E—a staple in modern LS and LT swap builds—and details the exact tooling, part costs, and torque specifications required for a bulletproof performance build.
Phase 1: Metrology and Teardown Essentials
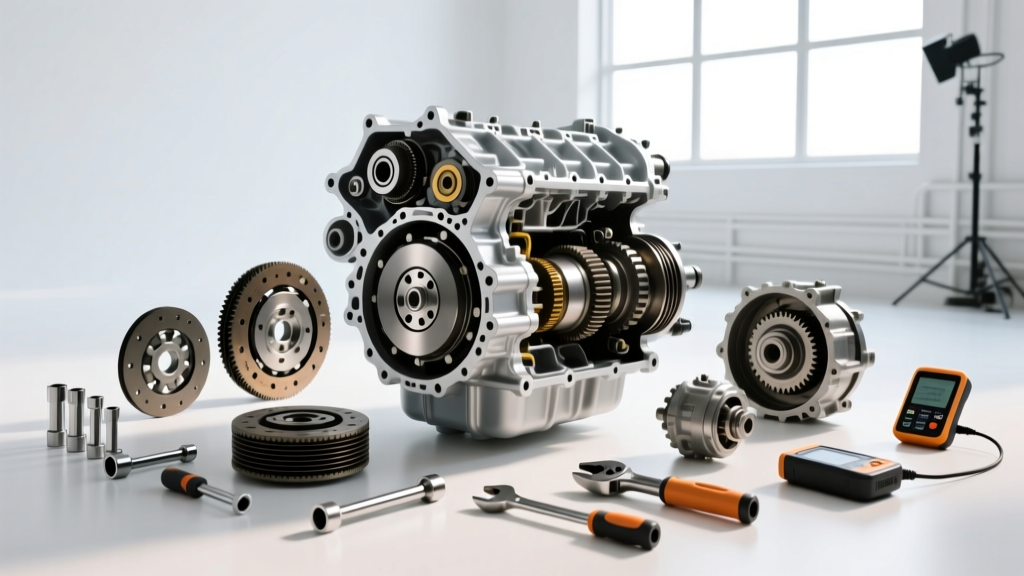
Before you turn a single wrench, your bench must be equipped with precision measuring instruments. Performance automatic transmissions live and die by endplay and clutch clearance.
Precision Measurement Tools
- Dial Indicator with Magnetic Base (Mitutoyo or Starrett): Essential for checking input shaft endplay. For a performance 6L80E, you are targeting an endplay of 0.010" to 0.015". Cost: $85 - $150.
- Digital Calipers and Micrometers: Required for measuring selective shim thicknesses and clutch pack steels. Cost: $60 - $120.
- Feeler Gauge Set (Tapered): Used for checking individual clutch pack clearances. Alto Red Eagle performance packs often require tighter clearances (0.040" - 0.060") than OEM specifications to reduce shift lag. Cost: $25.
Teardown and Holding Fixtures
Attempting to disassemble a heavy, complex unit like the 6L80E or ZF 8HP on a flat workbench is a recipe for damaged castings and lost check balls. A dedicated transmission holding fixture is mandatory. The Sonnax 51946-series holding fixtures or equivalent aftermarket rotating stands allow you to safely apply the torque required to break loose staked nuts and pump bolts without the case slipping.
Phase 2: Assembly Tools for High-Horsepower Builds
Once the case is stripped, cleaned, and inspected for hairline cracks (common in the bellhousing area of early 6L80E cases subjected to high torque converter stall pressures), the assembly phase begins. This is where specialized tools for rebuilding transmission components prove their worth.
Clutch Pack Compressors and Seal Drivers
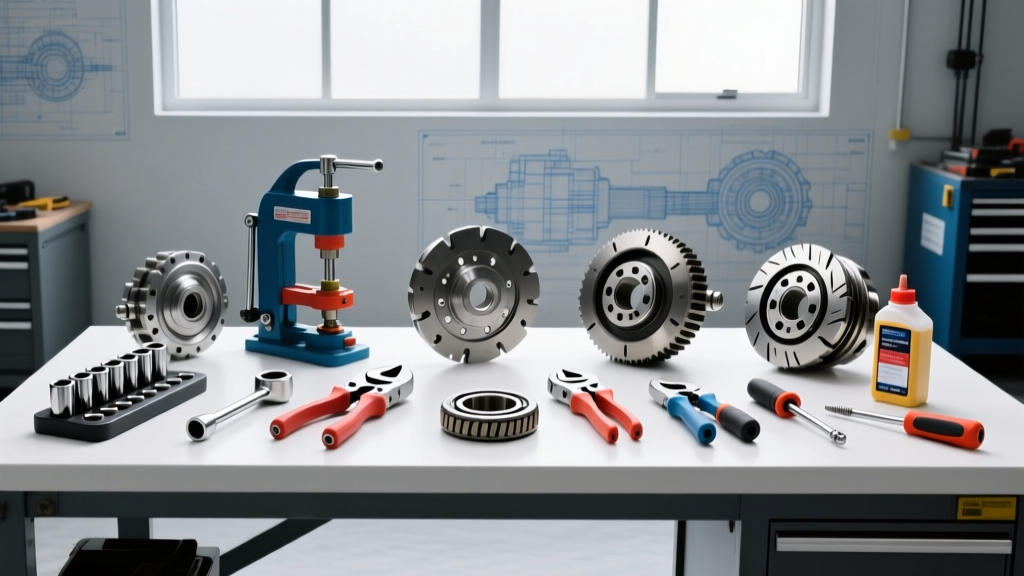
Performance builds utilize thicker, high-friction clutches like the Alto Products Red Eagle or BorgWarner High Energy frictions. These packs are under immense spring pressure. A universal clutch compressor, such as the Schley Products 57200 or a model-specific 6L80E compressor sleeve, is required to safely compress the return springs and install the snap rings. Furthermore, OEM-style lip seals will blow out under 250+ PSI line pressures. Upgrading to billet piston seal rings requires specialized, chamfered seal drivers to prevent cutting the O-rings during installation.
Cost Analysis: DIY Tooling vs. Professional Shop Labor
Understanding the financial breakdown helps justify the upfront cost of acquiring professional-grade tools. Below is a comparative look at the costs associated with a DIY performance 6L80E overhaul versus outsourcing to a performance shop.
| Cost Category | DIY Home Builder (2026 Estimates) | Professional Performance Shop |
|---|---|---|
| Specialty Tools & Fixtures | $650 - $1,200 (One-time investment) | $0 (Amortized into shop rate) |
| Master Rebuild Kit (Alto/BorgWarner) | $350 - $550 | $450 - $650 (Shop markup) |
| Billet Input/Output Shafts (Sonnax) | $800 - $1,100 | $1,000 - $1,400 |
| Performance Valve Body / Zip Kit | $250 - $450 | $400 - $700 |
| Labor / Assembly | $0 (Your time) | $1,500 - $2,500 |
| Dyno Testing & TCM Tuning | $150 (Outsourced tuning) | $500 - $800 (In-house) |
| Total Estimated Cost | $2,200 - $3,450 | $3,850 - $6,050 |
As highlighted by industry analyses in Transmission Digest, the DIY builder saves significantly on labor and parts markups, easily recouping the cost of specialty tools on the very first build.
Phase 3: Step-by-Step 6L80E Performance Overhaul Sequence
With your tools organized and parts verified, follow this step-by-step workflow to ensure a reliable, high-performance build.
- Case Preparation and Inspection: After hot-tanking and blowing out all fluid passages with compressed air, inspect the case bushings. Performance builds mandate the installation of Sonnax line-to-lube sleeved bushings to prevent converter drain-back and ensure adequate lube flow to the planetary gears at high RPM.
- Rear planetary and Output Shaft Assembly: Install the upgraded billet output shaft. Use a dial indicator to check endplay. If endplay exceeds 0.020", install a thicker selective shim behind the rear sun gear. Torque the rear ring gear retaining nuts to 74 ft-lbs and stake them securely.
- Clutch Pack Stacking: This is the most critical step. When assembling the 1-2-3-4 and 3-5-R clutch housings, alternate the Alto Red Eagle frictions with the Kolene steels. Use your tapered feeler gauges to verify clearance. For a dedicated drag application, aim for the tight side of the spec (0.040") to minimize shift flare. Use your clutch compressor to safely seat the heavy-duty return springs and install the retaining snap rings.
- Oil Pump Blueprinting: Disassemble the gerotor pump. Measure the rotor-to-pump-body clearance using a feeler gauge. Performance applications require clearances no greater than 0.004". If the pump halves are scored, replace the assembly. Install the pump to the case using new torque-to-yield bolts, torquing them to 106 in-lbs in a star pattern.
- Valve Body and TCM Integration: Install a performance shift kit (such as a Sonnax Zip Kit) to increase line pressure and firm up shift timing. When bolting the valve body to the case, use a calibrated inch-pound torque wrench. The delicate valve body separator plate can easily warp if the 8mm bolts are over-torqued. The spec is typically 97 in-lbs.
- Final Endplay Check: Before installing the bellhousing and torque converter, mount the dial indicator to the rear of the case and pry the output shaft forward and backward. Record the total endplay. A reading between 0.010" and 0.018" is ideal for a performance build, ensuring the thrust bearings are loaded correctly without binding under thermal expansion.
Final Calibration and Line Pressure Tuning
The mechanical overhaul is only half the battle. Modern transmissions like the 6L80E rely heavily on the Transmission Control Module (TCM) to manage shift feel and clutch apply rates. Once the transmission is bolted to the engine and filled with a high-performance synthetic fluid (such as AMSOIL Signature Series or Red Line D6), you must perform a TCM tune.
Using software like HP Tuners, increase the base line pressure tables by 15-20% to accommodate the stiffer clutch pack return springs and high-stall torque converter. Monitor the transmission fluid temperature (TFT) sensor data during your initial test drives; if the fluid exceeds 220°F, you must install an auxiliary deep-pan transmission cooler. By combining precision tools, meticulous step-by-step assembly, and proper electronic calibration, your home-built transmission will reliably handle the rigors of modern performance driving.