Introduction to the XV1700 Clutch Architecture
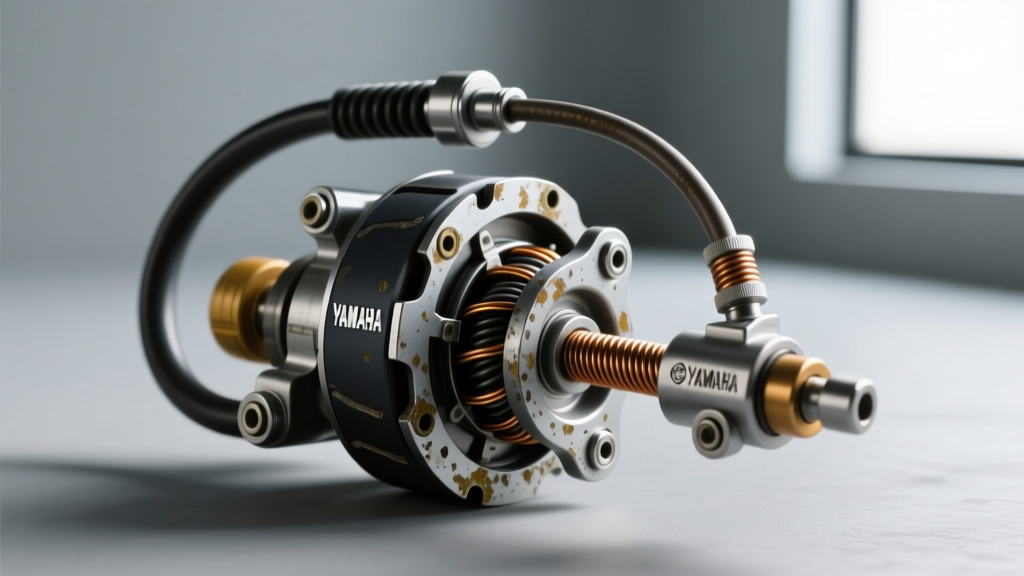
The 2004 Yamaha XV1700, widely celebrated in European and UK markets as the Midnight Star (and the Road Star in North America), features a massive 1670cc air-cooled V-twin engine. Producing over 100 lb-ft of torque at low RPMs, this powerplant places immense mechanical stress on the wet multi-plate clutch assembly and its mechanical actuation linkage. Unlike modern hydraulic systems, the 2004 Yamaha Midnight Star 1700 clutch cable relies on precise mechanical tolerances, routing geometry, and regular maintenance to translate lever input into smooth clutch disengagement.
When diagnosing clutch slip, erratic engagement, or a stiff lever pull on this platform, technicians must look beyond simple free-play adjustments. A comprehensive inspection of the entire cable run, lever cam, and engine-side actuator is mandatory. This technical deep-dive provides a definitive inspection checklist to evaluate the health of your clutch actuation system, complete with OEM torque specifications and wear limits.
Essential Tools for the Inspection
Before beginning the diagnostic procedure, gather the following precision tools to ensure accurate measurements and prevent hardware damage:
- Vernier Caliper: For measuring friction plate thickness and cable housing wear.
- Metric T-Handle Hex Set: Specifically 8mm and 10mm for crankcase cover removal.
- Feeler Gauge Set: For verifying clutch pack clearances if the right-side cover is removed.
- Cable Luber Tool: For forcing high-viscosity PTFE lubricant into the cable sheath.
- Torque Wrench (inch-pounds): Critical for reassembling the left and right engine covers without warping the aluminum.
The 2004 Yamaha Midnight Star 1700 Clutch Cable Inspection Checklist
Follow this phased approach to isolate friction points, stretching, and mechanical wear within the clutch actuation circuit.
Phase 1: Lever and Handlebar Routing
The inspection begins at the rider interface. The XV1700 utilizes a stamped steel lever with a nylon pivot sleeve and a cam profile that pushes the cable barrel.
- Pivot Bolt & Sleeve Check: Remove the lever pivot bolt (torque spec: 9 Nm / 6.6 lb-ft upon reassembly). Inspect the nylon sleeve for elliptical wear. If the sleeve is compromised, the lever will wobble, altering the cable pull geometry and causing a spongy feel.
- Lever Cam Grooving: Examine the slot where the cable barrel seats. High-mileage XV1700s often develop deep grooves in the lever cam. This creates a 'dead zone' in the initial lever pull before the cable actually begins to move.
- Inline Adjuster Threads: Inspect the brass threads on the handlebar inline adjuster. Cross-threading or stripped brass indicates previous improper adjustments and necessitates immediate replacement of the adjuster assembly.
Phase 2: Mid-Cable and Frame Routing
The 2004 Yamaha Midnight Star 1700 clutch cable routes down the left side of the frame, navigating past the steering head and the rear cylinder exhaust header. This routing is highly susceptible to environmental and thermal degradation.
- Thermal Shielding Integrity: Verify that the cable is not contacting the rear exhaust header. The XV1700's rear cylinder runs notoriously hot in traffic. If the cable housing has melted or become brittle, the inner steel wire will experience increased friction, leading to a stiff lever and delayed clutch engagement.
- Zip-Tie and Frame Abrasion: Trace the cable down to the engine mounting brackets. Look for shiny spots on the black vinyl cable coating. Frame rub will eventually breach the housing, allowing water ingress that rusts the inner wire from the inside out.
- Sheath Compression Test: Have an assistant pull the clutch lever while you observe the exposed inner wire near the handlebar. If the wire moves but the clutch does not disengage proportionally, the outer housing is compressing or expanding due to internal fraying.
Phase 3: Engine Case Actuator and Lifter Mechanism
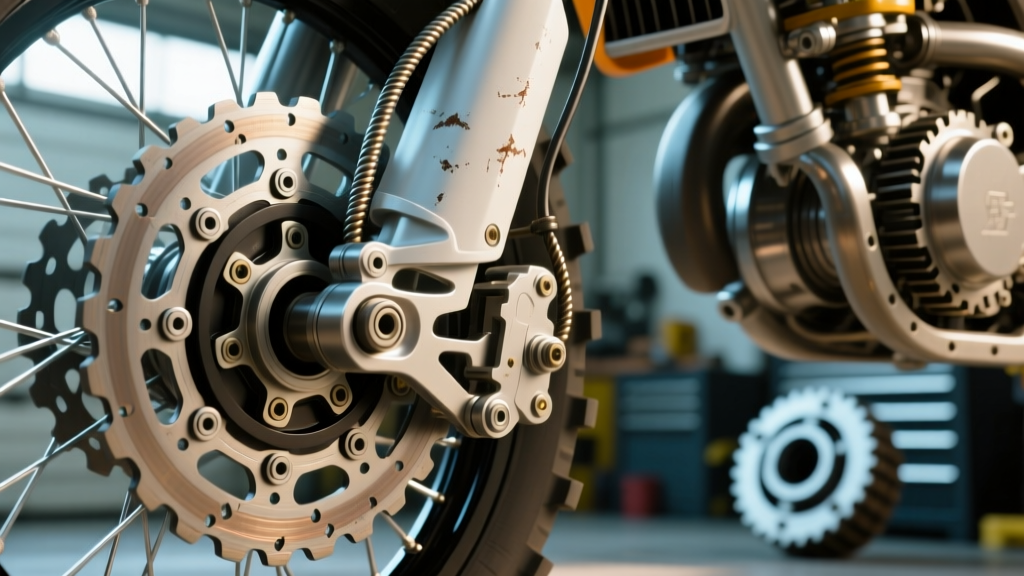
The lower end of the cable terminates at the left-side crankcase cover actuator arm. This is where mechanical wear most commonly mimics a failing clutch pack.
- Actuator Arm Free Play: Before adjusting the cable, check the actuator arm on the engine case. Disconnect the cable barrel. The arm should move smoothly with a distinct 'detent' feel provided by the internal ball-and-ramp or cam mechanism. Roughness indicates contaminated grease or worn internal bearings.
- Pushrod Deflection: Remove the left crankcase cover (14 bolts, torque to 10 Nm / 7.2 lb-ft upon reassembly). Inspect the clutch pushrod that runs through the transmission main shaft. If the pushrod is bent or exhibits mushrooming at the tips, it will bind inside the shaft, preventing full clutch disengagement regardless of cable tension.
- Lower Adjuster Screw Inspection: Check the 8mm adjuster screw and 10mm locknut on the actuator arm. The tip of the adjuster screw presses against the pushrod. If the tip is heavily cratered, it alters the mechanical advantage and requires replacement.
Diagnostic Warning: Never attempt to eliminate all free play at the handlebar to compensate for a worn clutch pack. The XV1700 clutch requires 10-15mm of free play to allow the diaphragm springs to fully seat. Zero free play will cause the throw-out bearing to ride constantly, leading to catastrophic main shaft and clutch basket failure within a few hundred miles.
Diagnostic Data: Free Play & Wear Limits
Use the following factory specifications to benchmark your inspection findings. Any measurement outside these parameters requires component replacement.
| Parameter | Specification / Limit | Diagnostic Implication |
|---|---|---|
| Handlebar Lever Free Play | 10.0 - 15.0 mm (0.39 - 0.59 in) | Prevents throw-out bearing drag and clutch slip |
| Lower Actuator Arm Gap | Align punch marks on arm and case | Ensures correct pushrod pre-load |
| Friction Plate Thickness | Standard: 3.0 mm / Limit: 2.8 mm | Plates below 2.8mm cause slip under heavy V-twin torque |
| Clutch Spring Free Length | Standard: 47.0 mm / Limit: 44.6 mm | Sagged springs reduce clamping force, mimicking cable stretch |
| Cable Inner Wire Stretch | Limit: 1.5 mm elongation per meter | Requires constant re-adjustment; indicates metal fatigue |
Advanced Troubleshooting: When the Cable Isn't the Problem
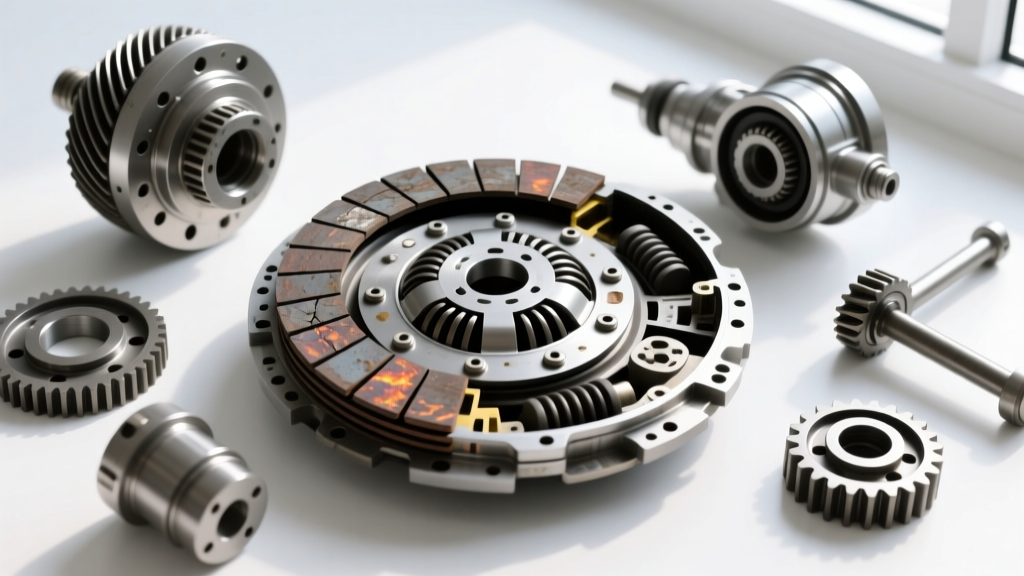
If the 2004 Yamaha Midnight Star 1700 clutch cable passes all inspection points but symptoms persist, the fault lies within the clutch assembly itself. The XV1700 is notorious for clutch basket notching. The heavy torsional pulses of the 1670cc V-twin can cause the aluminum fingers of the inner hub and outer basket to develop deep grooves where the friction plate tabs rest.
When notching occurs, the friction plates hang up on the tabs during release. This results in a 'grabby' clutch engagement, a lever that feels stiff at the end of its travel, and an inability to find neutral at a stoplight. To diagnose this, the right-side clutch cover must be removed, and the clutch pack dismantled. Run a fingernail across the basket fingers; if your nail catches in a groove, the basket must be replaced or machined. Furthermore, inspect the clutch hub nut (torque to 75 Nm / 55 lb-ft with a new staked washer) to ensure the inner hub has not backed off the main shaft splines.
Sourcing and Replacement Part Numbers
When replacement is necessary, avoiding cheap, unbranded cables is critical for the XV1700 due to the high lever effort required. The OEM Yamaha clutch cable part number for the 2004 XV1700 Midnight Star is 5PX-26335-00 (or 5PX-26335-01 depending on regional sub-model). You can verify fitment and source OEM components through authorized dealers like Partzilla's Yamaha Motorcycle Catalog.
For heavy-duty applications or riders who frequently navigate stop-and-go traffic, upgrading to an aftermarket lined cable is highly recommended. Motion Pro offers Teflon-lined, stainless steel braided clutch cables that significantly reduce lever effort and eliminate internal friction degradation over time. Always remember to pre-lubricate any new cable with a dedicated PTFE cable lube before installation, and re-torque all engine cover bolts to the precise specifications outlined above to prevent oil weeping from the XV1700's wet sump system.