Understanding the Yamaha G9 CVT Driven Clutch
If you are wrenching on a classic 1992 Yamaha G9 (specifically the G9A gas model), you are dealing with one of the most reliable Continuously Variable Transmissions (CVT) ever put on a golf cart. However, after decades of use, the secondary clutch—also known as the driven clutch—will inevitably wear out. Symptoms of a failing secondary clutch include a loss of top speed, sluggish acceleration, a rattling noise from the CVT housing at idle, or a drive belt that constantly throws or glazes.
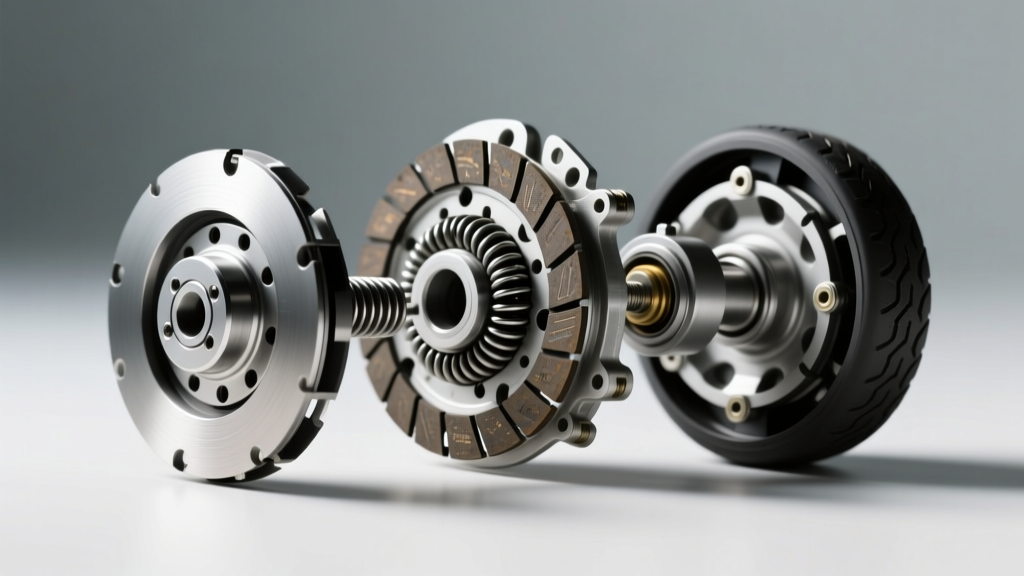
The secondary clutch is mounted to the input shaft of the transaxle. Its job is to squeeze the drive belt as engine RPMs increase, effectively changing the gear ratio. When the internal torque spring fatigues, or the sheave bushings develop excessive play, a 1992 Yamaha G9 golf cart secondary clutch replacement becomes mandatory. As of 2026, finding New Old Stock (NOS) OEM Yamaha clutches for the G9 is nearly impossible, but high-quality aftermarket replacements with upgraded metallurgy and improved heat dissipation are readily available and highly recommended for lifted or heavily used carts.
Essential Tools and OEM Part Numbers
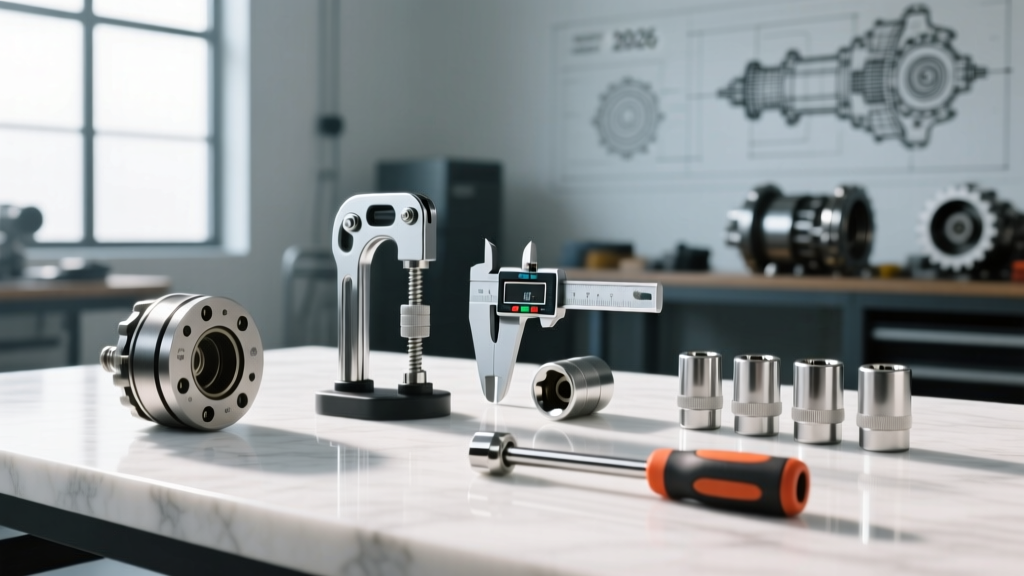
Before you grab a wrench, ensure you have the correct parts and specialized tools. Attempting this job without a clutch puller or an impact wrench will turn a one-hour job into a frustrating weekend project.
| Category | Item Description | Part Number / Spec |
|---|---|---|
| Replacement Part | Secondary (Driven) Clutch Assembly | JN6-17600-01-00 (OEM Ref) |
| Replacement Part | Drive Belt (Recommended to replace simultaneously) | JN6-17641-01 |
| Specialty Tool | Clutch Puller (Internal Thread) | M10 x 1.25 Thread Pitch |
| Hand Tools | Sockets and Wrenches | 10mm, 17mm, 19mm Metric |
| Power Tools | Impact Wrench (Electric or Pneumatic) | Minimum 250 ft-lbs breakaway |
| Precision Tool | Torque Wrench | 1/2-inch drive, up to 100 ft-lbs |
| Consumables | Brake Cleaner, Brass Wire Brush, CVT Grease | Non-aerosol brake clean preferred |
Note: Always source parts from reputable vendors like Buggies Unlimited or Golf Cart Garage to ensure correct spline counts and sheave angles for the G9 platform.
Step-by-Step Replacement Procedure
This beginner-friendly explainer breaks down the procedure into manageable phases. Take your time, prioritize safety, and keep your workspace clean.
Phase 1: Safety Prep and CVT Cover Removal
Begin by parking the golf cart on a level surface and chocking the front wheels. Place the transaxle in 'Neutral' to allow the drivetrain to spin freely during bolt removal. Disconnect the negative terminal on the 12V battery to prevent any accidental cranking.
Using a 10mm socket, remove the perimeter bolts securing the plastic CVT inspection cover. Carefully pull the cover away from the housing. You will now see the primary clutch (attached to the engine crankshaft) on the right, and the larger secondary clutch (attached to the transaxle) on the left. Take a photo of the belt routing with your smartphone before proceeding—this will be a lifesaver during reassembly.
Phase 2: Relieving Belt Tension
The G9 secondary clutch is under constant spring pressure, keeping the belt tight. To remove the belt, you must manually compress the secondary clutch. Grip the outer sheave of the secondary clutch and twist it counter-clockwise while pushing it inward toward the transaxle. This opens the sheave halves, dropping the belt deep into the pulley groove.
Once slack is created, slip the belt off the secondary clutch and route it completely over the top of the primary clutch. If your drive belt is cracked, frayed, or measures less than 1 1/8 inches in width, discard it and install a new JN6-17641-01 belt now.
Phase 3: Extracting the Secondary Clutch
This is where most beginners get stuck. The secondary clutch is held to the transaxle shaft by a large M12 flange bolt. Do not use a standard hand ratchet to remove this bolt. Because the transaxle is in neutral, the shaft will simply spin, and you will end up with bruised knuckles.
Instead, use an electric or pneumatic impact wrench with a 17mm or 19mm socket (depending on your specific bolt head) to blast the center bolt loose. Remove the bolt and the thick flange washer.
Next, thread your M10 x 1.25 clutch puller into the center hole of the secondary clutch. Tighten the puller bolt against the transaxle shaft. As you wrench down on the puller, you will hear a loud 'pop' as the clutch breaks free from the splined shaft. Slide the heavy clutch assembly off the shaft.
Pro-Tip: Never strike the back of the secondary clutch with a steel hammer to break it loose. The cast aluminum sheave and internal plastic sliders will shatter. Always use the proper threaded puller.
Phase 4: Prepping the Transaxle Shaft
With the old clutch removed, inspect the transaxle input shaft. Over 30+ years, rust and debris can build up on the splines. Use a brass wire brush and a liberal spray of brake cleaner to remove all corrosion. The splines should be shiny and smooth to the touch.
Apply a microscopic amount of CVT-specific high-temp grease or copper anti-seize to the splines. Warning: If you over-apply grease, it will migrate outward onto the sheave faces once the cart heats up, causing catastrophic belt slip and destroying your new drive belt in a matter of miles.
Phase 5: Installation and Torque Specifications
Slide the new secondary clutch onto the transaxle shaft, carefully aligning the internal splines. Do not force it; if it binds, pull it back, rotate it slightly, and try again. Once fully seated against the transaxle housing shoulder, reinstall the thick flange washer and the M12 center bolt.
Hand-thread the bolt to ensure you are not cross-threading it. Once snug, use your impact wrench to run it down tight. Finally, switch to your torque wrench and torque the M12 flange bolt to exactly 47 ft-lbs (64 Nm). This specific torque spec is vital; under-torquing will cause the bolt to back out and destroy the transaxle shaft, while over-torquing can strip the threads inside the hardened shaft.
Setting Belt Deflection and Final Checks
Before reinstalling the CVT cover, you must verify the belt deflection. Route the belt back onto the secondary clutch. The belt should sit at a specific height between the two clutches. Using moderate thumb pressure, press down on the longest span of the belt between the primary and secondary clutches.
- Target Deflection: 1 1/4 inch to 1 1/2 inch (32mm - 38mm)
- Too Tight: The cart will 'creep' forward at idle and the belt will wear prematurely.
- Too Loose: The belt will slap against the CVT housing and slip during heavy acceleration.
If the deflection is incorrect, the issue is usually a worn drive belt or an incorrect aftermarket clutch assembly. Reinstall the CVT cover using the 10mm bolts, reconnect the battery, and remove the wheel chocks.
Troubleshooting Common Beginner Mistakes
Even with a careful approach, things can go wrong during a test drive. Here is how to diagnose post-installation issues:
- Loud Squealing at Takeoff: This usually indicates a glazed drive belt or belt dust trapped inside the new clutch sheaves. Remove the cover, clean the sheave faces with a Scotch-Brite pad and brake cleaner, and ensure the belt is routed in the correct direction (arrows on the belt should point forward).
- Vibration at High Speed: The secondary clutch may not be fully seated against the transaxle shoulder, or the transaxle input shaft bearings are worn. Check the center bolt torque first. If the bolt is tight but vibration persists, the transaxle bearings may require a rebuild.
- Loss of Engine Braking: The internal torque spring in the new secondary clutch may be seated incorrectly in the cam slots, preventing the sheaves from opening smoothly during deceleration.
By following this comprehensive guide, your 1992 Yamaha G9 will shift smoothly, climb hills with authority, and be ready for the course or the trail for years to come.