Introduction: The Stihl FS 56 RC Clutch Dilemma in 2026
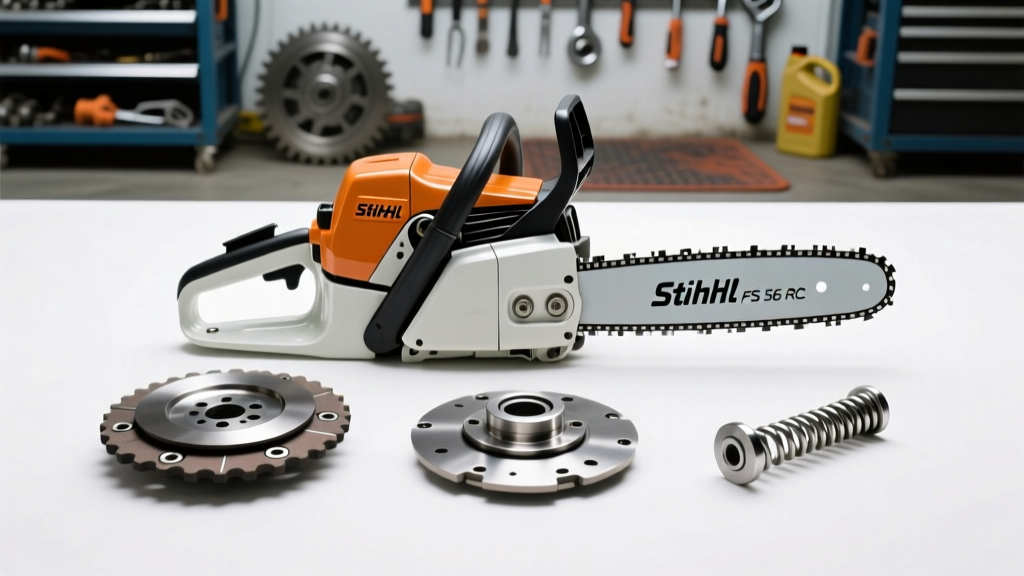
The Stihl FS 56 RC is a staple in the landscaping and property maintenance world, powered by a robust 28.4cc 2-stroke engine. At the heart of its drivetrain is a dry centrifugal clutch assembly designed to engage at approximately 3,800 RPM. Over time, friction material degrades, springs fatigue, and needle bearings seize. When your trimmer head creeps at idle or bogs down under heavy brush, you are faced with a critical drivetrain decision: do you perform a targeted component repair, or execute a full Stihl FS 56 RC clutch replacement?
As a senior drivetrain specialist, I approach small-engine centrifugal clutches with the same diagnostic rigor as automotive transmission systems. Throwing a complete assembly at a minor spring issue is a waste of capital, while attempting to repair a scored clutch drum will lead to catastrophic crankshaft failure. This step-by-step guide will walk you through the teardown, inspection, and decision-making process to ensure your FS 56 RC returns to peak operational efficiency.
Step 1: Symptom Isolation (Slipping vs. Binding)
Before unbolting a single component, you must accurately categorize the failure mode. Centrifugal clutches generally fail in two distinct ways:
- Slipping Under Load: The engine revs high, but the trimmer head spins sluggishly. This indicates a loss of friction coefficient between the clutch shoes and the inner wall of the clutch drum. Causes include glazed friction pads, oil contamination, or weakened tension springs.
- Binding or Creeping at Idle: The trimmer head spins even when the engine is idling below 2,800 RPM, or the engine bogs down immediately upon starting. This points to a mechanical bind—usually a seized needle bearing, a broken spring wedged between the shoe and drum, or severe thermal warping of the drum.
Accurate symptom isolation dictates whether you will need basic hand tools for a spring swap or a full extraction kit for a drum and shoe replacement.
Step 2: Safe Teardown and Component Inspection
To make an informed repair vs. replace decision, the clutch assembly must be removed and inspected on the bench. Safety and precision are paramount here to avoid damaging the crankshaft taper.
Required Tools
- Piston Stop Tool (Stihl Part # 4128 893 5900)
- Clutch Removal Tool / Spanner Wrench
- 13mm Socket or Impact Wrench (for initial breakaway)
- Needle Nose Pliers and Circlip Pliers
Teardown Procedure
- Secure the Engine: Remove the spark plug boot and thread the piston stop tool into the spark plug hole. Rotate the flywheel gently by hand until the piston makes contact with the stop tool, locking the crankshaft.
- Break the Retaining Bolt: The FS 56 RC clutch drum is secured by an M8 Left-Hand Thread bolt. You must turn it clockwise to loosen. Use an impact wrench or a sharp strike with a breaker bar to break the torque.
- Remove the Drum and Bearing: Slide the clutch drum off the crankshaft. Inspect the needle bearing (Part # 9512 003 0050) inside the drum. If it does not spin freely or shows blue heat marks, the drum assembly is compromised.
- Extract the Clutch Shoes: Remove the central E-clip and washer holding the clutch shoe assembly to the crankshaft. Carefully slide the shoe assembly off, noting the orientation of the tension springs.
Step 3: The Repair vs. Replace Decision Matrix
With the components on your workbench, use a micrometer and visual inspection to evaluate wear. Refer to the matrix below to determine your path forward. As of 2026, OEM Stihl parts remain readily available through authorized dealers, but aftermarket alternatives have also improved in metallurgy.
| Component | Condition / Measurement | Action | OEM Part Number | Est. Cost (USD) |
|---|---|---|---|---|
| Clutch Shoes | Friction material < 1.5mm, or metal-on-metal scoring | REPLACE (Full Assembly) | 4140 160 2100 | $35 - $45 |
| Tension Springs | Stretched > 2mm, or one spring snapped | REPAIR (Springs Only) | 4140 160 2105 | $5 - $8 |
| Clutch Drum | Inner wall scored > 0.2mm, or blued from heat | REPLACE (Drum Assembly) | 4144 160 8100 | $40 - $55 |
| Needle Bearing | Gritty rotation, missing rollers, or rust pitting | REPAIR (Bearing Only) | 9512 003 0050 | $6 - $10 |
| Crankshaft Taper | Galling, spun drum, or stripped threads | REPLACE (Crankshaft/Short Block) | N/A (Machine Shop) | $120+ |
Step 4: Execution Paths
Based on the matrix, you will now execute either a targeted repair or a full replacement.
Path A: The Repair Route (Springs and Bearings)
If your clutch shoes still have ample friction material (over 2mm) but the trimmer was creeping at idle due to a broken spring, you only need to perform a repair.
- Spring Replacement: Use needle-nose pliers to unhook the old springs from the clutch shoe tangs. Hook the new OEM springs (Part # 4140 160 2105) into place. Ensure the tension loops are seated fully to prevent them from flying off at 10,000 RPM.
- Bearing Swap: If the needle bearing is seized, use a blind hole bearing puller to extract it from the clutch drum. Clean the drum bore with brake cleaner. Freeze the new bearing (9512 003 0050) for 30 minutes to shrink the outer race slightly, then press it into the drum using a socket of the exact same diameter as the outer race. Never press on the inner bearing seal.
Path B: Full Stihl FS 56 RC Clutch Replacement
If the shoes are worn down to the rivets or aluminum base, or if the drum is deeply scored, you must replace the assemblies. Mixing a new shoe assembly with a scored drum will destroy the new friction material in under an hour of operation.
- Prep the Crankshaft: Clean the crankshaft taper and threads with acetone or brake cleaner. Any oil residue here will cause the new clutch drum to spin on the taper, destroying the crankshaft.
- Install New Shoe Assembly: Slide the new clutch shoe assembly (4140 160 2100) onto the crankshaft splines. Reinstall the washer and E-clip. Ensure the E-clip is fully seated in the groove.
- Install New Drum: Slide the new clutch drum (4144 160 8100) over the shoes and onto the crankshaft taper.
- Torque the Retaining Bolt: Apply a single drop of blue threadlocker (Loctite 243) to the left-hand thread bolt. Thread it in counter-clockwise. Using your piston stop tool, torque the bolt to exactly 12 Nm (8.8 ft-lbs). Over-torquing can strip the soft crankshaft threads; under-torquing will result in a spun taper.
Cross-Discipline Drivetrain Analysis: Centrifugal vs. Automotive Wet Clutches
While the Stihl FS 56 RC utilizes a simple dry centrifugal clutch, the diagnostic philosophy overlaps significantly with complex automotive transmissions. Understanding this helps technicians appreciate the physics of friction degradation across all drivetrain scales.
Consider the ZF 8HP transmission found in modern BMWs and FCA vehicles. It relies on multi-plate wet clutch packs bathed in ZF Lifeguard 8 fluid. When a ZF 8HP experiences slip, it is often due to friction material shearing off the plates and clogging the valve body solenoids—a failure mode requiring a complete transmission teardown, flush, and mechatronic unit reset. Similarly, in a GM 4L60E, a failing torque converter lock-up clutch (TCC) will shed friction material that destroys the fluid pump and clogs the cooler lines.
By contrast, the FS 56 RC clutch is entirely external and dry. There is no hydraulic fluid to contaminate, and no valve body to clog. The engagement is purely mechanical, governed by spring tension and centrifugal force overcoming the static friction of the shoes. However, the thermal limits are much lower. While a 6L80 transmission can absorb massive amounts of heat via its dedicated transmission fluid cooler, the Stihl clutch drum relies entirely on ambient air cooling. When a landscaper holds the FS 56 RC at a partial-throttle 'slip' point to edge a driveway, the drum acts as a heat sink. Once it exceeds 400°F, the friction pads glaze, mirroring the burnt clutch discs of an abused automotive manual transmission. Recognizing these thermal thresholds is what separates a parts-changer from a true drivetrain specialist.
Final Reassembly and Preventative Maintenance
Once the clutch system is repaired or replaced, reassemble the gear head and trimmer guard. Before starting the engine, adjust the idle speed screw (LA) on the carburetor. The goal is to set the idle just below the clutch engagement threshold—typically around 2,800 to 3,000 RPM. If the idle is set too high, the clutch will remain partially engaged, generating immense friction heat and prematurely wearing your new components.
For ongoing maintenance, periodically inspect the clutch drum ventilation holes. Grass clippings and debris can pack into these holes, insulating the drum and causing thermal failure. A quick blast of compressed air through the drum vents every 50 hours of operation will significantly extend the lifespan of your friction materials.
Authoritative Sources and References
- Stihl USA Official Manuals and Technical Documentation - For verified torque specifications and OEM part numbering.
- Jack's Small Engines Stihl Parts Catalog - For cross-referencing clutch drum and needle bearing assemblies.
- ArboristSite Small Engine Forums - Community-tested diagnostic procedures for 2-stroke centrifugal clutch failures.