The Intersection of Riding Technique and Clutch Longevity
When riders search for how to drive clutching motorcycle setups smoothly in heavy stop-and-go traffic, they are often unknowingly asking how to manage severe thermal loads. Unlike the dry single-plate clutches found in manual automotive transmissions, the vast majority of motorcycles utilize a wet, multi-plate clutch system bathed in engine oil. While this design provides superior cooling and allows for a compact footprint, it is highly sensitive to improper friction zone modulation.
Learning how to drive clutching motorcycle machinery correctly means understanding that excessive 'slipping' to creep forward at 5 mph doesn't just wear the friction material; it degrades the viscosity of your engine oil, glazes the steel separator plates, and accelerates the notching of the aluminum clutch basket. As of 2026, modern synthetic JASO MA2 oils offer exceptional shear stability, but no fluid can overcome the mechanical abuse of a poorly adjusted lever or a fatigued spring pack.
Below is a comprehensive, technician-level inspection checklist to diagnose clutch slip, chatter, and drag, bridging the gap between riding technique and mechanical failure.
Phase 1: External Actuation and Free Play Diagnostics
Before tearing into the engine cases, you must verify the external actuation system. A common symptom of clutch slip is actually a misadjusted cable or failing hydraulic master cylinder that prevents the pressure plate from fully seating.
1. Lever Free Play Measurement
Measure the free play at the very tip of the clutch lever. The universal baseline for most Japanese and European street motorcycles (e.g., Yamaha MT-09, Honda CBR600RR, Kawasaki Z900) is 10mm to 15mm of free play.
- Too Tight (0-5mm): The release bearing or pushrod applies constant inward pressure on the pressure plate. This reduces clamping force, causing high-RPM slip and premature throw-out bearing failure.
- Too Loose (20mm+): The clutch fails to fully disengage. This results in 'clutch drag,' making it difficult to find neutral at a stop and causing harsh, clunky downshifts that shock the transmission dogs.
For a detailed breakdown of cable routing and adjustment, refer to RevZilla's technical guide on clutch cable adjustment.
2. Hydraulic System Bleed and Master Cylinder Health
If your motorcycle utilizes a hydraulic clutch (common on Ducati, KTM, and modern BMW models), check the fluid level and inspect the master cylinder piston seal. A failing internal seal will allow fluid to bypass the piston under sustained load (like holding the clutch in at a red light), causing the clutch to slowly re-engage and stall the engine.
Phase 2: Internal Multi-Plate Inspection Checklist
Once the engine oil is drained and the right-side clutch cover is removed, you gain access to the clutch pack. This requires precision measuring tools, specifically a micrometer and a set of feeler gauges.
1. Friction Plate Thickness and Glazing
Remove the friction plates (the ones with the fiber/cork material). Using a micrometer, measure the thickness of each plate at three different points to check for uneven wear.
- Standard Thickness: Typically 3.0mm (varies by OEM, e.g., Honda OEM 22201-KYJ-900).
- Service Limit: Usually 2.6mm. If any plate falls below this, the entire pack must be replaced.
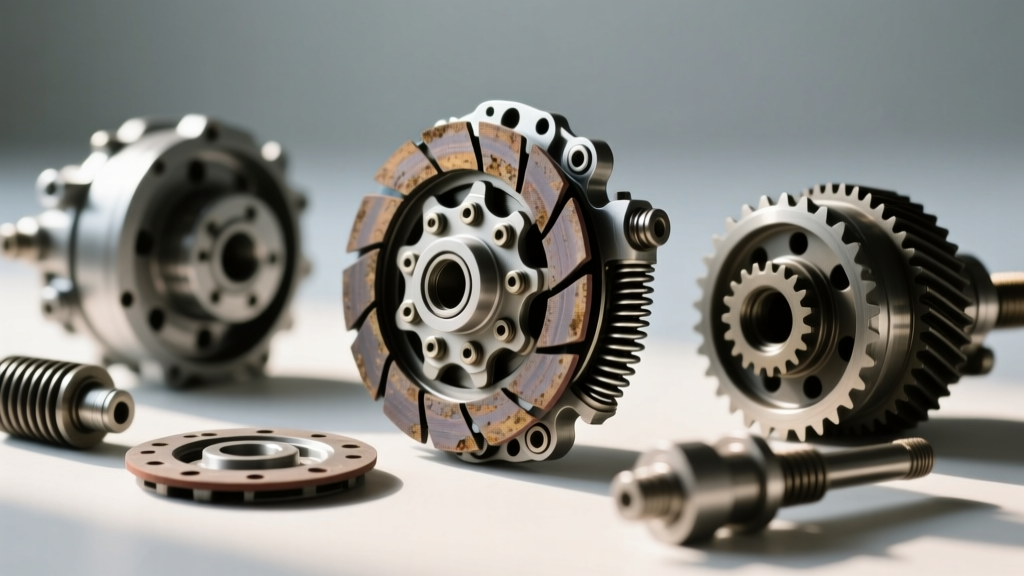
- Visual Inspection: Look for a glassy, burnt sheen. Glazing occurs when riders use excessive slip in the friction zone without adequate engine RPM to drive oil flow, effectively baking the friction material.
2. Steel Separator Plate Warp
The steel plates absorb and transfer immense heat. If a rider frequently 'drops' the clutch from high RPMs (a poor technique often confused with learning how to drive clutching motorcycle setups aggressively), the steel plates will warp.
The Glass Test: Place each steel plate on a perfectly flat piece of tempered glass or a machined surface plate. Attempt to slide a 0.1mm feeler gauge underneath the plate. If the gauge passes under any section of the plate, it is warped and must be replaced. Warped plates cause clutch chatter—a violent shuddering sensation upon takeoff.
3. Clutch Spring Free Length
Clutch springs suffer from heat cycling and metallurgical fatigue. Measure the free length of the springs using digital calipers.
- Standard Length: ~41.0mm (e.g., Yamaha YZF-R6 spec).
- Service Limit: ~38.5mm. Springs that have shortened by more than 5% lose their clamping force exponentially, leading to slip under heavy load.
Phase 3: Basket and Inner Hub Notching
One of the most overlooked failure points in motorcycle clutch diagnostics is the aluminum clutch basket (outer hub) and the steel inner hub. Over thousands of miles of engagement and disengagement, the steel plates hammer against the aluminum tangs of the outer basket, creating deep notches or 'grooves.'
Diagnostic Protocol for Basket Notching
- Run your fingernail across the teeth of the outer aluminum basket where the steel plates sit.
- If your nail catches in a deep groove, the plates cannot slide freely laterally.
- Symptom: This causes 'clutch drag.' Even when you pull the lever to the bar, the notches hold the plates together via friction, causing the bike to creep forward or stall when shifting into first gear.
While some old-school mechanics recommend filing these notches flat with a flat-file, modern metallurgy and tight tolerances dictate that a notched basket should be replaced. Filing alters the spacing and can lead to catastrophic basket fragmentation at 12,000 RPM. Upgrading to a billet aluminum basket (e.g., Hinson or Wiseco) is highly recommended for high-horsepower applications.
Measurement Specifications Reference Table
The following table outlines standard tolerances for a typical 600cc-1000cc inline-four sport motorcycle wet clutch. Always consult your specific OEM service manual.
| Component | Measurement Type | Standard Spec (Approx) | Service Limit (Replace) |
|---|---|---|---|
| Friction Plate | Thickness (Micrometer) | 3.00 mm | < 2.60 mm |
| Steel Plate | Warp (Feeler Gauge on Glass) | 0.00 mm | > 0.10 mm |
| Clutch Spring | Free Length (Calipers) | 41.2 mm | < 38.5 mm |
| Clutch Lever | Free Play at Tip | 10 - 15 mm | N/A (Adjustable) |
Phase 4: Reassembly and Torque Specifications
Proper reassembly is just as critical as the inspection. Failure to follow torque specs and preparation protocols will result in immediate warranty returns or roadside breakdowns.
1. The Pre-Soak Protocol
Never install dry friction plates. Submerge all new fiber/friction plates in a bath of the exact JASO MA2 certified engine oil you plan to run in the crankcase for a minimum of 12 hours prior to installation. This prevents the initial dry-start scorching that permanently ruins the friction material on the first engine start.
2. Torque and Staking
The clutch center lock nut secures the inner hub to the transmission mainshaft. This nut is subjected to intense rotational shear.
- Torque Specification: Typically 59 Nm (43 lb-ft) for M10x1.25 center nuts on Honda and Yamaha platforms.
- Staking: You must use a new locking collar (washer) every time. Once torqued, use a brass punch to stake the collar into the groove of the mainshaft. Do not use an impact wrench to tighten this nut, as you risk rounding the mainshaft splines or over-torquing the bearing preload.
For deeper insights into motorcycle transmission dynamics and clutch actuation physics, Cycle World's Ask Kevin series provides excellent engineering context.
Conclusion: Technique Meets Tolerance
Understanding how to drive clutching motorcycle configurations efficiently is ultimately about respecting the mechanical limits of the wet multi-plate system. By keeping the lever properly adjusted, avoiding prolonged friction-zone slipping in traffic, and adhering strictly to micrometer-based inspection checklists, you can easily extend the life of your clutch pack well past 60,000 miles. When symptoms of slip, chatter, or drag arise, skip the guesswork and rely on the hard data provided by your calipers and feeler gauges.