The Post-Repair AC Clutch Dilemma: Why Your New Compressor Won't Engage
There are few things more frustrating for a Honda Civic owner or independent mechanic than completing a costly AC compressor or clutch coil replacement, only to find that the system still refuses to blow cold air. You have evacuated the system, recharged it to the exact OEM specifications, and verified the pressure switches. Yet, the clutch plate remains stationary. In a vast majority of these post-repair scenarios, the culprit is not the new compressor, but a severely overlooked electrical component: the Honda Civic AC compressor clutch relay.
When addressing clutch problems after repair or replacement, it is vital to understand that the AC clutch and the drivetrain clutch share a symbiotic relationship regarding engine load and rotational mass. A failure in the AC clutch circuit post-repair doesn't just ruin your cabin comfort; it can introduce severe drivetrain symptoms, including manual transmission clutch chatter and engine stalling. This comprehensive cost analysis and diagnostic breakdown will explore why these relays fail after major AC work, how they impact your drivetrain, and exactly what you should expect to pay for a proper resolution in today's market.
The Root Cause: Why Post-Repair Clutch Relays Fail
Why would a perfectly good relay suddenly fail right after a compressor replacement? The answer lies in electromagnetic amperage draw and improper air gap shimming. According to service bulletins available via the Honda Technical Information System (TIS), the AC clutch coil is designed to operate within a specific resistance range, typically between 3.5 and 4.5 ohms at 20°C (68°F).
When a mechanic replaces a seized compressor but reuses the old clutch hub and friction plate, they often fail to measure and adjust the clutch air gap. The factory specification for the Honda Civic AC clutch air gap is strictly 0.3 mm to 0.6 mm (0.012 to 0.024 inches). If the gap is too wide due to wear on the old friction plate, the electromagnetic coil must draw significantly higher amperage to bridge the gap and pull the plate against the pulley. This excessive current draw arcs across the internal contacts of the AC compressor clutch relay. Over a few engagement cycles, this arcing generates enough heat to literally weld the relay contacts together or melt the internal plastic housing, resulting in a permanent open or closed circuit.
Parasitic Drag and Manual Transmission Clutch Chatter
For drivers of manual transmission Honda Civics (such as the popular 8th-gen FA5 Si or 10th-gen FC1 1.5T), a fused, stuck-closed AC clutch relay creates a massive post-repair headache. If the relay contacts weld together in the 'closed' position, the AC compressor clutch remains engaged 100% of the time, even when the AC is turned off in the cabin.
This continuous engagement forces the engine to drive the AC compressor constantly, introducing a parasitic drag that robs the engine of 5 to 8 horsepower. When you attempt to launch the vehicle from a stop, the drivetrain clutch must overcome not only the vehicle's weight but also the rotational resistance of the swashplate compressor. This manifests as severe clutch chatter, violent drivetrain shuddering, and premature wear to the manual transmission clutch friction disc. Many owners mistakenly believe their newly replaced drivetrain clutch is defective, when in reality, a $15 stuck AC relay is causing the mechanical drag.
Cost Analysis: Relay Replacement and Diagnostic Pricing
Addressing a faulty relay requires precise electrical diagnostics to ensure the new clutch coil isn't drawing excessive current. Below is a detailed cost breakdown for diagnosing and replacing the relay and associated components on a Honda Civic.
| Service / Component | OEM / Dealer Pricing | Aftermarket / Independent Pricing | Labor Time (Hours) |
|---|---|---|---|
| AC Compressor Clutch Relay | $18.00 - $26.00 | $6.00 - $12.00 | 0.1 - 0.2 |
| AC Clutch Coil Assembly | $140.00 - $195.00 | $45.00 - $85.00 | 1.5 (w/ compressor R&R) |
| Clutch Hub & Friction Plate Kit | $85.00 - $120.00 | $35.00 - $60.00 | 0.5 |
| Electrical Diagnostic (Relay Circuit) | $160.00 (Flat Rate) | $75.00 - $110.00 | 0.5 - 1.0 |
| AC System Evac & Recharge | $180.00 - $220.00 | $120.00 - $150.00 | 0.8 |
Note: Labor rates vary by region. Data aggregated from national averages and RepairPal estimator tools for 2026 baseline pricing.
OEM vs. Aftermarket Part Numbers and Sourcing
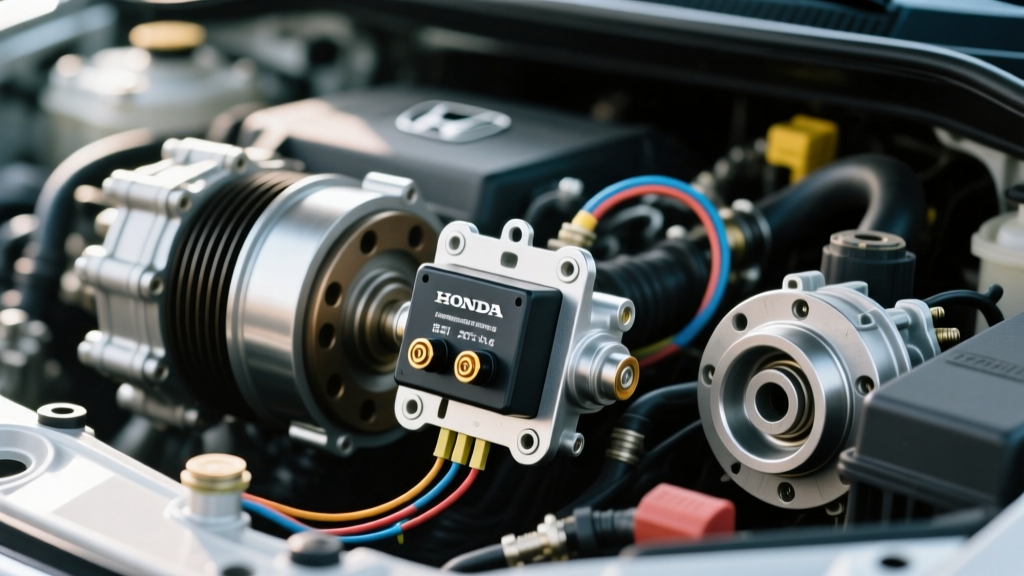
When sourcing a replacement for the Honda Civic AC compressor clutch relay, the physical location is typically in the under-hood fuse/relay box. For most 2006-2021 Civic models, the OEM part number is 39794-SDA-A05 (often manufactured by Denso or Mitsuba). This is a standard 4-pin micro ISO relay.
While aftermarket alternatives like the Standard Motor Products RY-1178 or the OmniSOLO equivalents are readily available on platforms like RockAuto for under $10, we strongly recommend sticking to the OEM Denso/Mitsuba relay for post-repair applications. The OEM contacts are rated specifically for the high inrush current required by Honda's AC clutch coils. Cheap aftermarket relays often utilize lighter-gauge internal copper, which will prematurely arc and fail again if your clutch air gap is even slightly out of specification.
Step-by-Step Post-Repair Diagnostic Protocol
Before throwing a new relay at the problem, you must verify why the old one failed. Follow this exact diagnostic sequence to prevent destroying your second relay:
- Step 1: Isolate the Relay. Pull the AC compressor clutch relay from the under-hood fuse box. Inspect the female terminal pins in the fuse box for heat discoloration or melting. If the plastic housing is warped, the entire fuse box pigtail must be spliced and replaced.
- Step 2: Measure Coil Resistance. Disconnect the single-wire connector at the AC compressor clutch coil. Set your multimeter to Ohms (Ω) and measure between the coil terminal and a clean engine ground. A reading below 3.0 ohms indicates an internal short in the coil (which melts relays). A reading above 5.0 ohms indicates high resistance and a failing coil. Replace the coil if out of the 3.5 - 4.5 ohm spec.
- Step 3: Verify PCM Ground Signal. Using a test light or logic probe, back-probe the relay control circuit. The Honda PCM provides the ground path to energize the relay. If the PCM ground is weak or corroded, the relay will chatter, generating excessive heat.
- Step 4: Check Voltage Drop. With a new relay installed and the AC commanded on, measure the voltage drop across the relay's power and load terminals. A drop greater than 0.2V indicates internal relay resistance or corroded fuse box terminals.
Reassembly Torque Specifications and Air Gap Shimming
If your post-repair diagnosis reveals that the clutch coil and relay are both functional, but the clutch still won't engage, the issue is mechanical. The clutch plate is likely rubbing against the pulley, or the air gap is too wide for the magnetic field to bridge.
To correct this, you must remove the clutch hub. The center hub bolt on most Honda Civic compressors is a 10mm thread. The factory torque specification for this bolt is strictly 10 to 12 Nm (7.4 to 8.9 lb-ft). Over-torquing this bolt will warp the friction plate, causing it to drag against the pulley and create the exact parasitic drag symptoms that mimic a failing manual transmission clutch.
Use a dial indicator or precision feeler gauges to set the air gap. Remove or add the precision shims located behind the clutch hub until the gap sits perfectly at 0.45 mm (the sweet spot of the 0.3-0.6mm range). Once the mechanical gap is correct, the electrical amperage draw will normalize, ensuring your new Honda Civic AC compressor clutch relay operates reliably for the life of the vehicle without causing secondary drivetrain or engine performance issues.