The Post-Service Whine: Diagnosing Rear Differential Noise
There are few sounds more discouraging to an automotive technician or DIY enthusiast than the high-pitched whine of a freshly serviced rear differential. You have just completed a comprehensive rear differential service and maintenance routine—perhaps installing a new ring and pinion set, upgrading to a limited-slip carrier, or simply replacing leaking side bearings. The gear pattern looked perfect on the bench, the backlash was set to spec, and you filled the housing with premium synthetic gear oil. Yet, at 45 mph, the axle howls.
When troubleshooting rear differential noise immediately following a rebuild, the instinct is often to blame the gear set or the fluid viscosity. However, the true culprit is frequently a hidden installation error: housing distortion caused by failing to use a differential case spreader. In this deep-dive diagnostic guide, we will explore how improper carrier installation alters bearing preload, destroys gear mesh geometry, and contaminates your differential fluid, alongside the exact protocols required to fix it.
The Anatomy of Carrier Preload and Housing Distortion
To understand why a differential case spreader is mandatory for rear differential service, you must understand the metallurgy and tolerances of the axle housing. Whether you are working on a Ford 8.8-inch, a Dana 44, or a GM 10-bolt, the differential carrier is held in place by two side bearings. These bearings require a specific amount of preload—typically achieved by shimming the carrier so that it is slightly wider than the machined bore of the axle housing.
This interference fit is usually between 0.004 and 0.012 inches. To force the carrier into the housing without a spreader, many technicians resort to the "pry bar and dead-blow hammer" method. This brute-force approach introduces severe localized stress to the cast iron or aluminum housing. When you pry against the bearing caps or hammer the carrier into place, you can subtly warp the housing bore, making it out-of-round.
Symptom Checklist: Is Your Diff Suffering from Case Distortion?
Use this diagnostic matrix to determine if your rear differential whine is the result of improper installation techniques:
| Symptom | Operating Condition | Probable Root Cause |
|---|---|---|
| Continuous high-pitched howl | Speed-dependent (above 35 mph) | Side bearing damage from hammering; brinelling of bearing races. |
| Deceleration whine | Coasting / foot off throttle | Backlash shifted due to housing warp; gear mesh riding on the toe. |
| Chatter or binding | Low-speed tight turns | Side gear cross-pin binding due to misaligned carrier bore. |
| Rapid fluid degradation | Post-break-in drain (500 miles) | Microscopic steel particulate acting as lapping compound. |
Fluid Forensics: Reading the Drain Plug
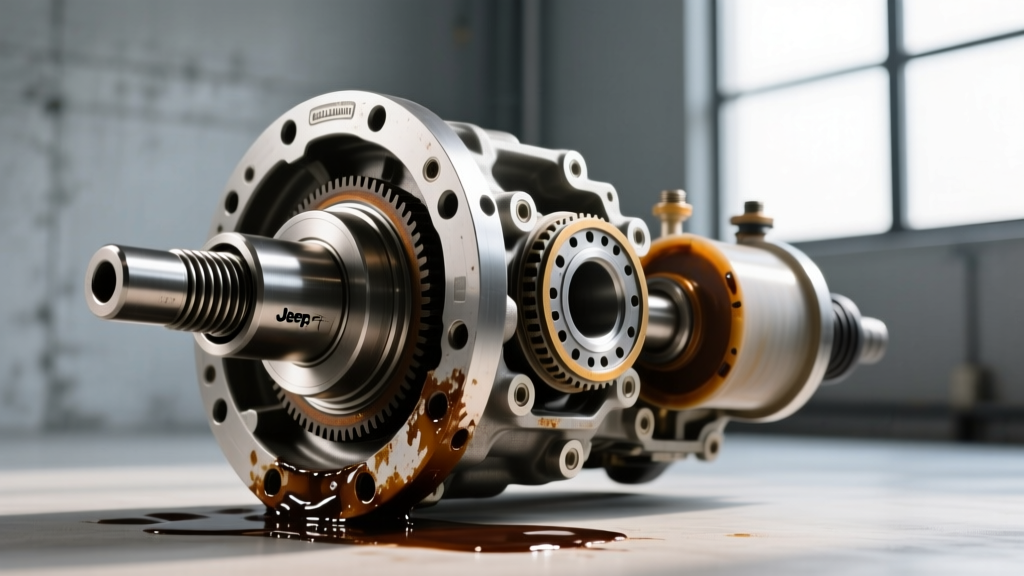
Because rear differential service and maintenance is intrinsically tied to lubrication, fluid analysis is your best non-invasive diagnostic tool. If you suspect housing distortion or bearing damage from a missing differential case spreader, drain the differential fluid immediately into a clean catch pan and inspect it under a bright LED light.
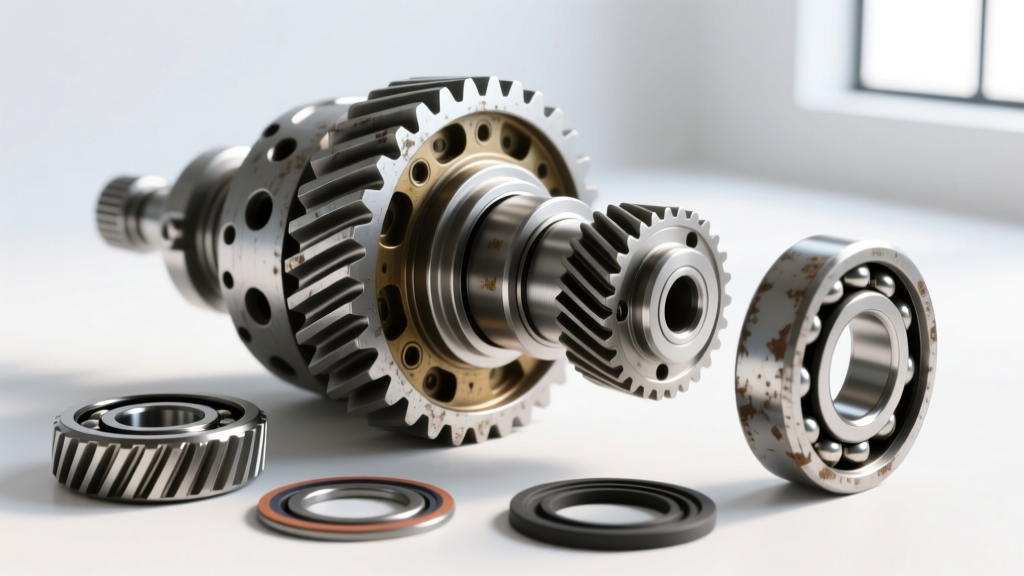
- Glittering/Swirling Fluid: If your 75W-90 or 80W-90 gear oil looks like metallic paint, the side bearings have been brinelled (dented) from hammer impacts. The bearing cages are shedding microscopic steel spheres that are circulating through the gear mesh.
- Brass/Bronze Flakes: This indicates that the carrier bore is distorted, causing the internal spider gears and side gears to bind against their thrust washers under load.
- Dark, Burnt Smelling Oil: Excessive preload caused by a cocked carrier in a distorted housing creates immense friction, overheating the gear oil and breaking down the extreme pressure (EP) additives.
According to lubrication engineers at Randy's Ring & Pinion, running a gear set in fluid contaminated with bearing debris will permanently ruin the lapped finish of the ring and pinion teeth in under 1,000 miles, necessitating a complete and expensive axle overhaul.
The "Pry Bar Mistake" vs. The Differential Case Spreader
A differential case spreader (such as the OTC 4530 or Schley Products 91000) is a specialized, heavy-duty turnbuckle tool designed to safely and evenly expand the axle housing. By threading into the bearing cap bolt holes or wrapping around the housing exterior, the spreader applies controlled hydraulic or mechanical force to open the housing bore by precisely 0.010 to 0.020 inches.
Expert Insight: Never spread a cast iron or aluminum axle housing more than 0.020 inches. Exceeding this threshold risks yielding the metal, meaning the housing will not return to its original machined dimensions once the spreader is removed, permanently ruining the axle assembly.
When the housing is properly spread, the carrier drops in with zero resistance, guided only by gravity and light hand pressure. Once the spreader is released, the housing clamps down on the bearing cups with thousands of pounds of even, symmetrical clamping force. This guarantees perfect bearing alignment, preserves your meticulously set backlash, and ensures the gear pattern remains stable under high-torque loads.
Axle Housing Spread Limits & Torque Specifications
When troubleshooting and correcting a rear differential rebuild, you must adhere to the manufacturer's exact specifications for housing spread and bearing cap torque. Over-torquing the caps can cause the same distortion as prying the carrier in.
| Axle Model | Max Safe Spread Limit | Bearing Cap Torque Spec | Common Carrier Bearing Kit |
|---|---|---|---|
| Ford 8.8-inch (IRS & Solid) | 0.015 inches | 70 - 85 lb-ft | TIMKEN SET 36 |
| Dana 44 (Front/Rear) | 0.020 inches | 60 - 70 lb-ft | TIMKEN SET 36 |
| GM 8.5-inch 10-Bolt | 0.015 inches | 60 - 75 lb-ft | TIMKEN SET 34 |
| Chrysler 8.75-inch | 0.020 inches | 75 - 90 lb-ft | TIMKEN SET 36 |
Step-by-Step Correction Protocol
If your diagnostic checklist and fluid forensics point to housing distortion from a skipped case spreader, follow this correction protocol to save the axle:
1. Drain, Flush, and Inspect
Drain the contaminated gear oil. Remove the differential cover and thoroughly flush the housing with a solvent-based parts cleaner to remove embedded steel particulate from the casting pores. Inspect the bearing caps for galling or tool marks left by pry bars. If the mating surfaces of the caps are gouged, the caps must be replaced and line-honed to match the housing.
2. Verify Housing Bore Geometry
Remove the carrier and bearings. Use an internal dial indicator or a telescoping gauge paired with an outside micrometer to measure the housing bore. Check for out-of-round conditions. If the bore is tapered or out-of-round by more than 0.002 inches due to previous pry bar abuse, the housing must be professionally line-bored by a machine shop.
3. Reinstall Using the Spreader
Install your new carrier bearings (never reuse bearings that have been hammered). Mount the differential case spreader to the housing. Expand the housing by 0.010 inches. Apply a light coat of Dana Spicer approved assembly lube to the bearing cups and drop the carrier into place. Slowly release the spreader.
4. Re-Verify Backlash and Pattern
Because the housing is now clamping the carrier evenly, your backlash may have shifted slightly from your bench setup. Mount a magnetic dial indicator to the axle tube and measure the backlash at three equidistant points around the ring gear. Adjust the side shims as necessary to achieve the target spec (typically 0.006" to 0.010" depending on the gear manufacturer). Apply yellow gear marking compound and roll the pattern to verify the contact patch is centered on the tooth flank.
5. The Break-In Fluid Strategy
For the first 500 miles post-correction, do not use full synthetic gear oil. Fill the differential with a high-quality conventional 80W-90 GL-5 gear oil mixed with a dedicated friction modifier if you are running a clutch-type limited-slip differential. Conventional oil handles the initial heat of the break-in process better and allows the gear teeth to micro-polish. After 500 miles, drain the break-in fluid, inspect the magnetic plug for abnormal debris, and refill with a premium synthetic like Amsoil Severe Gear 75W-90 or Red Line 75W90 for long-term protection.
Conclusion: Protect Your Investment
Rear differential service and maintenance requires precision, patience, and the right tooling. A persistent whine is rarely a mystery; it is a mechanical cry for help indicating misalignment, improper preload, or fluid contamination. By investing in a quality differential case spreader from manufacturers like OTC Tools, you eliminate housing distortion, preserve your bearing life, and ensure a dead-silent axle that performs flawlessly on the street or the trail. Stop guessing with gear shims and start diagnosing the root cause of your installation geometry today.