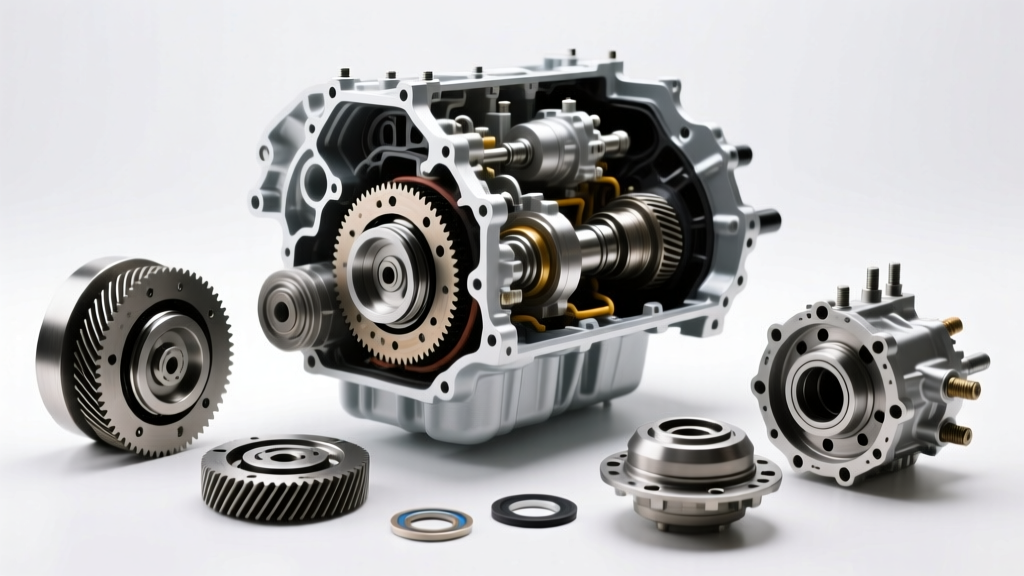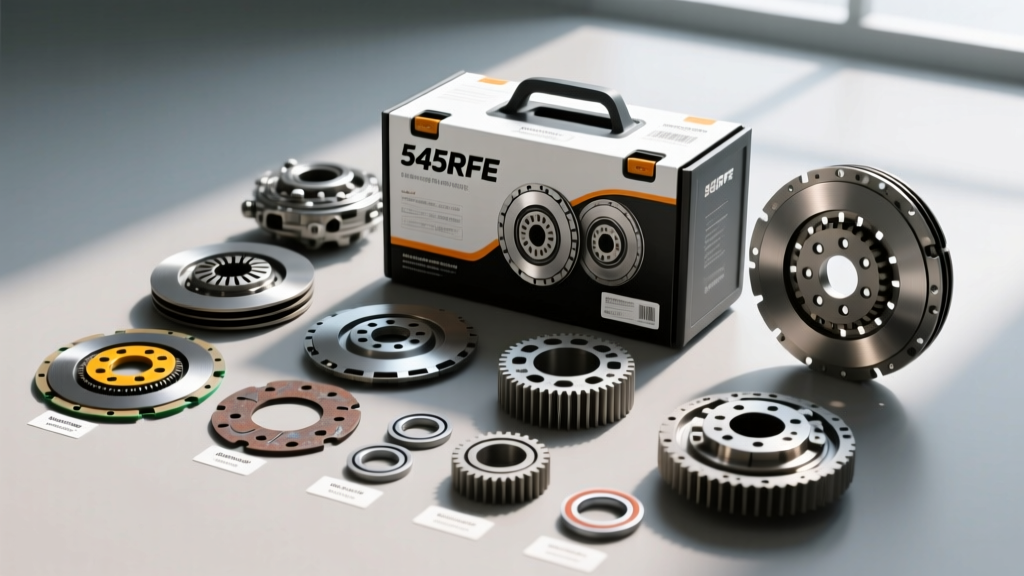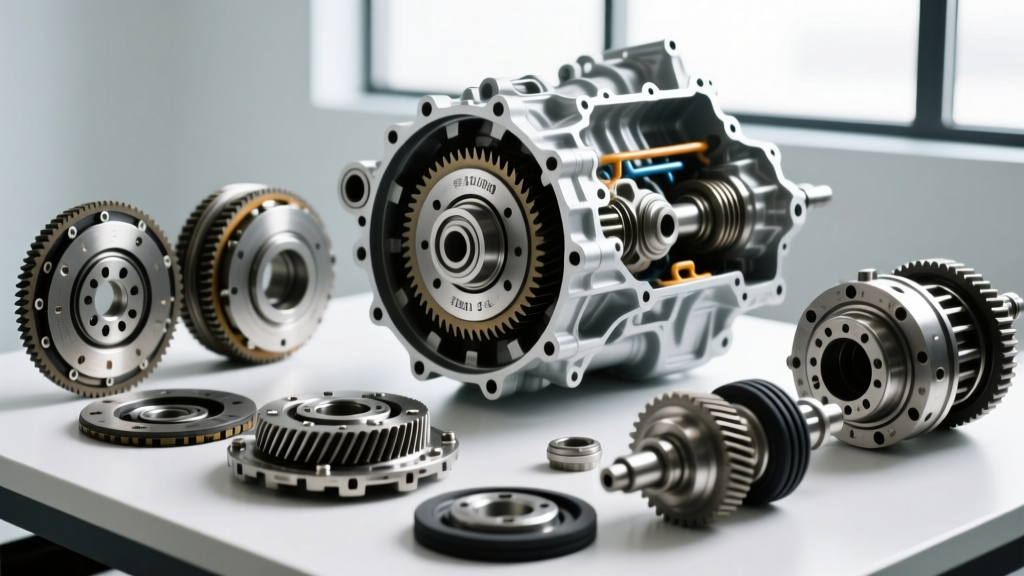
When a late-model work truck or daily commuter throws a P0700 code and defaults to limp mode, owners and technicians alike are forced to confront a critical financial and mechanical crossroads: is it better to rebuild or replace a transmission? The conventional wisdom often leans toward dropping in a remanufactured unit for the sake of a warranty and perceived reliability. However, as transmission engineering has evolved, the true determinant of longevity isn't necessarily whether you rebuild or replace—it is the exact composition of the transmission rebuild kit you select.
A rebuild utilizing an OEM-level master kit supplemented with engineered upgrades from brands like Sonnax Industries and TransGo will routinely outlast a mass-produced remanufactured unit that relies on cheap, overseas-manufactured friction clutches and stock valve bodies. This guide breaks down the economics, kit tiers, and model-specific selection strategies to help you make the definitive choice.
The Economics: Remanufactured Replacement vs. Precision Rebuild
To accurately answer whether it is better to rebuild or replace a transmission, we must first look at the 2026 market realities. Remanufactured units have seen significant price increases due to core shortages and supply chain constraints on mechatronic components. Conversely, high-quality rebuild kits remain highly accessible and cost-effective.
| Service Route | Parts & Kit Cost | Machine Shop & Hard Parts | Installation Labor | Estimated Total |
|---|---|---|---|---|
| Remanufactured Unit (OEM/Aftermarket) | $2,400 - $4,200 | $150 (Core/Flush) | $800 - $1,400 | $3,350 - $5,750 |
| Master Rebuild Kit + Upgrades | $450 - $950 | $400 - $1,200 | $1,600 - $2,500 | $2,450 - $4,650 |
As the data illustrates, a precision rebuild utilizing a top-tier kit yields a savings of $900 to $1,100 on average, while allowing the builder to address specific, known failure points that mass-remanufacturers often overlook to maintain profit margins.
Deconstructing Transmission Rebuild Kit Tiers
Not all kits are created equal. Selecting the wrong tier is the primary reason DIY rebuilds fail, leading many to falsely conclude that replacement is the only viable option.
Tier 1: Banner / Overhaul Kits (Avoid for High-Mileage Units)
Banner kits typically include only gaskets, pan seals, and O-rings. They assume your friction clutches, steel plates, and bands are within spec. In a transmission that has experienced thermal degradation or slipped into limp mode, a banner kit is a guaranteed path to a comeback. Expert Verdict: Only use for low-mileage units with isolated external seal leaks.
Tier 2: Master Kits (The Baseline)
Master kits include all banner components plus friction clutches, steel plates, and bands. While sufficient for standard passenger vehicles with minor wear, they often reuse OEM-design flaws. For instance, a standard master kit for a GM 4L60E will include the factory-style 3-4 clutch backing plate, which is prone to warping under heavy thermal loads.
Tier 3: Pro / Heavy-Duty Master Kits (The Expert Standard)
This is where the rebuild vs. replace debate is won. Pro kits integrate aftermarket engineering solutions. They feature Kolene-coated steels (for superior heat dissipation), high-energy frictions like the Raybestos GPZ line, and reinforced bands. When you pair a Pro kit with a shift correction package, you are building a transmission that is mechanically superior to the one that left the factory.
Model-Specific Kit Selection & Hidden Hard Parts
To truly understand kit selection, we must examine the specific failure modes of popular transmissions and the exact components your kit must address.
GM 4L60E / 4L65E: The 3-4 Clutch and Sun Shell Dilemma
The 4L60E is notorious for burning up the 3-4 clutch pack and stripping the reaction sun shell. If your rebuild kit does not account for this, replacement is indeed the better option.
- The Frictions: Ensure your kit includes Raybestos GPZ frictions (Part: RGPZ-100). These utilize a proprietary weave that handles 20% more heat than standard OEM paper-based frictions.
- The Sun Shell: No standard gasket kit includes the sun shell. You must supplement your kit with the Sonnax "Beast" Heavy Duty Sun Shell (Part: 77733-01K), which features induction-hardened splines to prevent the catastrophic stripping that destroys the planetary gearset.
- Valve Body: Add a TransGo SK-4L60E shift kit to recalibrate the line pressure and eliminate the 1-2 shift flare common in aging units.
GM 6L80 / 6L90: The TEHCM and Bore Wear Factor
The 6L80 represents a massive leap in complexity. The Transmission Electro-Hydraulic Control Module (TEHCM) houses the TCM and solenoids.
- Kit Limitations: Rebuild kits do not include the TEHCM. If your diagnostic scan reveals internal TCM memory faults or solenoid performance codes (e.g., P0796), you must budget an additional $450-$600 for a remanufactured TEHCM and a mandatory GM reflash procedure.
- Valve Body Wear: The cast aluminum valve body suffers from severe bore wear at the pressure regulator and clutch select valves. Your kit selection must be paired with a Sonnax Zip Kit (Part: 6L80-ZIP) featuring sleeved, anodized aluminum valves to restore hydraulic integrity.
ZF 8HP (8-Speed): The Mechatronic Sleeve
Found in everything from BMWs to Ram trucks, the ZF 8HP is a masterpiece of engineering but suffers from a specific, fatal flaw: the mechatronic sealing sleeve degrades, leaking fluid onto the TCM connectors and causing erratic shifting. When ordering an 8HP master kit, verify it includes the updated, reinforced mechatronic bridge seal and adapter sleeve. Standard OEM replacements will simply fail again in 60,000 miles.
Assembly Realities: Clearances and Torque Specs
Selecting the right kit is only half the battle; assembling it to exact tolerances is what separates a professional rebuild from a catastrophic failure. When utilizing high-performance frictions like the GPZ line, standard OEM clearance specs must be strictly adhered to, as these materials expand differently under thermal load.
Expert Assembly Note: Never reuse a torque converter. The internal stator and clutch materials in a failed transmission are contaminated with metallic debris and friction material. Flushing a torque converter is a myth; always install a new or professionally remanufactured stall-matched torque converter during your rebuild.
Critical Tolerances for the 4L60E / 4L70E
- 3-4 Clutch Pack Clearance: 0.040" - 0.070". If using thicker aftermarket backing plates, you may need to machine the snap ring groove or select a custom-thickness selective snap ring to achieve this spec.
- Input Shaft Endplay: 0.010" - 0.025". Measured with a dial indicator. Incorrect endplay will cause premature wear to the input shaft bearings and pump stator.
- Valve Body Bolt Torque: 8 - 10 Nm (70 - 88 in-lbs). Over-torquing will warp the cast aluminum valve body, causing immediate cross-leakages and binding valves.
Final Verdict: Rebuild or Replace?
So, is it better to rebuild or replace a transmission? If you are relying on a cheap, Tier 1 banner kit or a budget master kit that ignores known OEM engineering flaws, replace it. A remanufactured unit will offer a more predictable lifespan. However, if you approach the rebuild with an expert mindset—selecting a Tier 3 Master Kit, integrating Sonnax hard-part upgrades, correcting valve body bore wear, and adhering to strict clutch pack clearances—rebuilding is unequivocally the better option. You will save capital, retain the original matching-numbers drivetrain, and ultimately build a transmission capable of handling torque loads and thermal stresses that would quickly destroy a stock replacement unit.