The True Answer to "How Hard Is It to Rebuild a 4L60E Transmission?"
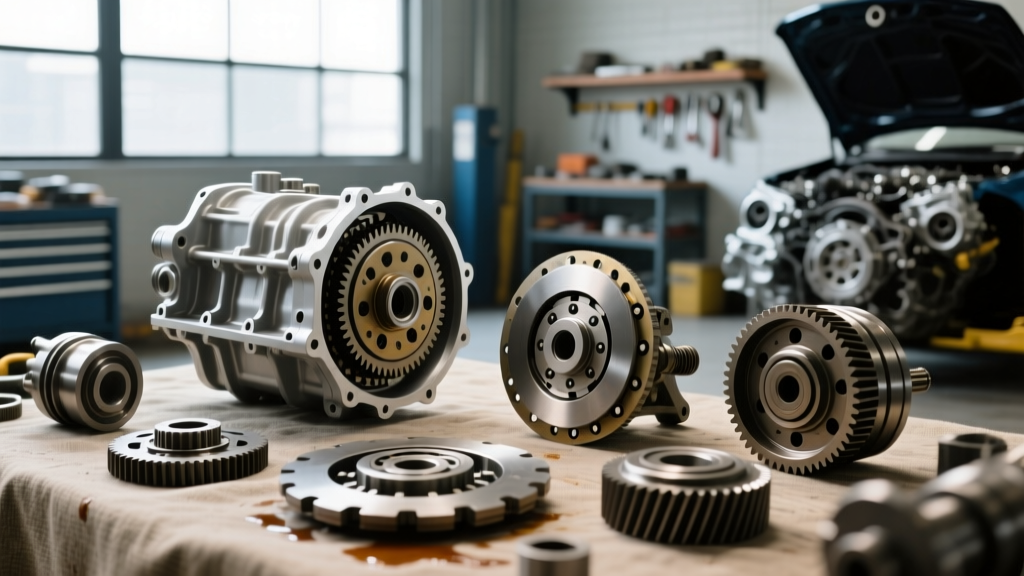
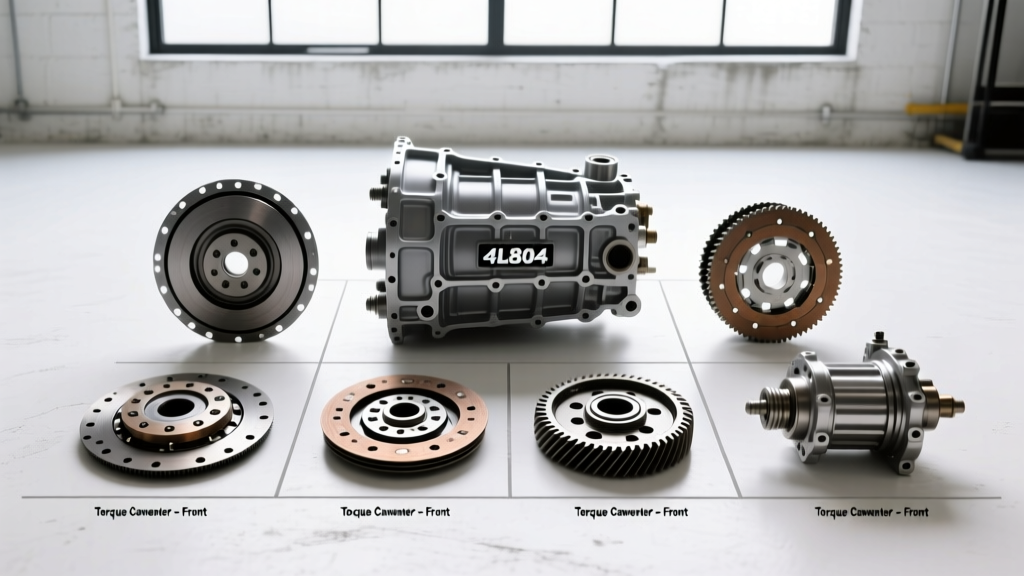
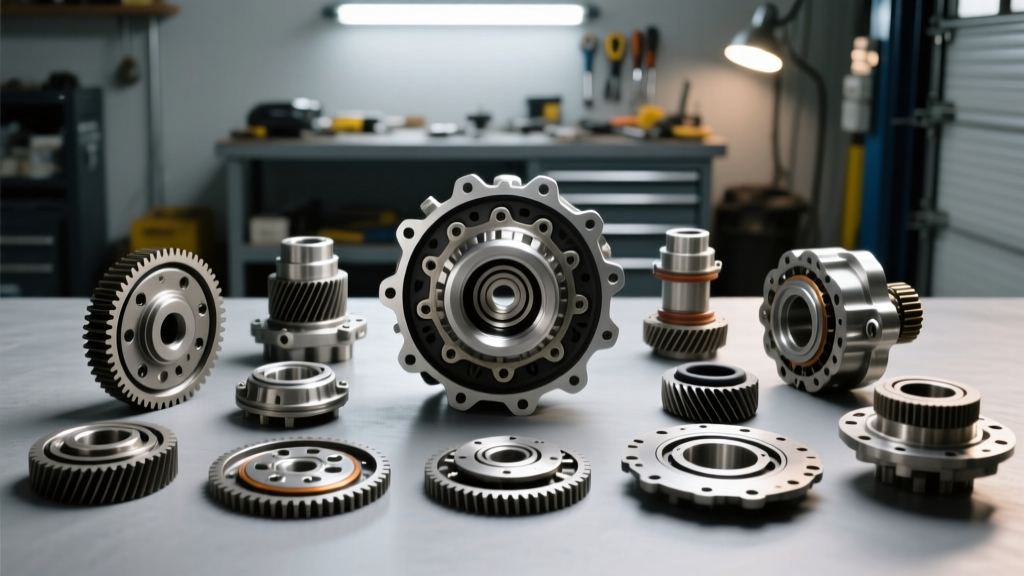
When enthusiasts and independent mechanics ask, "how hard is it to rebuild a 4l60e transmission," the answer is highly dependent on whether you are measuring mechanical assembly or post-assembly survival. Mechanically, GM’s ubiquitous 4-speed overdrive is a rite of passage. With a master rebuild kit like the Precision International EK-10400 (retailing around $380 in 2026), the tear-down and reassembly process is heavily documented and moderately straightforward for a patient DIYer. However, the true difficulty—and the hidden financial risk—lies entirely in the transmission break-in procedure.
Assembling the planetary gearsets and clutch drums is only half the battle. Failing to execute a proper, data-driven break-in protocol will glaze the high-energy friction clutches, burn out the notorious 3-4 clutch pack, and turn your $2,800 professional rebuild investment (or $800 DIY garage project) into a catastrophic loss. According to the Automatic Transmission Rebuilders Association (ATRA), improper break-in, fluid priming, and thermal cycling account for nearly 22% of all "comeback" failures within the first 500 miles of a rebuilt unit.
The Financial Stakes of the 4L60E Break-In
From a rebuild-cost perspective, the break-in phase is the ultimate insurance policy for your parts investment. The 4L60E is notorious for 3-4 clutch pack failure, primarily due to the apply oil circuit design and heat generation. When you install new BorgWarner high-energy friction plates and Kolene steels, they require a specific thermal and pressure environment to mate correctly. If you simply bolt the transmission up, fill it with fluid, and immediately drive it onto the highway, the clutches will slip microscopically. This generates extreme localized heat, glazing the friction material and guaranteeing a slip-code (like P0733 or P0734) within weeks.
Replacing a burnt 3-4 clutch pack requires pulling the transmission, dropping the pan, removing the valve body, and extracting the input drum. This labor-intensive teardown will cost upwards of $1,200 in shop labor or a full weekend of your own time, entirely negating the cost-savings of your initial rebuild.
Pre-Break-In: Critical Torque Specs and Fluid Selection
Before the break-in drive can commence, the static assembly and fluid fill must be verified. The 4L60E is highly sensitive to internal fluid leaks and valve body warping, which directly impact the line pressure required for clutch seating.
- Transmission Fluid: Use only AC Delco Dexron VI (Part # 10-9395). Dexron VI offers superior shear stability and friction modifiers essential for the initial seating of modern composite friction materials. Avoid generic "multi-vehicle" fluids for break-in.
- Fluid Capacity: A completely dry 4L60E and torque converter will hold approximately 11.2 quarts. If reusing a stock torque converter, expect to add 5.0 to 6.0 quarts to the pan initially, start the engine, cycle the gears, and top off to the dipstick crosshatch.
- Pan Bolt Torque: This is a critical rebuild-cost trap. The 4L60E oil pan bolts must be torqued to exactly 11 Nm (97 lb-in). Notice that is inch-pounds, not foot-pounds. Overtightening these bolts will warp the valve body casting, causing internal cross-leaks, low line pressure, and immediate clutch burnout during break-in.
- Torque Converter to Flexplate: Torque to 47 Nm (35 lb-ft) using Loctite 242 on the bolts. Ensure the converter is fully seated into the transmission oil pump gear before tightening, or you will destroy the pump on initial startup.
The 3-Phase 4L60E Break-In Protocol
To properly seat the clutches and calibrate the adaptive shift pressures, follow this three-phase break-in procedure. This methodology is endorsed by performance transmission builders and aligns with TransGo recommendations for units equipped with recalibration shift kits.
Phase 1: Priming and Pre-Lube (Static)
Never start a freshly rebuilt 4L60E without priming the oil pump and torque converter. Disconnect the ignition system (or pull the fuel pump relay) and crank the engine in 10-second bursts until the transmission dipstick shows a drop in fluid level, indicating the torque converter has filled. Once filled, start the engine, immediately apply the brake, and slowly cycle the shifter through P-R-N-D-3-2-1, pausing for 3 seconds in each gear. This charges the clutch apply circuits and accumulator pistons.
Phase 2: Thermal Cycling and Clutch Seating (Miles 0-20)
The friction materials must reach a specific thermal threshold to properly transfer their initial wear layer onto the steel separator plates. Drive the vehicle on a flat, low-traffic road. Perform moderate-throttle accelerations (around 25-30% TPS) allowing the transmission to upshift through 1-2, 2-3, and 3-4. Use an OBDII scanner to monitor the Transmission Fluid Temperature (TFT) PID. Your target break-in temperature is 180°F to 195°F (82°C to 90°C). Maintain this temperature for 15 to 20 miles. This heat cycle allows the resins in the friction material to cure and seat without reaching the 250°F+ threshold that causes instant glazing.
Phase 3: TCC and PWM Calibration (Miles 20-50)
The 4L60E utilizes a Pulse Width Modulated (PWM) Torque Converter Clutch (TCC) solenoid for controlled slip. During the next 30 miles, engage in varied driving conditions, including highway cruising and light towing (or simulating a load via slight inclines). This forces the Powertrain Control Module (PCM) to adapt the TCC apply rates and line pressure tables. If you installed a Sonnax boost valve or a heavy-duty servo, the PCM must "learn" the new hydraulic volume requirements to prevent harsh 1-2 shifts or TCC shudder.
Break-In Tooling and Rebuild Cost Breakdown
Understanding the costs associated with a proper break-in versus the cost of a failed rebuild highlights why cutting corners is financially disastrous. Below is a 2026 cost analysis for 4L60E rebuild break-in procedures.
| Break-In Item / Scenario | Estimated Cost (2026) | Purpose & ROI Impact |
|---|---|---|
| OBDII Bi-Directional Scanner | $120 - $250 | Monitor TFT and Line Pressure PID data during Phase 2 thermal cycling. |
| AC Delco Dexron VI (12 Qts) | $95 - $115 | Required for proper friction coefficient and shear stability during seating. |
| Inline Transmission Filter | $25 - $40 | Catches initial assembly debris and clutch material shed during break-in. |
| TransGo SK-4L60E Shift Kit | $65 - $85 | Increases line pressure to prevent clutch slip during the critical seating phase. |
| Cost of 3-4 Clutch Failure (Comeback) | $1,400 - $2,600 | Includes R&R labor, new frictions, steels, and fluid flush due to glazing. |
Common Break-In Failures and Diagnostics
Even with meticulous assembly, break-in issues can arise if hydraulic pressures are not verified. If you experience a flare on the 2-3 shift during the thermal cycling phase, it is often an indicator of a leaking forward clutch piston seal or a stuck 2-3 shift valve. Similarly, if the transmission exhibits TCC shudder during Phase 3, the torque converter may not have been properly flushed prior to installation, contaminating the new fluid with old friction material, or the PWM solenoid screen may be restricted.
Expert Rebuilder Tip: If you are rebuilding a 4L60E for high-torque applications using an upgraded drum like the Sonnax Smart-Tech, the increased clutch capacity requires slightly longer thermal cycling (up to 30 miles) to ensure all additional friction surfaces achieve uniform contact. Skipping this step will result in uneven clutch wear and premature drum failure.
Ultimately, answering "how hard is it to rebuild a 4l60e transmission" requires acknowledging that the wrenching is only the beginning. The discipline to strictly follow thermal cycling protocols, adhere to inch-pound torque specifications, and monitor adaptive PCM data is what separates a $3,000 paperweight from a transmission that reliably handles 150,000+ miles. Treat the break-in period with the same respect as the assembly, and your rebuild-cost investment will pay dividends for years to come.