The Hidden Danger of Heat and the Thermal Bypass
Heat is the undisputed number one killer of automatic transmissions. As a general rule of thumb in the automotive industry, for every 20°F your transmission fluid exceeds the 200°F baseline, the lifespan of that fluid—and the internal clutches it protects—is cut in half. If you are reading this, you likely tow a trailer, drive in mountainous terrain, or push your truck hard, and you have realized that the factory cooling setup simply isn't cutting it.
Adding an auxiliary cooler is the best modification you can make for drivetrain longevity. However, modern vehicles (especially those equipped with 8-speed and 10-speed transmissions like the GM 8L90 or Ford 10R80) feature a hidden hurdle: the transmission cooler bypass. Understanding what this bypass is, why the factory installed it, and how to route your new cooler around it is the difference between a successful DIY upgrade and a burnt-out transmission on your next camping trip.
What Exactly is a Transmission Cooler Bypass?
To meet strict CAFE fuel economy and emissions standards, modern automakers use ultra-low viscosity (ULV) transmission fluids. These fluids reduce parasitic drag and improve shift speeds, but they must reach their optimal operating temperature quickly to function correctly and provide cabin heat via the heater core.
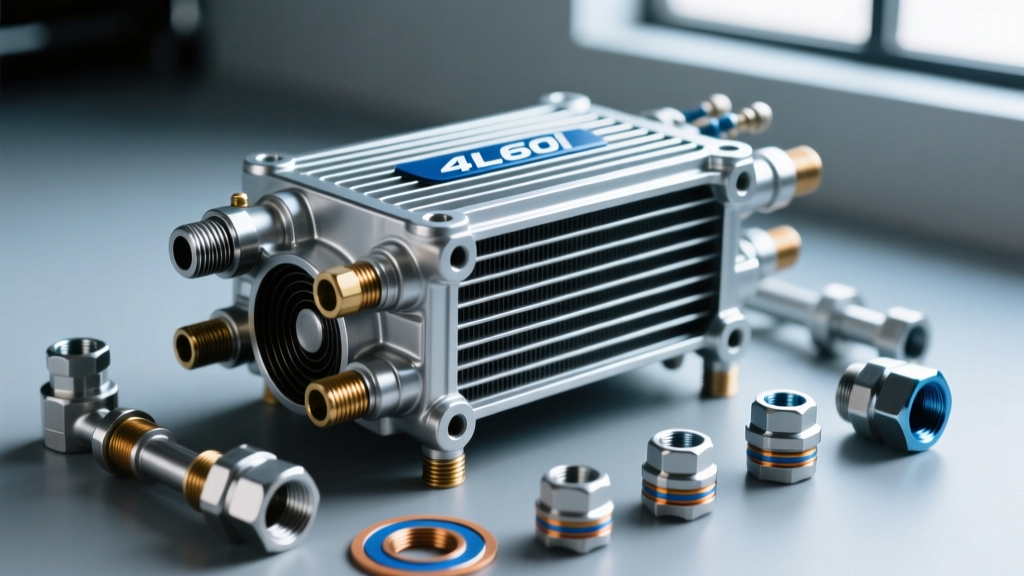
To achieve this, manufacturers install a thermal bypass valve, usually located inside the radiator's transmission cooler tank or inline on the cooler return hose. When you start your truck on a cold morning, this transmission cooler bypass valve closes off the flow to the cooler, recirculating the fluid directly back to the transmission. Once the fluid hits a specific threshold (typically around 180°F to 190°F), a wax pellet or bi-metallic spring inside the valve expands, opening the port and allowing fluid to flow to the cooler.
The Problem for Towing: When you are pulling a 7,500-lb trailer up a 6% grade, the transmission generates massive amounts of heat. If the thermal bypass valve is sluggish, clogged with debris, or simply calibrated too high for heavy-duty work, your fluid temperatures will spike into the 230°F+ danger zone before the valve fully opens. According to Sonnax Technical Resources, restricted thermal bypass valves are a leading cause of premature clutch wear in modern tow vehicles.
Routing Strategies: Series vs. Radiator Bypass
Before grabbing your wrenches, you must decide how to plumb your new auxiliary cooler. The Derale Transmission Cooler FAQ outlines a few methods, but for towing, two primary strategies dominate the debate.
| Routing Method | Flow Path | Pros | Cons |
|---|---|---|---|
| Series (Recommended) | Trans → Radiator → Aux Cooler → Trans | Fluid is pre-cooled by the radiator; aux cooler knocks off the remaining heat. Best overall temp control. | Requires plumbing through the factory radiator loop. |
| Full Bypass (Independent) | Trans → Aux Cooler → Trans | Eliminates the factory radiator and its thermal bypass valve entirely. Maximum flow to the aux cooler. | Transmission takes much longer to warm up in freezing climates; risk of overcooling in winter. |
For 90% of daily drivers and weekend towers, Series Routing is the gold standard. It ensures the fluid warms up adequately in the winter while providing maximum cooling capacity in the summer. However, if you live in a hot climate (like Arizona or Texas) and tow year-round, deleting the factory radiator loop and the transmission cooler bypass valve entirely to run an independent, high-capacity stacked-plate cooler is a highly effective strategy.
Step-by-Step Transmission Cooler Installation Guide
Let's walk through a beginner-friendly installation using a popular plate-and-fin cooler (such as the Derale Series 8000 or Tru-Cool LPD4739) on a late-model GM Silverado/Sierra equipped with a 6L80 or 8L90 transmission.
Tools, Parts, and Costs
- Auxiliary Cooler: Derale 13504 Plate-and-Fin ($75 - $95)
- Bypass Delete Kit: PPE or custom 3/8" steel braided line ($30 - $45)
- Transmission Hose: 10 feet of 3/8" ID SAE J1532 spec hose ($25)
- Hardware: Stainless steel worm-drive clamps, UV-resistant zip ties, 3/8" flare adapters.
- Tools: Line wrench set (crowfoot), hose cutter, OBD2 scanner with Transmission Fluid Temperature (TFT) PID capability.
CRITICAL WARNING: Never use standard rubber fuel line or EFI hose for transmission fluid. Transmission fluid operates at higher temperatures and contains detergents that will cause fuel hose to swell, soften, and eventually burst under pressure. Always use hose specifically rated for transmission oil cooler applications.
Step 1: Locating the Factory Lines and Return Flow
You need to identify the 'hot' (pressure) line and the 'cold' (return) line. The safest way to do this without making a mess is the 'jar test'. Disconnect both lines at the radiator. Place the ends into two separate clear plastic bottles. Have a helper start the engine and shift into Drive (while firmly holding the brake) for exactly 3 seconds. The bottle that fills with fluid is connected to the pressure line coming FROM the transmission. The empty bottle is the return line going TO the transmission.
Step 2: Addressing the Thermal Bypass
If you are doing a Series installation, you will cut the return line after it exits the radiator but before it enters the thermal bypass valve (if the valve is inline). If your vehicle has the bypass valve built into the radiator tank, you simply plumb the radiator's return output directly into the inlet of your new auxiliary cooler, and route the cooler's outlet back to the transmission return line.
If you are doing a Full Bypass (Independent) installation, you must locate the factory thermal bypass valve on the frame rail or transmission crossmember, remove it, and install a transmission cooler bypass delete tube. This solid tube bridges the gap, forcing 100% of the fluid out to your new auxiliary cooler mounted at the front of the truck.
Step 3: Mounting the Auxiliary Cooler
Mount the cooler as low and as centered as possible in front of the radiator or A/C condenser. According to the Hayden Automotive Tech Center, you must maintain at least 1/2 inch of clearance between the cooler fins and the condenser to allow airflow to expand and prevent heat soak. Use the provided rubber well-nuts and isolation bushings to prevent vibration from cracking the cooler's aluminum brazed joints. If using zip ties, ensure they are heavy-duty, UV-stabilized nylon, and trim the tails flush so they don't slice into the radiator fins.
Step 4: Plumbing and Torquing the Lines
Route your new 3/8" transmission hose away from exhaust manifolds, steering shafts, and sharp chassis edges. Use rubber-lined P-clamps to secure the hose every 12 inches. When connecting the hose to the factory hard lines, use a barbed brass splice fitting and secure it with two stainless steel clamps per connection, staggered 90 degrees apart to prevent leaks.
Critical Torque Specs and Fluid Data
When removing factory hard lines at the transmission case to install adapter fittings (such as 1/4" NPT to 3/8" inverted flare), precision is key. Stripping the aluminum transmission case threads is a costly mistake.
| Transmission Model | Line Fitting Type | Torque Specification | Fluid Type & Service Capacity |
|---|---|---|---|
| GM 6L80 / 6L90 | M12x1.0 Flare Nut | 18 - 22 lb-ft | DEXRON VI (~11.2 qts service fill) |
| GM 8L90 / 10L90 | Quick-Connect Retainer | N/A (Use Clip Pliers) | DEXRON ULV (~11.5 qts service fill) |
| Ford 10R80 | Quick-Connect Retainer | N/A (Use Clip Pliers) | MERCON ULV (~13.1 qts service fill) |
| Ram 68RFE | 1/2" Inverted Flare | 25 - 30 lb-ft | ATF+4 (~12.0 qts service fill) |
Bleeding the System and Final Checks
Once all lines are secured and clamps are tight, it is time to fill and bleed. Because you added an auxiliary cooler and several feet of hose, you will need to add additional transmission fluid. Start by adding 2 quarts of the correct OEM-spec fluid.
Start the engine and let it idle. Cycle the shifter slowly through every gear (P-R-N-D-L), pausing for 3 seconds in each position. This actuates the valve body and pushes fluid into the torque converter and the new cooler lines. Return the shifter to Park and leave the engine running.
The TFT Check: Modern transmissions do not have a simple 'hot' and 'cold' mark on the dipstick. You must plug in your OBD2 scanner and monitor the Transmission Fluid Temperature (TFT) PID. For most GM and Ford units, the fluid must be between 180°F and 200°F to get an accurate level reading. With the engine idling in Park on a level surface, pull the dipstick (or check the overflow plug on sealed pans) and add fluid in 1/4 quart increments until it reaches the crosshatch zone.
Conclusion: Peace of Mind on the Grade
Installing an auxiliary cooler and properly managing the transmission cooler bypass is one of the highest-ROI upgrades you can perform on a tow vehicle. By taking the time to understand your routing strategy, using the correct SAE-rated hose, and adhering to strict torque specifications, you are effectively bulletproofing your drivetrain against the devastating effects of heat. Whether you are climbing the Rockies or just navigating stop-and-go summer traffic, your transmission will now run cooler, shift firmer, and last significantly longer.