Essential Tools for Transmission Fluid Diagnosis
Before you can accurately diagnose transmission fluid degradation or answer the critical question of what replacement fluid to use, you must gather the correct diagnostic tools. Modern automatic transmissions are highly sensitive to hydraulic pressure variations and friction modifier depletion. Relying on guesswork will lead to catastrophic valve body failure or clutch pack burnout.
- OBD2 Scanner with PID Support: Required to read the Transmission Fluid Temperature (TFT) sensor data in real-time. Checking fluid levels without monitoring TFT is impossible on sealed units like the ZF 8HP or GM 8L90.
- Infrared Thermometer: A backup tool to verify pan temperature if your scanner lacks live data capabilities.
- Fluid Transfer Pump: Essential for top-loading sealed transmissions that lack a traditional dipstick tube.
- White Paper Towels & Nitrile Gloves: For the smear test and particulate inspection.
- 1/4-inch Drive Torque Wrench: Necessary for reinstalling plastic and aluminum transmission pans to exact OEM specifications to prevent warping and leaks.
Step 1: The Dipstick and Smear Test
The first step in evaluating transmission health is extracting a fluid sample. If your vehicle has a dipstick, wipe it clean, reinsert it fully, and extract a fresh sample. For sealed transmissions, you will need to pull the fluid from the overflow or fill plug using a clean transfer tube. Once you have the sample, perform the visual and olfactory smear test.
Color and Odor Interpretation
Place a few drops of the fluid on a white paper towel and observe the spread pattern and color. Healthy automatic transmission fluid (ATF) should be translucent and cherry red, indicating that the oxidation inhibitors and friction modifiers are intact. As the fluid ages, the friction modifiers shear down, and the detergent additives become saturated with clutch material.
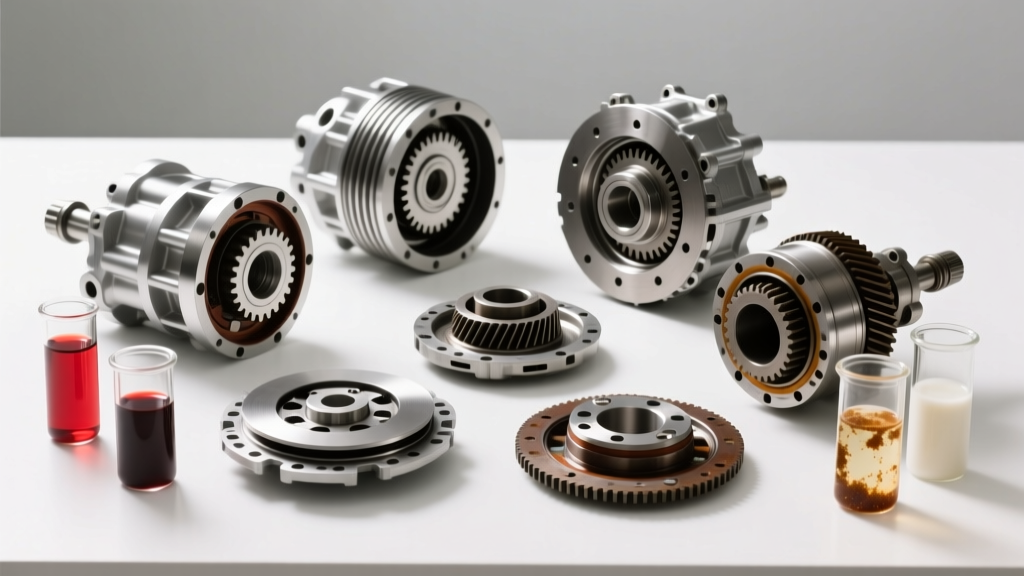
- Opaque Brown: Normal wear and oxidation. The fluid has lost its thermal stability and must be replaced within the next 5,000 miles.
- Black with an Acrid, Burnt Toast Odor: Severe thermal breakdown. This indicates that the clutch packs have been slipping and burning. The fluid is essentially liquid carbon and will clog the narrow passages in the valve body and solenoid screens.
- Glitter/Metallic Flake Suspensions: Indicates hard-part wear, such as planetary gear sets or bushings failing. A simple drain and fill is insufficient; a complete teardown or professional power flush with a filtration machine is required.
Step 2: Inspecting for Particulate and Metallic Debris
Friction material wear is a normal byproduct of automatic transmission operation. However, the type of debris suspended in the oil tells a specific story about internal health. When draining the pan, inspect the magnetic drain plug (if equipped) or the magnets seated in the bottom of the transmission pan.
A fine, dark gray paste on the magnet is standard clutch and brake band dust. This is normal for units like the GM 6L80 or Aisin TF-80SC after 60,000 miles. However, if you find chunky metallic shards, steel shavings, or brass-colored flakes, you are witnessing catastrophic mechanical failure. Brass flakes typically indicate that the torque converter stator bushing or the internal pump gears are disintegrating. In this scenario, adding fresh fluid will not save the unit; a rebuild is imminent.
Step 3: Identifying Coolant Cross-Contamination
One of the most devastating contamination events is coolant intrusion, often referred to in the automotive community as the "Strawberry Milkshake of Death" (SMOD). This occurs when the internal heat exchanger (the transmission oil cooler located inside the radiator) ruptures, allowing engine coolant to mix with the ATF under pressure.
Coolant contains water and ethylene glycol. Water instantly destroys the paper and Kevlar-based friction linings on the clutch packs, causing them to delaminate from the steel backing plates. If your fluid sample looks like a pink or brown milkshake, or if it has a milky, emulsified consistency, do not attempt to drive the vehicle. The transmission must be disassembled, the clutch packs replaced, and the radiator must be swapped out immediately. According to Bob Is The Oil Guy ATF Forums, even a 1% water contamination by volume can reduce the friction coefficient of ATF by over 40%, leading to immediate slip and failure.
Step 4: Answering "What Transmission Oil for My Car" After Contamination
Once you have diagnosed the type of contamination and determined that a fluid exchange is necessary, you must select the correct replacement. When owners ask, "what transmission oil for my car," the answer is never a generic "universal" multi-vehicle ATF. Modern 8-speed, 9-speed, and 10-speed transmissions require highly specific viscosity profiles and friction modifier packages to ensure proper torque converter lockup and shift timing.
Using the wrong fluid can result in torque converter shudder, harsh 2-3 shifts, and premature solenoid failure. Below is a reference chart for some of the most common modern transmissions, their exact OEM fluid requirements, part numbers, and approximate dry-fill capacities.
| Transmission Model | OEM Fluid Specification | Part Number (OEM) | Approx. Cost (Per Quart) | Total Capacity (Dry Fill) |
|---|---|---|---|---|
| GM 6L80 / 8L90 | ACDelco Dexron ULV | 19355655 | $12 - $16 | 11.2 - 12.5 Liters |
| ZF 8HP45 / 8HP70 | ZF LifeguardFluid 8 | 1087.298.901 | $35 - $45 | 8.5 - 9.5 Liters |
| Aisin TF-80SC (Volvo/Ford) | Aisin ATF-0T4 | ATF-0T4 | $14 - $18 | 7.0 - 7.5 Liters |
| Mercedes 722.9 (7G-Tronic) | MB 236.15 | 0019899003 | $28 - $35 | 9.0 Liters |
For detailed OEM fluid specifications and service bulletins, always refer to the ZF Aftermarket Technical Information portal or the ACDelco Automatic Transmission Fluids catalog. Never substitute ZF LifeguardFluid with a generic synthetic ATF, as the ZF 8HP relies on a very specific kinetic viscosity curve to operate the mechatronic unit's solenoids correctly.
Step 5: The Flushing, Refill, and Temperature-Check Procedure
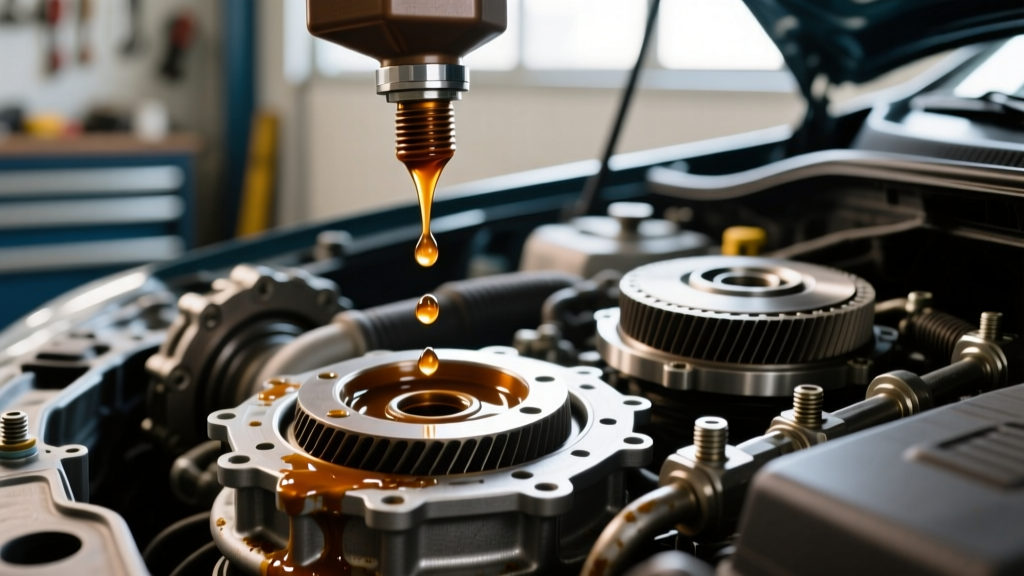
After dropping the pan, replacing the filter (which is often integrated into the plastic pan on ZF and Audi units), and cleaning the magnets, the refill process begins. This is where most DIYers make critical errors that lead to under-filling or over-filling the transmission.
The Temperature-Dependent Level Check
Modern sealed transmissions do not have a traditional "Full Hot" or "Full Cold" line on a dipstick. Instead, the fluid level is set via an overflow plug located on the bottom of the transmission pan. The fluid expands significantly as it heats up. Therefore, the exact temperature of the fluid dictates the correct physical level inside the pan.
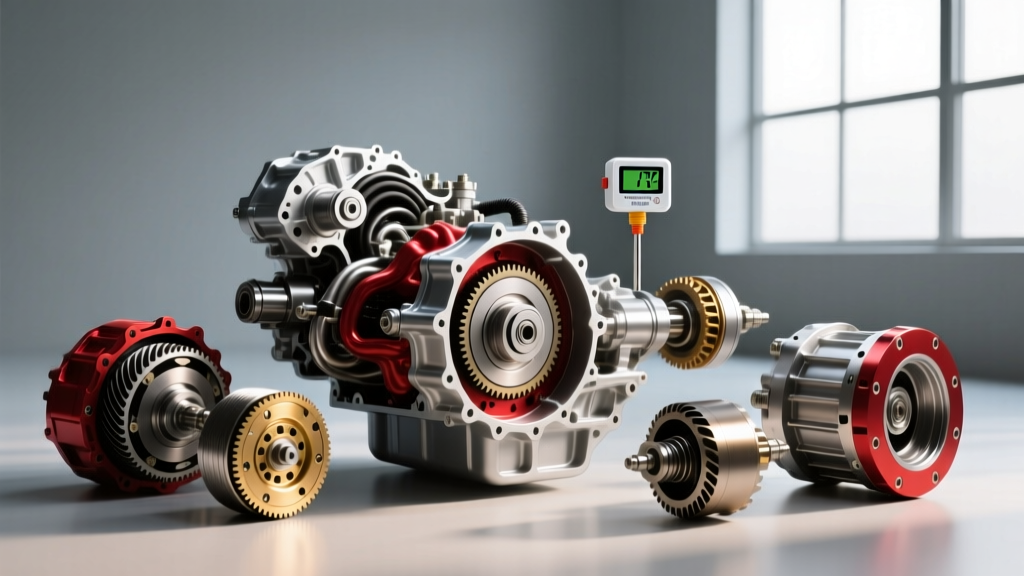
- Connect your OBD2 scanner and monitor the Transmission Fluid Temperature (TFT) PID.
- Start the engine and cycle through all gears (P-R-N-D) with your foot on the brake to prime the valve body and torque converter.
- With the vehicle level on jack stands or a lift, remove the overflow plug while the fluid is between 40°C and 50°C (104°F - 122°F).
- If fluid drips out, the level is correct. If no fluid comes out, use your transfer pump to add fluid into the fill tube until a steady stream exits the overflow hole.
- Reinstall the overflow plug immediately.
Critical Torque Specifications
Overtightening transmission pan bolts will crack the plastic pans used on ZF 8HP units or warp the aluminum pans on GM models, guaranteeing a slow, persistent leak. Always use a calibrated torque wrench.
- ZF 8HP Plastic Pan Bolts (M6x25): 10 Nm (89 lb-in). Do not exceed this, or the plastic bosses will strip.
- GM 6L80 Aluminum Pan Bolts (M6): 24 Nm (18 lb-ft).
- Aisin TF-80SC Overflow Plug: 27 Nm (20 lb-ft).
- Mercedes 722.9 Pan Bolts: 4 Nm, then an additional 90-degree turn.
Expert Warning: If your transmission fluid was heavily contaminated with burnt clutch material, a simple drain-and-fill will only replace about 30% to 40% of the total fluid volume, leaving the majority of the degraded fluid trapped in the torque converter and cooler lines. For severe contamination, a professional dialysis flush using a machine that exchanges fluid at equal pressure is the only way to ensure 95%+ fluid replacement without shocking the valve body.
By meticulously following these diagnostic steps and adhering strictly to OEM fluid specifications and torque values, you can extend the life of your drivetrain by hundreds of thousands of miles. Always document your fluid changes, note the TFT at the time of the level check, and monitor the shift quality in the weeks following the service.