The Heart of the Axle: Understanding the Ring and Pinion
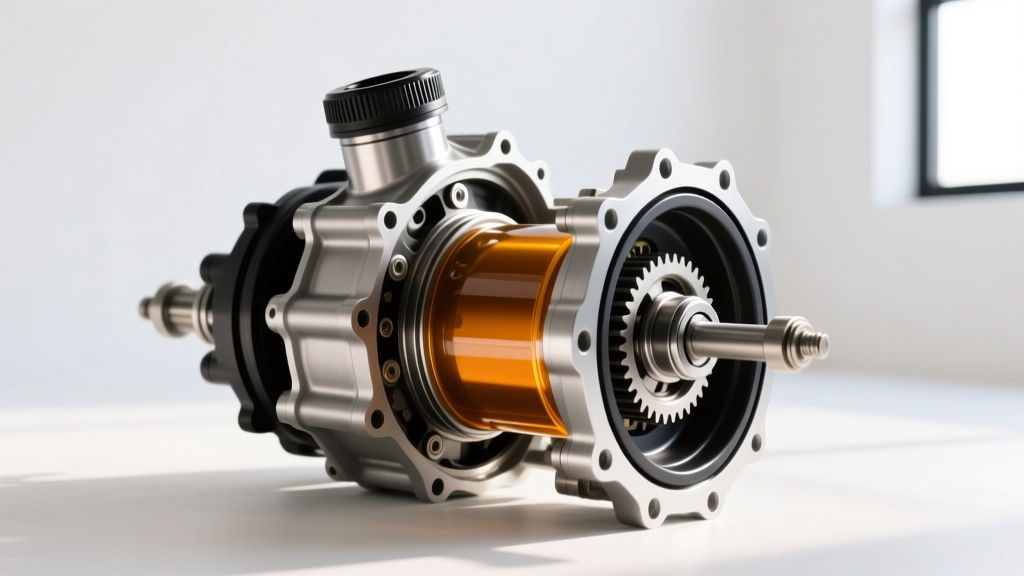
If you are diving into the world of off-road modifications or simply replacing a worn-out gearset, understanding your Toyota differential is a rite of passage. Whether you are regearing a 2016 Tacoma to accommodate 35-inch tires or rebuilding the rear axle of a classic 1995 4Runner, the ring and pinion gearset is the unsung hero of your drivetrain. It takes the rotational force from the driveshaft and multiplies it while turning the power 90 degrees to the wheels.
For beginners, the idea of setting up these gears can feel like dark magic. Tolerances are measured in thousandths of an inch, and a single mistake can result in a whining axle or catastrophic gear failure. However, by breaking the process down into logical, manageable steps, you can demystify the setup process and achieve professional-level results in your own garage.
Why Toyota Differentials Are Unique
Before turning a single wrench, it is vital to understand that not all Toyota axles are built the same. The two most common solid rear axles found in Toyota trucks and SUVs are the 8-inch (often called the Turbo or 8.0-inch) and the 8.4-inch (commonly found in V6 Tacomas and 4Runners).
- Shim-Adjusted Carriers: Most Toyota solid rear axles use a traditional shim-under-bearing design. To adjust the gear position, you must physically remove the carrier bearings, change the thickness of the steel shims behind them, and press the bearings back on. This requires a bearing puller and a press.
- Threaded Adjusters (IFS Clamshells):strong> If you are working on a front Independent Front Suspension (IFS) differential (often called a clamshell), Toyota uses threaded adjuster rings on the side bearings instead of shims. This makes adjusting backlash significantly easier for beginners, as you simply turn the rings with a spanner wrench.
The Four Pillars of a Perfect Gear Setup
A successful gear setup relies on balancing four distinct measurements. Think of this as the 'Goldilocks Zone'—everything must be just right.
1. Pinion Depth (The Foundation)
Pinion depth dictates how far the pinion gear reaches into the center of the ring gear. This is adjusted via a shim located directly under the inner pinion bearing (or on the pinion head itself, depending on the specific bearing kit). If the pinion is too deep, the gears will bind and overheat. If it is too shallow, the teeth will only contact at the very tips, leading to shearing under load. Pinion depth is the hardest measurement to get right because changing it requires completely disassembling the pinion shaft.
2. Backlash (The Wiggle Room)
Backlash is the amount of rotational 'play' between the ring and pinion teeth before they make contact. Gears need a tiny amount of wiggle room to allow for thermal expansion and the thickness of the differential fluid film. For most Toyota truck applications, the target backlash is between 0.005 and 0.007 inches. This is measured using a magnetic dial indicator mounted to the axle housing while holding the pinion flange completely still.
3. Bearing Preload (The Tension)
Bearing preload ensures the pinion and carrier bearings are tight enough to prevent deflection under heavy torque, but loose enough to spin without generating excessive heat. In a Toyota differential, pinion preload is traditionally set using a crush sleeve. As you torque the massive pinion nut, the sleeve crushes, creating tension on the bearings. Beginner Warning: If you overtighten the nut and crush the sleeve too much, you cannot simply back the nut off. You must throw the sleeve in the trash, press the pinion apart, install a new sleeve, and start over.
Pro-Tip: Many experts recommend ditching the crush sleeve entirely in favor of a Solid Spacer Conversion Kit. This replaces the crush sleeve with a machined steel spacer and a stack of micro-shims, allowing you to set preload perfectly without the risk of over-crushing.
4. The Contact Pattern (The Lie Detector)
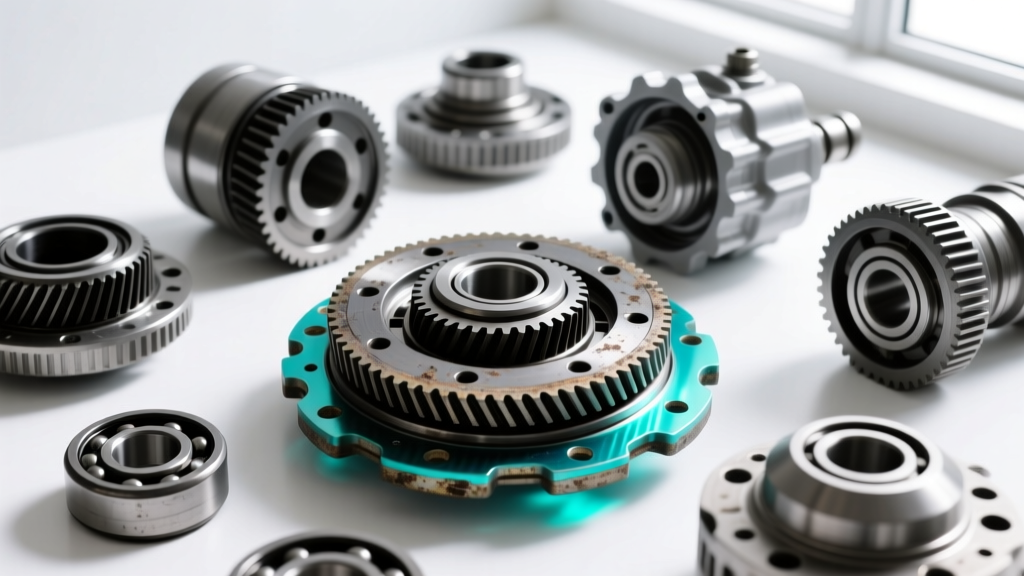
Numbers on a dial indicator mean nothing if the physical gear contact pattern is wrong. By painting the ring gear teeth with yellow gear marking compound and rotating the gears under light resistance, you reveal exactly how the teeth are mating. You must check both the Drive Side (convex side, pushing the vehicle forward) and the Coast Side (concave side, engine braking).
Decoding the Gear Contact Pattern
Reading a gear pattern is where true expertise shines. Here is a quick translation guide for beginners:
| Pattern Location | What It Means | How to Fix It |
|---|---|---|
| Toe Contact | Pattern is too close to the inner edge of the ring gear. | Move pinion deeper (add pinion shim) or increase backlash. |
| Heel Contact | Pattern is too close to the outer edge of the ring gear. | Move pinion shallower (remove pinion shim) or decrease backlash. |
| Top Land Contact | Pattern is riding too high on the tooth. | Decrease backlash or move pinion shallower. |
| Root / Flank Contact | Pattern is riding too low, near the base of the tooth. | Increase backlash or move pinion deeper. |
Note: Always prioritize the Drive Side pattern over the Coast Side pattern when making final adjustments, as the Drive Side handles the vast majority of your engine's torque output.
Toyota 8-Inch vs. 8.4-Inch: Specification Data
When setting up your gears, always refer to the factory service manual for your specific year and model. However, the following baseline specifications are widely accepted across the Toyota off-road community for standard aftermarket gearsets:
| Specification | Toyota 8.0-Inch (Turbo) | Toyota 8.4-Inch (V6) |
|---|---|---|
| Target Backlash | 0.005' - 0.007' | 0.0051' - 0.0071' |
| Ring Gear Bolt Torque | 77 ft-lbs (with Loctite) | 96 ft-lbs (with Loctite) |
| Pinion Nut Torque (Flange) | ~145 ft-lbs | ~159 ft-lbs |
| Pinion Bearing Preload | 8 - 14 in-lbs (new bearings) | 10 - 16 in-lbs (new bearings) |
Essential Tools and Real-World Costs
You cannot eyeball a differential setup. Investing in the right tools will save you from buying multiple sets of ruined gears. Here is what a beginner needs to budget for:
- Dial Indicator with Magnetic Base ($35 - $60): Essential for measuring backlash accurately to the thousandth of an inch.
- Inch-Pound Beam Torque Wrench ($80 - $120): Do not use a standard click-style foot-pound torque wrench for bearing preload. You need a beam-style inch-pound wrench to feel the exact rotational drag of the bearings.
- Bearing Puller and Press ($150+ or Rental): Carrier bearings are an interference fit. You will need a press to install them and a specialized puller (like a clamshell puller) to remove them without destroying the bearing races.
- Gear Marking Compound ($15): Yellow compound is best for reading patterns on new, shiny gears.
The Final Step: Differential Fluid and Break-In
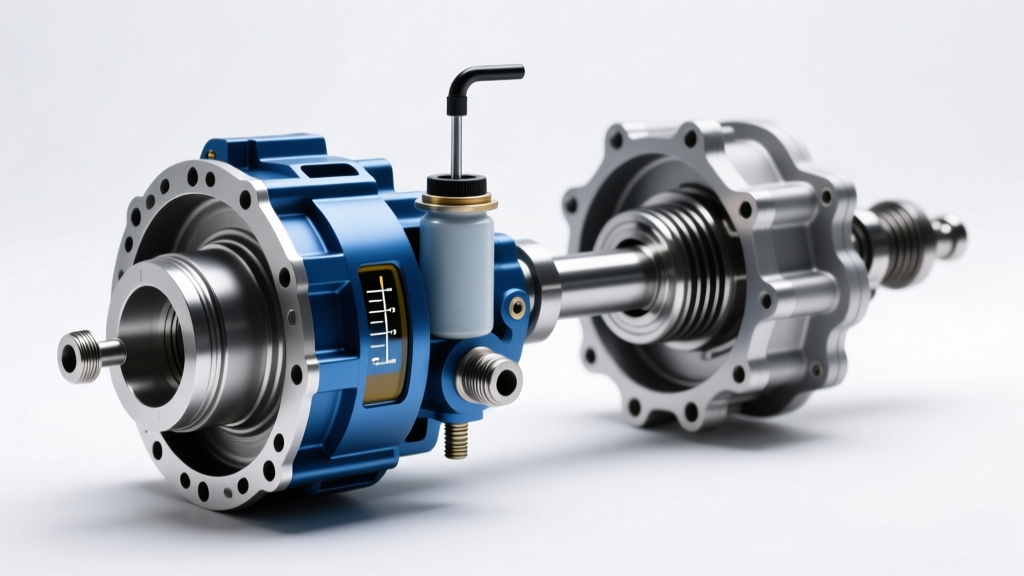
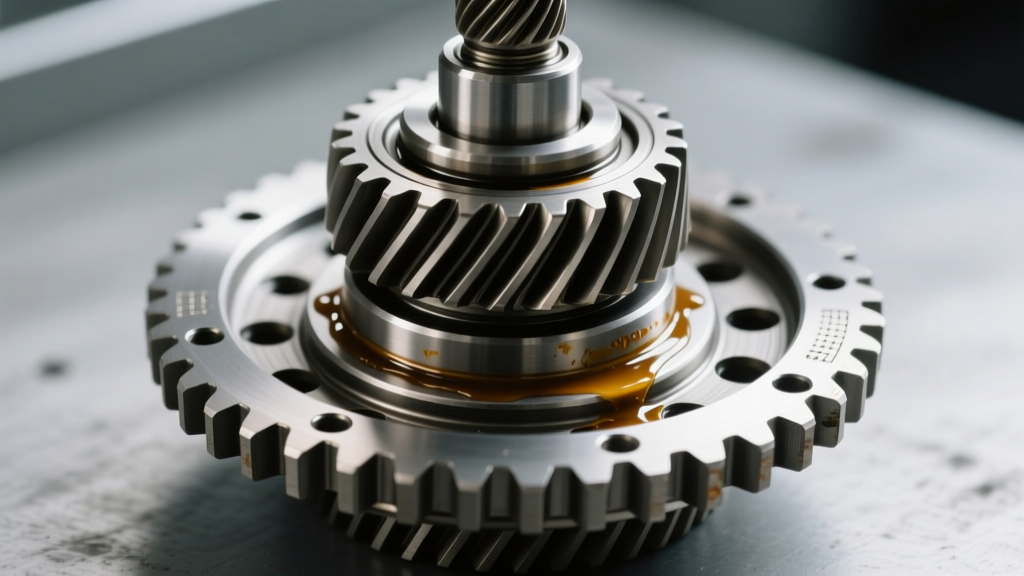
Once your pattern is perfect, your backlash is verified, and the housing is sealed, the lifeblood of your new setup is the differential fluid. Friction and heat are the enemies of a fresh gearset. For almost all Toyota truck and SUV applications, you should fill the differential with a high-quality 75W-90 GL-5 Synthetic Gear Oil.
The rear differential in a Tacoma or 4Runner typically holds between 3.5 and 4.2 quarts, depending on the exact housing and whether you have an aftermarket drop-bracket or heavy-duty cover. Always fill until the fluid is level with the bottom of the fill hole.
Crucial LSD Note: If your Toyota is equipped with a factory TRD clutch-type Limited Slip Differential (LSD), you must add a friction modifier additive to your gear oil. Without it, the clutch packs will chatter violently during low-speed turns, potentially destroying the LSD unit. If you have an aftermarket gear-driven locker (like a Detroit or Eaton E-Locker), no modifier is needed.
The 500-Mile Break-In Rule
New ring and pinion gears have microscopic machining marks. During the first 500 miles, these high spots wear down, generating immense heat and microscopic metal shavings. To prevent your new gears from cooking in their own friction:
- Drive conservatively for the first 500 miles. Avoid sustained highway speeds over 65 MPH.
- Do not tow heavy trailers or engage in aggressive off-roading during this period.
- After 500 miles, drain the differential fluid immediately. You will likely see a silvery, glittery paste on the drain plug magnet—this is normal break-in wear.
- Refill with fresh 75W-90 GL-5 fluid. Your Toyota differential is now properly seated and ready for decades of reliable service.
Setting up a ring and pinion is a test of patience. Take your time, document your shim thicknesses, and trust the contact pattern over everything else. For more advanced drivetrain builds and torque specifications, consult the technical archives at Ring-Pinion.com and always verify your specific year's factory service data.