Understanding the Two Worlds of Torque Converter Diagnosis
If you are new to automatic transmissions, diagnosing torque converter issues can feel like learning a foreign language. As we navigate the automotive landscape in 2026, the reality is that transmission diagnostics are split into two entirely different worlds. On one side, you have modern, electronically controlled transmissions (like the GM 6L80, Ford 10R80, or ZF 8HP) that rely on sensors, solenoids, and OBD2 torque converter diagnostic trouble codes to tell you what is wrong. On the other side, you have legendary hydraulic classics like the Turbo Hydramatic 400 (TH400), which have no computers, no lockup clutches, and require purely mechanical inspection—often starting with something as simple as checking your TH400 torque converter bolts.
Whether you are plugging in a scan tool to check a P0741 code on your daily driver or grabbing a torque wrench to verify the flexplate hardware on your weekend cruiser, this beginner-friendly explainer will bridge the gap between digital codes and mechanical realities.
Modern Diagnostics: Torque Converter Diagnostic Trouble Codes (DTCs)
In any modern automatic transmission equipped with a Torque Converter Clutch (TCC), the vehicle's Powertrain Control Module (PCM) constantly monitors the slip speed between the engine and the transmission input shaft. When the PCM commands the TCC solenoid to lock the converter, it expects a specific RPM drop. If the actual data doesn't match the expected data, the check engine light illuminates, and a diagnostic trouble code (DTC) is stored.
The P074X Code Family Explained
The most common torque converter diagnostic trouble codes fall under the P0740 to P0744 spectrum. According to OBD-Codes, these codes specifically relate to the TCC solenoid circuit and its mechanical performance. Here is a breakdown of what your scan tool is trying to tell you:
| DTC Code | Definition | Primary Symptom | Common Fix & Estimated Cost |
|---|---|---|---|
| P0740 | TCC Solenoid Circuit Malfunction | Check Engine Light (CEL), no lockup, poor highway fuel economy. | Replace TCC Solenoid or repair wiring harness ($80 - $150). |
| P0741 | TCC System Stuck Off / Excessive Slip | Highway RPMs are 200-400 RPM higher than normal, fluid overheating. | Replace degraded fluid, fix internal seal leaks, or replace TCC clutch ($150 - $1,200+). |
| P0742 | TCC System Stuck On | Engine stalls when coming to a stop, severe shudder. | Clear blocked valve body passages or replace stuck solenoid ($200 - $400). |
| P0743 | TCC Solenoid Circuit Electrical | CEL, transmission enters limp mode. | Repair short/open in wiring or replace PCM/Solenoid ($100 - $300). |
Step-by-Step TCC Solenoid Testing for Beginners
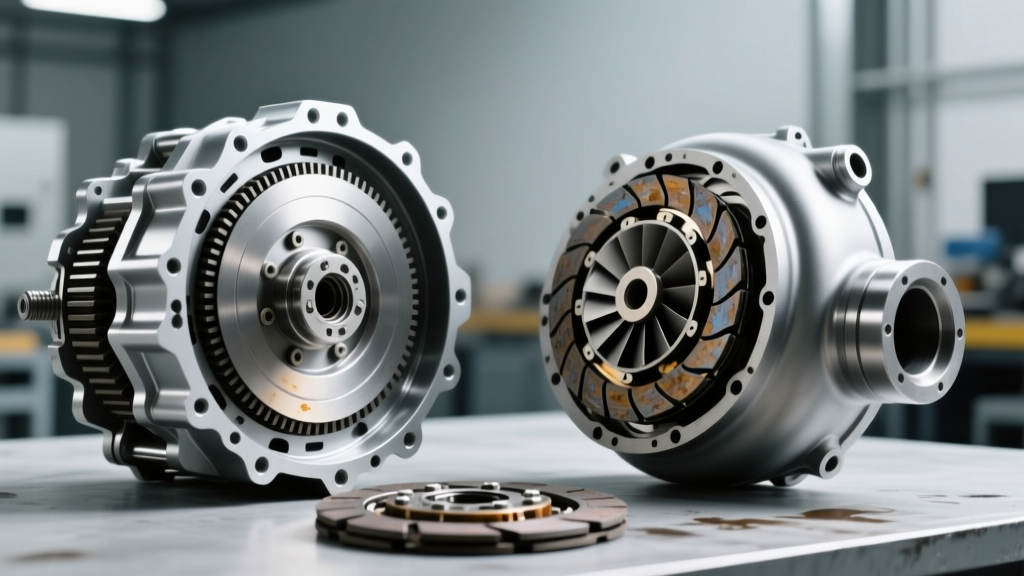
Before you tear the transmission out of the car, start with the basics. Many torque converter diagnostic trouble codes are triggered simply by degraded transmission fluid. Friction material from a slipping TCC clutch contaminates the fluid, clogging the tiny screens in the solenoid pack.
- Check the Fluid: Pull the dipstick (if equipped). Fluid should be cherry red. If it smells burnt or looks dark brown, a simple drain and fill with the correct OEM fluid (e.g., Dexron ULV or Mercon LV) might clear the code.
- Measure Solenoid Resistance: Drop the transmission pan, locate the TCC solenoid, and use a multimeter. Most PWM (Pulse Width Modulation) TCC solenoids should read between 10 and 30 ohms at room temperature. An infinite reading means an open circuit (dead solenoid).
- Inspect the Connector: Look for green corrosion on the main transmission case connector. A $15 can of electronic contact cleaner can sometimes solve a P0743 code without replacing a single part.
For deeper hydraulic insights, Sonnax technical resources highly recommend checking the valve body for worn TCC apply valves, as hydraulic leaks inside the valve body frequently mimic electronic solenoid failures.
Classic Diagnostics: Mechanical Checks and TH400 Torque Converter Bolts
If you are working on a classic muscle car or a heavy-duty vintage truck, you are likely dealing with a TH400. Because the TH400 is a purely hydraulic, non-lockup, 3-speed transmission, it physically cannot throw a P0741 code. There is no TCC solenoid, no PWM signal, and no computer. Therefore, diagnosing torque converter issues on a TH400 relies entirely on your senses: sight, sound, and feel.
The Danger of Ignoring TH400 Torque Converter Bolts
One of the most common—and catastrophic—beginner mistakes during a TH400 installation or engine swap is mishandling the flexplate-to-converter connection. The torque converter must be fully seated into the transmission's front pump and stator support before the engine and transmission are mated.
Once mated, the converter pads are secured to the engine's flexplate using TH400 torque converter bolts. If a builder realizes the converter wasn't fully seated and tries to use these bolts to "draw" or pull the converter forward to the flexplate, the immense stress will instantly crack the transmission's aluminum front pump housing. This results in massive fluid leaks and immediate transmission failure upon startup.
Proper Hardware and Torque Specifications
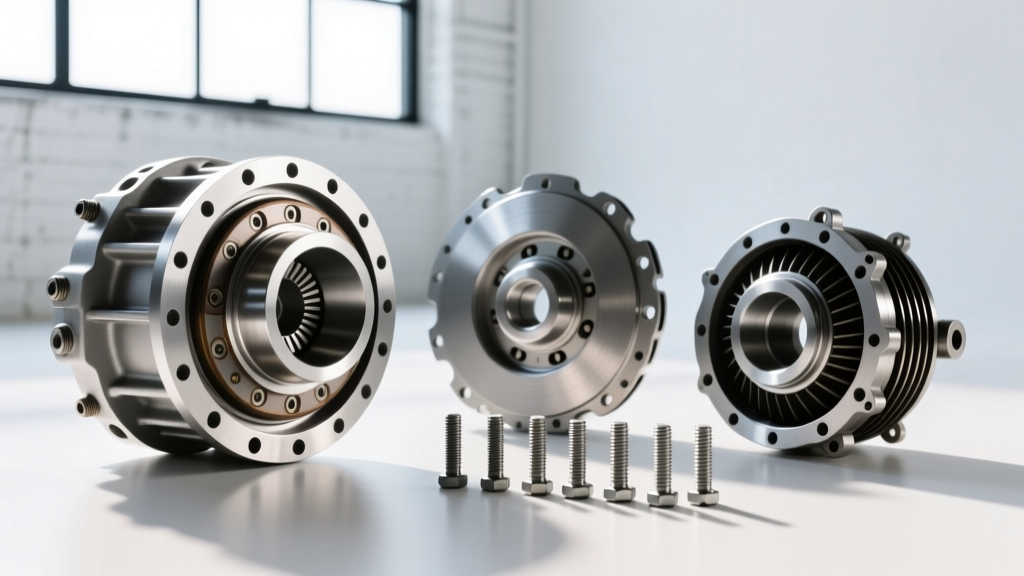
When diagnosing a vibration, a starter engagement noise, or a mysterious fluid leak at the bellhousing, inspecting the TH400 torque converter bolts is a mandatory step. Here are the exact specifications you need to know:
- Bolt Size: Most stock GM TH400 flexplates require 3/8"-16 x 1.00" or 1.25" bolts. However, many high-performance aftermarket converters (from brands like TCI or Stallion) use upgraded 7/16"-20 hardware. Always verify the thread pitch before forcing a bolt.
- Hardware Grade: Never use standard hardware store bolts (Grade 2 or 5). You must use Grade 8 or specialized aftermarket fasteners (such as ARP Flexplate Bolts, Part #234-7301) to handle the shear stress of high-stall setups.
- The Gap Test: Before tightening anything, the converter pad should sit flush against the flexplate or have a maximum gap of 1/8" to 3/16". If the gap is larger, the converter is not fully seated in the transmission.
- Torque Spec: Tighten the TH400 torque converter bolts to 35 to 45 lb-ft (depending on the specific fastener manufacturer's yield rating).
- Thread Locker: Always apply a medium-strength thread locker (like Loctite 242 Blue) to the threads. The cyclical vibrations of the drivetrain will back out dry bolts over time, leading to cracked flexplates and destroyed converter studs.
As noted in TCI Auto's installation guidelines, ensuring proper thread engagement (at least 5/8" of thread bite into the converter pad) is critical to preventing the converter from separating from the flexplate under heavy throttle loads.
The Restomod Dilemma: OBD2 Scanners vs. Hydraulic Swaps
In 2026, restomods and engine swaps are more popular than ever. A common scenario involves dropping a classic TH400 behind a modern LS or Coyote engine controlled by a standalone ECU (like a Holley Terminator X or GM Performance controller).
Because the modern ECU is programmed to expect an electronic transmission, it will actively monitor the TCC circuit. Since the TH400 lacks a TCC solenoid, the ECU will immediately throw a P0740 or P0741 torque converter diagnostic trouble code. In this scenario, the code is a "ghost"—it indicates an electrical open circuit simply because the hardware doesn't exist. To resolve this, beginners must use the ECU's tuning software to manually disable the TCC solenoid diagnostics and turn off the associated DTCs, preventing the ECU from triggering limp mode or pulling ignition timing.
Summary Checklist for Beginners
Whether you are dealing with a modern daily driver or a classic TH400 build, proper diagnosis saves time and money. Keep this checklist in your toolbox:
- Scan First: If your car is OBD2 compliant, read the codes. A P074X series code points directly to the torque converter clutch system.
- Check Fluid: Burnt fluid causes sticking valves and slipping clutches. Fix the fluid before throwing parts at the car.
- Verify Mechanical Seating: On classic hydraulic units, ensure the converter is fully seated into the stator and pump gears before mating the engine.
- Use the Right Bolts: Always use Grade 8 TH400 torque converter bolts, apply blue thread locker, and torque them to 35-45 lb-ft. Never use bolts to pull the converter to the flexplate.
- Tune Out Ghost Codes: If doing a classic transmission swap into a modern ECU vehicle, disable TCC diagnostics in the software to prevent false limp-mode triggers.
By understanding the distinct diagnostic pathways of electronic DTCs and mechanical hardware inspections, you can confidently tackle any torque converter issue that comes into your garage.