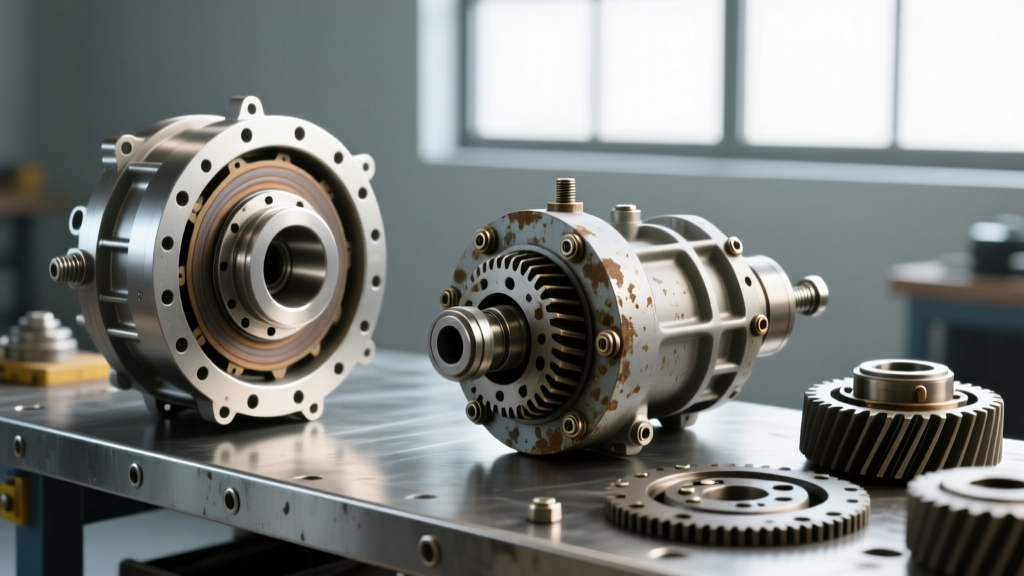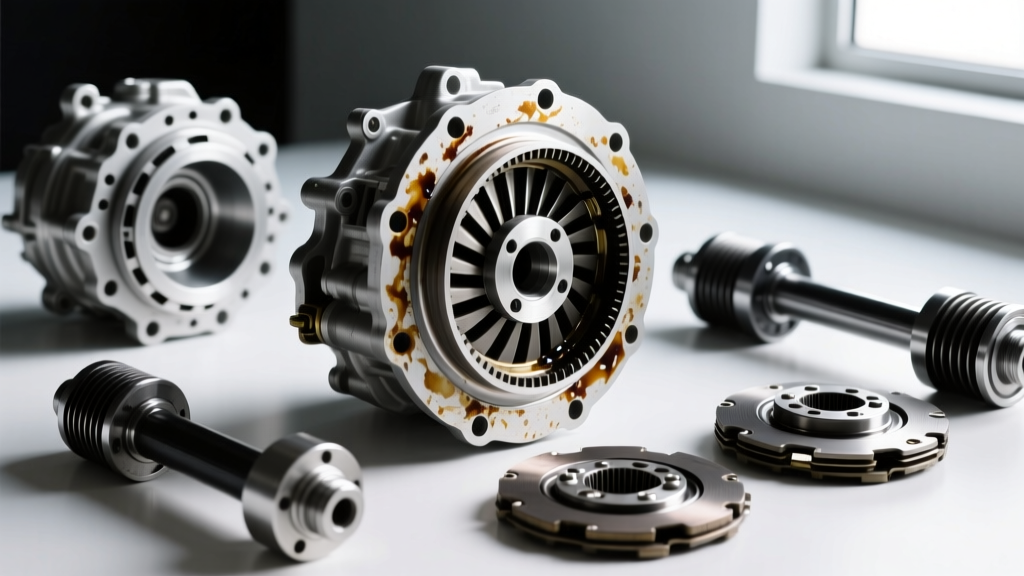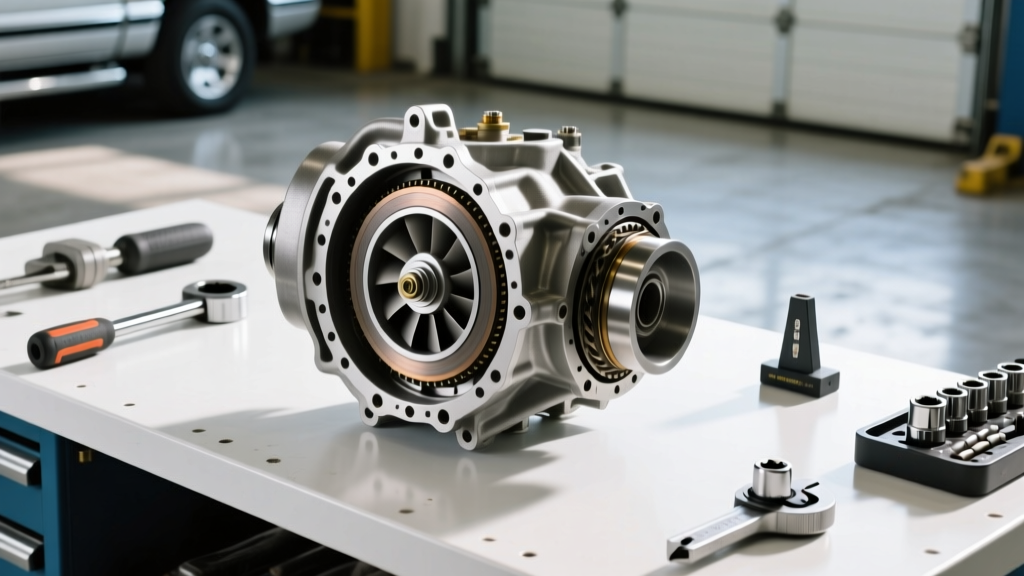
The 46RE Transmission and TCC Shudder
The 2001 Dodge Ram 1500, particularly when equipped with the legendary 5.9L Magnum V8, relies on the Chrysler 46RE (A518) four-speed automatic transmission. While robust in its geartrain, the 46RE is notorious for Torque Converter Clutch (TCC) shudder, front pump cavitation, and lockup solenoid failures. When sourcing a replacement torque converter, 2001 Dodge Ram 1500 owners with the 5.9L Magnum V8 must navigate a shrinking OEM parts market and rely on precise installation procedures to avoid catastrophic front pump destruction.
Unlike modern 8-speed or 10-speed units, the 46RE utilizes a traditional axial-flow torque converter with a single-disc TCC. When the friction material degrades or the stator one-way clutch fails, it contaminates the transmission cooler and valve body with metallic debris. This guide details the exact extraction, seating, and calibration procedures required to replace the torque converter on this specific platform.
2026 Parts Market: OEM vs. Aftermarket
As of 2026, sourcing a brand-new OEM Mopar torque converter for the 46RE is nearly impossible due to the discontinuation of the Magnum engine platform. High-quality remanufactured units with upgraded billet stators and high-friction Kevlar-lined TCC discs are now the industry standard. Below is a comparison of current market options for the 5.9L V8 application.
| Manufacturer | Stall Speed | TCC Lining | Avg. Price (2026) | Best Application |
|---|---|---|---|---|
| Raybestos Pro-Series | 1800-2000 RPM | Kevlar Composite | $380 - $450 | Heavy Towing / Daily Driving |
| Powertrain Dynamics | 1600-1800 RPM | OEM Paper/Carbon | $290 - $340 | Stock Replacement / Highway |
| Performance Built HD | 2200-2400 RPM | Billet Clutch Disc | $550 - $680 | Modified 5.9L / Off-Road |
Teardown: Extracting the 46RE
Replacing the torque converter requires dropping the transmission. For 4x4 models equipped with the NV241DLD transfer case, the complexity increases due to the combined weight and length of the drivetrain assembly.
- Preparation: Disconnect the negative battery terminal. Drain the transmission pan and remove the pan to inspect for clutch material. If large chunks of friction material are present, a full valve body flush is mandatory.
- Drivetrain Disconnect: Mark the rear driveshaft yoke and axle flange for balance alignment. Remove the 4 U-bolt straps (12mm/1/2-inch). Slide the driveshaft out and plug the transmission tail housing to prevent fluid leakage.
- Support and Lower: Support the engine with an overhead bar or floor jack under the oil pan (using a wood block). Place a transmission jack under the 46RE pan.
- Peripheral Removal: Disconnect the TV (Throttle Valve) linkage, shift cable, reverse light switch connector, and output shaft speed sensor. Remove the transmission cooler lines at the block fittings.
- Bellhousing Separation: Remove the inspection cover to access the flexplate-to-converter bolts. Rotate the crankshaft manually using a 22mm socket on the crank bolt to access all four converter nuts (15mm). Remove the bellhousing-to-engine block bolts (typically a mix of 1/2-inch and 13mm).
- Extraction: Slide the transmission rearward, ensuring the input shaft clears the engine dowels. Lower the assembly carefully.
The Critical Step: Converter Seating Depth
The most common mistake made during 46RE torque converter replacement is failing to fully seat the converter into the transmission front pump. The 46RE input shaft and stator support require a specific engagement sequence. If the converter is not fully seated, tightening the bellhousing bolts will push the converter hub into the front pump gear, cracking the cast-iron pump housing and causing immediate pressure loss upon startup.
Expert Warning: Never use the bellhousing bolts to 'pull' the transmission to the engine block. If the bellhousing does not sit flush against the engine block by hand, the torque converter is NOT seated. Forcing it will destroy the front pump.
The 'Three Clunks' and Depth Measurement
As you slide the torque converter onto the transmission input shaft, you must feel and hear three distinct 'clunks' or drops:
- First Drop: The converter hub engages the transmission front pump drive gear.
- Second Drop: The turbine splines engage the input shaft.
- Third Drop: The stator splines engage the one-way clutch and stator support.
Once seated, place a straightedge across the bellhousing mounting surface. Measure the distance from the straightedge to the torque converter mounting pad (where the flexplate bolts on). For the 46RE, this recess measurement must be between 7/8-inch and 1-inch. If the measurement is less than 3/4-inch, the converter is not fully seated. Pull it out, apply a thin layer of assembly lube to the hub, and re-engage while rotating slightly to align the splines.
Installation and Torque Specifications
Before mating the transmission to the engine, inspect the 5.9L Magnum flexplate. These engines are known to develop hairline cracks around the crankshaft bolt circle due to harmonic vibration. Replace the flexplate if any stress marks are visible. Always use new Grade 8 flexplate-to-converter bolts.
| Component | Fastener Size | Torque Specification | Notes |
|---|---|---|---|
| Flexplate to Torque Converter | 3/8'-24 x 1.25' (Grade 8) | 45 lb-ft (61 Nm) | Apply medium threadlocker (Blue 242) |
| Bellhousing to Engine Block | 1/2'-13 & M12x1.75 | 30 lb-ft (41 Nm) | Ensure dowel pins are intact |
| Crossmember to Frame | M12 x 1.75 | 35 lb-ft (47 Nm) | Check rubber isolator for dry rot |
| Driveshaft to Axle Yoke | 12mm / 1/2' | 15 lb-ft (20 Nm) | Align previously made balance marks |
Fluid Fill and TCC Calibration
Why ATF+4 is Non-Negotiable
The 46RE transmission was designed specifically for Chrysler's proprietary friction modifiers. You must use Mopar ATF+4 (Type 9602) or a licensed equivalent (e.g., Valvoline or AMSOIL ATF+4). Using generic Dexron or Mercon fluids will cause the TCC clutch lining to chatter, glaze, and fail within 5,000 miles due to incompatible friction coefficients. According to Allpar's Chrysler Transmission archives, the introduction of ATF+4 was specifically engineered to eliminate the lockup shudder inherent in earlier 4-speed Chrysler automatics.
Fill Procedure and TCC Bedding
The total dry capacity of the 46RE system is approximately 11.5 quarts, but a torque converter swap typically requires 5 to 7 quarts, depending on how much fluid drained from the cooler lines.
- Pour 4 quarts of ATF+4 directly into the transmission dipstick tube before starting the engine.
- Start the engine and let it idle. Cycle the gear selector through P-R-N-D-2-1, pausing for 3 seconds in each gear to fill the clutch apply circuits.
- With the engine still idling in Park, check the dipstick. Add fluid until it reaches the 'ADD' mark.
- Drive the vehicle until the transmission reaches normal operating temperature (approx. 180°F / 82°C). Recheck the fluid level; it should be in the crosshatch 'HOT' zone.
TCC Bedding Procedure: For the first 100 miles, avoid heavy throttle TCC lockup. Drive at moderate speeds (45-55 mph) and allow the TCC to engage and disengage gently. This burnishes the new friction material against the converter cover, ensuring a smooth, shudder-free lockup for the life of the unit. For further diagnostic protocols regarding TCC solenoid codes (like P0740), refer to the ATRA Technical Bulletins database.
Cost Analysis: DIY vs. Professional Shop
If you are performing this repair in 2026, doing it yourself yields significant savings, provided you have access to a transmission jack and adequate lift space. A professional shop will typically quote between $1,400 and $1,800 for a torque converter replacement on a 2001 Ram 1500, largely due to the 7.5 to 9.0 hours of billed labor required to drop the 46RE and transfer case assembly. By sourcing a Raybestos Pro-Series converter ($420), a case of ATF+4 ($85), and a transmission filter kit ($25), your total DIY parts cost will sit around $530, making this a highly rewarding weekend project for mechanically inclined Dodge owners.