Understanding Car Torque Converter Stall Speed
When diagnosing automatic transmission issues or tuning a vehicle for performance, few metrics are as revealing as stall speed. In the context of a car torque converter, stall speed is defined as the maximum engine RPM achievable when the transmission is in gear, the throttle is wide open (WOT), and the output shaft is held completely stationary. Essentially, it measures the point at which the engine produces enough torque to overcome the fluid coupling inside the converter, but the vehicle is physically prevented from moving.
Testing this metric is a cornerstone of drivetrain diagnostics. Whether you are troubleshooting a sluggish GM 4L60E, diagnosing a shudder in a modern Ford 10R80, or verifying an aftermarket upgrade, a stall test provides immediate insight into the health of your engine, transmission fluid pressure, and the torque converter itself. However, performing this test incorrectly can lead to catastrophic thermal failure. This guide provides a professional, step-by-step methodology for executing a stall test safely and interpreting the results with precision.
The Physics: What Happens Inside the Housing?
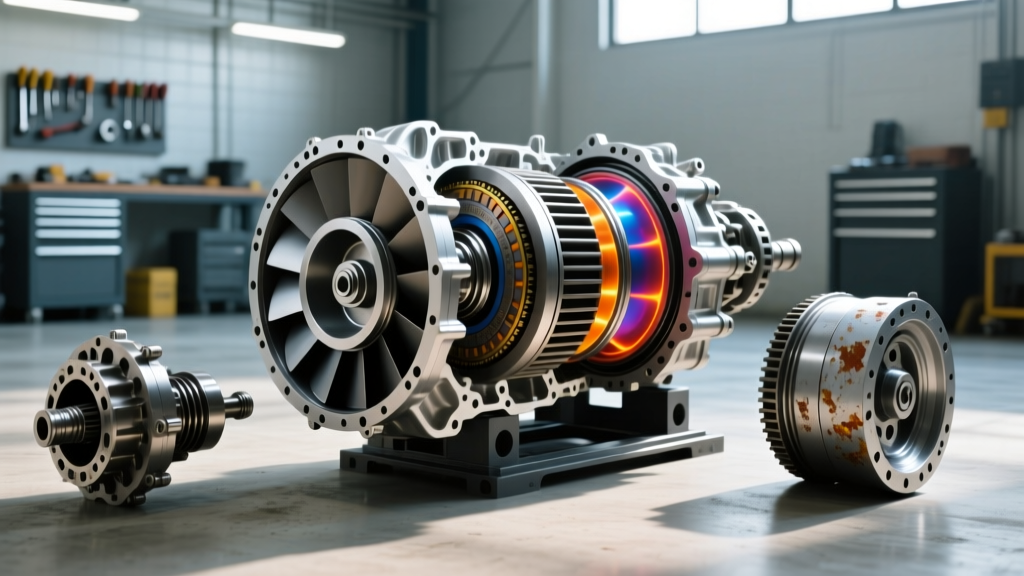
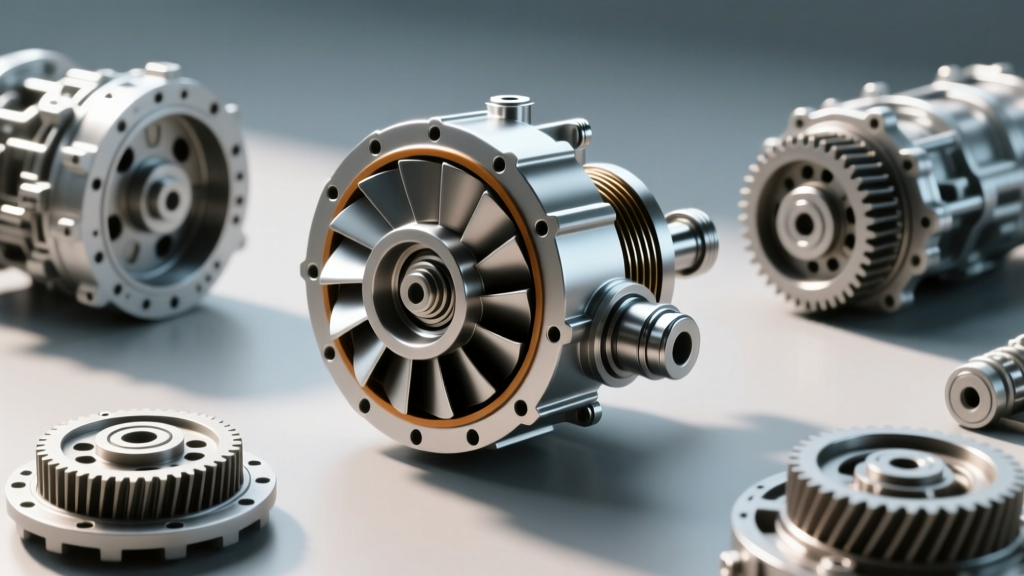
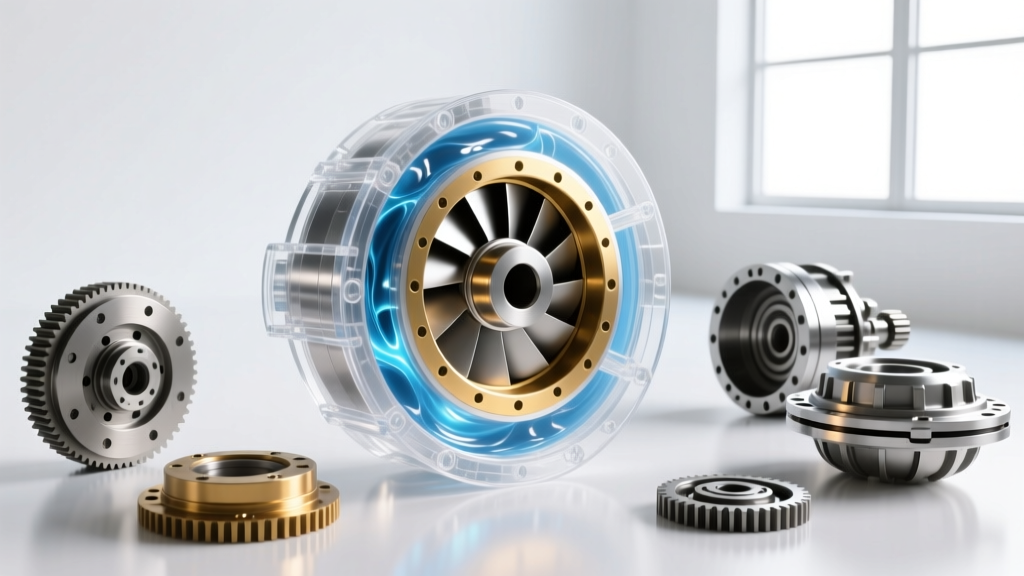
To understand the test, you must understand the fluid dynamics at play. Inside the welded steel housing of your car torque converter are three primary components: the impeller (pump), the turbine, and the stator. During a stall test, the impeller is spinning at maximum engine RPM, violently churning the automatic transmission fluid (ATF) and directing it at the stationary turbine. The stator redirects the fluid return to multiply torque—often by a factor of 2.0:1 to 2.5:1.
Because the turbine is locked (via the brakes and drivetrain), 100% of the engine's kinetic energy is converted into heat within the fluid. According to Sonnax Technical Resources, fluid temperatures inside the converter can spike by over 100°F in just a few seconds during a stall condition. This is why strict time limits and temperature monitoring are non-negotiable.
Pre-Test Diagnostics: Fluid and Temperature Preparation
Never perform a stall test on a cold transmission. Viscosity variances will skew your RPM readings and risk damaging the stator clutch. Follow these preparation steps:
- Verify Fluid Level: Check the dipstick or level plug with the vehicle on a level surface and the engine idling in Park. For a GM 6L80, the fluid must be at the operating hash mark. For a ZF 8HP (Chrysler 8-speed), the level plug must be checked at exactly 104°F (40°C).
- Check Fluid Condition: Pull the dipstick. If the ATF smells burnt or contains visible metallic clutch material, abort the test. The transmission already has internal mechanical failures.
- Reach Operating Temperature: Drive the vehicle for 15-20 minutes. Use an OBD2 bi-directional scanner to verify the Transmission Fluid Temperature (TFT) sensor reads between 160°F and 180°F (71°C - 82°C).
- Secure the Perimeter: Ensure you are on a flat, paved surface. Place heavy-duty wheel chocks in front of and behind the drive wheels. Engage the emergency brake fully.
Step-by-Step Stall Test Procedure
This procedure utilizes the foot-brake stall method, which is the industry standard for OEM and light aftermarket diagnostics. Warning: Do not attempt this on vehicles with severe brake fade or compromised hydraulic brake lines.
Step 1: The Brake Hold
With the vehicle in Drive (D), press the brake pedal to the floor with your left foot. You must apply maximum physical pressure to the pedal. If the brake pedal feels spongy or sinks to the floor, abort immediately. The brakes must be capable of holding the engine's peak torque output.
Step 2: Wide Open Throttle (WOT)
Using your right foot, smoothly but quickly roll into Wide Open Throttle. Do not 'power brake' the engine by revving and dropping the hammer; roll into it to allow the turbochargers (if equipped) to spool and the engine to reach peak torque delivery.
Step 3: The 5-Second Rule
Hold the throttle at WOT for no more than 5 seconds. Watch the tachometer closely. Note the exact RPM where the needle stops climbing and holds steady. This is your stall speed.
Step 4: Cool Down and Reset
Immediately release the throttle, shift into Neutral (N), and allow the engine to idle at 1,500 RPM for 60 seconds. This circulates the superheated ATF through the transmission cooler. Monitor your TFT scanner; do not repeat the test until fluid temperatures drop back below 180°F.
Diagnostic Matrix: Interpreting Your RPM Results
Once you have your RPM figure, compare it against the factory specifications for your specific drivetrain. Below is a diagnostic framework for common passenger and light truck applications.
| Observed Stall RPM | Condition | Probable Cause & Diagnostic Action |
|---|---|---|
| Below Spec (e.g., <1600 RPM) | Engine/TC Restriction | Engine is not making peak torque (misfire, restricted exhaust, bad MAF). Alternatively, the torque converter stator one-way clutch is seized, preventing fluid redirection. |
| Within Spec (1800-2200 RPM) | Normal / Healthy | OEM converter is functioning correctly. Engine is producing rated torque. Transmission line pressure is adequate to hold the clutch packs. |
| Above Spec (e.g., >2500 RPM) | TC/Trans Slippage | Internal transmission clutch packs are slipping, forward band is broken, or torque converter fins are damaged/cavitating due to low fluid level or a failing front pump. |
Model-Specific Stall Targets
- GM 4L60E (V8 Applications): Factory stall is typically 1800-2000 RPM. If you see 2400+ RPM, suspect a slipping forward clutch pack or a severely worn impeller hub.
- GM 6L80 / 6L90: Usually stalls around 2000-2200 RPM. These units are highly sensitive to TCC (Torque Converter Clutch) shudder. If the stall is low, check for a restricted converter feed orifice in the valve body.
- ZF 8HP70 (Dodge/Chrysler 8-Speed): Factory stall is roughly 1800-2000 RPM. Caution: The ZF 8HP mechatronic unit is integrated into the plastic transmission pan. Prolonged stall testing can warp the plastic pan or overheat the internal TCM solenoids. Limit testing to a single 3-second pull.
Safety Limits and Modern Transmission Warnings
As we navigate the automotive landscape in 2026, modern 8, 9, and 10-speed automatics (like the Ford/GM 10R80 or ZF 9HP) utilize highly complex, tightly packed clutch assemblies and low-viscosity fluids (such as Motorcraft MERCON ULV or ZF LifeguardFluid 8). These fluids are engineered for efficiency, not extreme thermal abuse.
Performing multiple, back-to-back stall tests on a modern 10-speed transmission will rapidly degrade the friction modifiers in the ULV fluid, leading to immediate Torque Converter Clutch (TCC) shudder upon lockup. Furthermore, the extreme heat can glaze the paper-based friction linings inside the converter. If you must test a modern multi-speed automatic, rely on OBD2 live data logging of turbine speed versus impeller speed during a controlled, rolling acceleration rather than a static foot-brake stall.
When to Upgrade: High-Stall Aftermarket Converters
If you are building a performance vehicle, the factory stall speed is often too low to allow the engine to enter its powerband off the line. Upgrading to a high-stall car torque converter is a common modification. According to manufacturing insights from Circle D Specialties, a high-stall converter uses a modified stator and altered fin angles to allow the engine to rev higher before the fluid coupling 'locks' and transfers motion to the turbine.
Cost Breakdown: OEM vs. Aftermarket Replacement
If your stall test indicates a failed torque converter (e.g., RPMs are drastically above spec, or the stator clutch is making a grinding noise), replacement is required. The transmission must be removed to access the flexplate bolts.
- OEM Replacement Converter: $400 - $800 (Part cost)
- Aftermarket Performance Converter (e.g., 3200-RPM Stall): $650 - $1,200 (Part cost)
- Professional Labor (R&R Transmission): $800 - $1,400 (Typically 6-9 hours of book time)
- Fluid and Filter Kit: $80 - $150 (e.g., 12 quarts of Dexron VI or ATF+4)
- Total Expected Job Cost: $1,500 - $3,500 depending on part selection and shop rates.
Critical Installation Torque Specs
When installing the new converter, precision is mandatory. The torque converter must be fully seated into the transmission front pump before mating to the engine. If the converter is not fully seated (you should feel three distinct 'clunks' or drops as it passes the pump gear, stator support, and turbine hub), tightening the bellhousing will crush the front pump, resulting in immediate failure upon startup.
- TC to Flexplate Bolts: Typically 35 lb-ft (GM 4L60E/6L80) to 40 lb-ft (Ford 10R80). Always use new OEM bolts with threadlocker.
- Transmission Pan Bolts: Be incredibly careful. GM 4L60E pan bolts strip easily at just 11 lb-ft. ZF 8HP plastic pans require a strict 10 Nm (7.4 lb-ft) torque sequence.
Final Thoughts on Drivetrain Diagnostics
The stall test remains one of the most powerful, cost-free diagnostic tools in a technician's arsenal. By understanding the fluid dynamics of your car torque converter, respecting the thermal limits of modern ATF, and interpreting the RPM data against factory specifications, you can accurately pinpoint whether a drivetrain complaint lies in the engine, the transmission hydraulics, or the converter itself. Always prioritize safety, monitor your temperatures, and let the data guide your repair strategy.