Diagnosing the Tacoma Rear Differential: Do You Need a Rebuild?
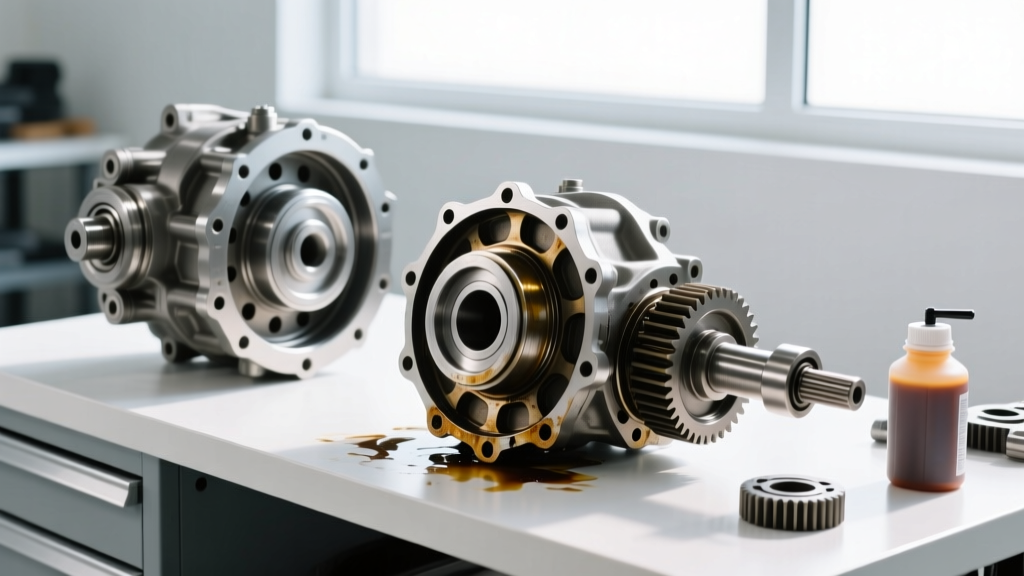
The Toyota Tacoma is renowned for its off-road capability and drivetrain durability, but even the legendary Toyota 8-inch dropout rear differential (commonly found in V6 models) is not immune to wear. Before tearing into the axle housing, a proper diagnosis via fluid analysis is mandatory. As a core principle of drivetrain maintenance, your gear oil tells the story of your differential's internal health.
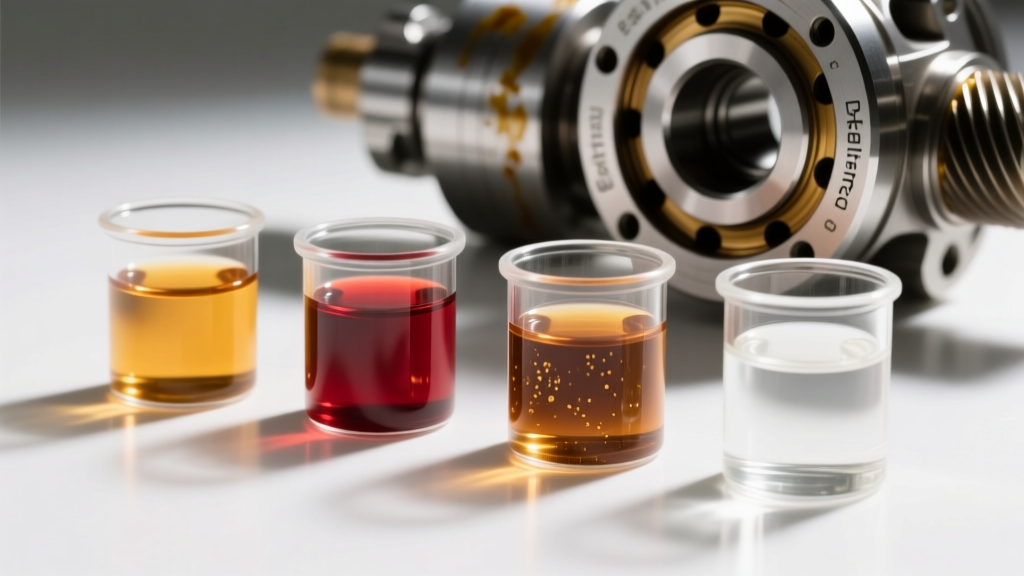
Reading the Drained Fluid
When you pull the fill plug and drain the existing fluid into a clean pan, observe the following:
- Chunky Metal Particles: If you find shards larger than a grain of rice on the magnetic drain plug, your ring and pinion gears or carrier bearings have suffered catastrophic failure. A full rebuild is required.
- Fine Glitter (Gold/Silver): A light coating of fine metallic paste is normal for high-mileage differentials. However, heavy glitter indicates bearing race spalling or thrust washer wear.
- Burnt Smell / Dark Sludge: Gear oil that smells like burnt coffee and has lost its viscosity has experienced extreme thermal breakdown, often due to towing overloads or a failing pinion seal allowing water intrusion.
Expert Insight: Never ignore a whining noise that changes pitch between acceleration and deceleration. This is the classic hallmark of improper backlash or worn gear teeth, demanding immediate teardown and inspection.
Parts Arsenal and Tooling Requirements
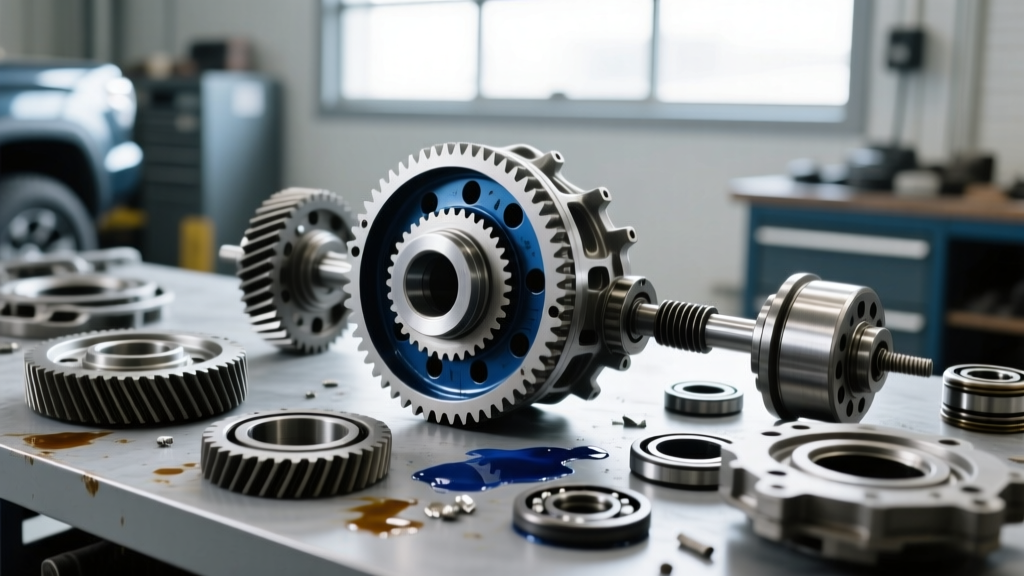
A successful Tacoma rear differential rebuild requires precision tools and high-quality components. Sourcing cheap bearings will result in premature whine and failure. Below is the essential bill of materials and tooling for a 2005-2015 V6 Tacoma (Toyota 8-inch dropout).
| Component / Tool | Part Number / Spec | Est. Cost (2026) |
|---|---|---|
| Master Overhaul Kit | Yukon Gear YK T8-REAR | $180 - $220 |
| Ring & Pinion Set (e.g., 4.56) | Yukon Gear YG T8-456 | $280 - $340 |
| Crush Sleeve Eliminator Kit | Yukon Gear YPECS-T8 | $45 - $60 |
| Gear Marking Compound | Yellow Ochre / White Lithium | $15 |
| Inch-Pound Torque Wrench | 0-150 in-lbs (Beam style preferred) | $60 - $90 |
| Bearing Puller / Press | Shop Press (20-ton min) or Puller | Varies |
Source reference for OEM and aftermarket tolerances can be cross-referenced via Toyota Tech Info System (TIS) and Yukon Gear & Axle installation manuals.
Step 1: Teardown and Component Extraction
Begin by removing the driveshaft and the brake drums/calipers. Unbolt the 10mm x 1.25 nuts securing the third member to the axle housing. The dropout 'pumpkin' is heavy; support it with a jack.
- Remove the Pinion Flange: Use an impact wrench to remove the pinion nut (discard the old crush sleeve nut). Pull the flange using a standard 3-jaw puller.
- Extract the Pinion Gear: Tap the pinion shaft through the housing with a brass drift to avoid damaging the threads. Note the thickness of the original pinion depth shim located behind the inner pinion bearing race.
- Remove the Carrier: Unbolt the carrier bearing caps. Keep caps and their respective sides matched (mark them with a punch if they aren't already numbered). Pry the carrier assembly out of the housing.
- Press Off Bearings: Use a hydraulic press to remove the carrier bearings and the inner pinion bearing. Warning: Never press on the bearing cages; always support the inner race.
Step 2: Setting Pinion Depth and Bearing Preload
This is the most critical phase of the rebuild. The pinion depth dictates how deeply the pinion gear meshes into the ring gear. If your new ring and pinion set does not specify a variance, you must measure the old shim.
Utilizing a Crush Sleeve Eliminator
OEM Toyota differentials use a crush sleeve to set pinion bearing preload. This is a one-time-use component that makes setting preload incredibly difficult and prone to error. We highly recommend installing a Crush Sleeve Eliminator Kit. This replaces the crush sleeve with a solid spacer and a series of precision shims, allowing you to set the exact rotating torque without the risk of over-crushing.
- Target Pinion Bearing Preload (New Bearings): 12 to 16 in-lbs of rotating torque.
- Target Pinion Bearing Preload (Used Bearings): 6 to 8 in-lbs.
Install the inner pinion bearing, the depth shim, and the pinion gear into the housing. Install the outer bearing, the solid spacer, your selected preload shims, the pinion seal, and the flange. Tighten the pinion nut to approximately 145 ft-lbs and measure the rotational drag with your inch-pound beam wrench. Adjust shims until the drag falls perfectly within spec.
Step 3: Ring Gear Mounting and Backlash Adjustment
Clean the carrier mating surface with brake cleaner. Heat the new ring gear slightly (no more than 200°F) using a heat gun or oven to allow for thermal expansion, then press it onto the carrier. Install the new ring gear bolts, applying red Loctite 271 to the threads.
- Ring Gear Bolt Torque: 55 - 65 ft-lbs in a crisscross pattern.
Press the new carrier bearings onto the assembly and drop it into the housing. Install the carrier bearing caps and torque to 60 ft-lbs. Using a dial indicator mounted to the housing, measure the side-to-side play (backlash) of the ring gear.
- Target Backlash: 0.005" to 0.007".
Adjust the side bearing adjuster nuts to achieve this measurement. If backlash is too tight, loosen the ring-gear side adjuster and tighten the pinion-gear side adjuster by the exact same number of notches to maintain carrier bearing preload.
Step 4: Decoding the Gear Pattern
Apply a thin, even coat of yellow gear marking compound to three or four teeth on both the drive and coast sides of the ring gear. Rotate the gear back and forth under moderate resistance (use a rag wrapped around the pinion flange for drag).
Pattern Analysis Guide
- Ideal Pattern: The contact patch should be centered from the top (root) to the bottom (face) of the tooth, and slightly biased toward the toe (inner edge) under load, moving toward the heel (outer edge) as load increases.
- Toe Heavy (Too Deep): The pattern is concentrated on the inner edge. Fix: Decrease pinion depth shim thickness.
- Heel Heavy (Too Shallow): The pattern is pushed to the outer edge. Fix: Increase pinion depth shim thickness.
- High Pattern (Backlash Too Tight): Pattern rides the top of the tooth. Fix: Increase backlash.
Once the pattern is verified, safety-wire the carrier bearing adjuster nuts to prevent them from backing out under heavy off-road torque loads.
Step 5: Fluid Selection, Fill, and Break-In Procedure
Because this category heavily intersects with differential fluid dynamics, selecting the right lubricant for a freshly rebuilt Tacoma rear differential is non-negotiable. Fresh gears experience extreme microscopic friction during the break-in phase.
Choosing the Right Gear Oil
For the Toyota 8-inch rear axle, you need a high-quality GL-5 rated 75W-90 Synthetic Gear Oil. GL-5 contains the necessary extreme pressure (EP) additives (like zinc dialkyldithiophosphate) required to protect hypoid gear sliding action. We recommend AMSOIL Severe Gear 75W-90 or Toyota Genuine Hypoid Gear Oil SX.
- Fluid Capacity: Approximately 2.5 to 3.0 quarts (depending on axle housing variations and aftermarket bumpers).
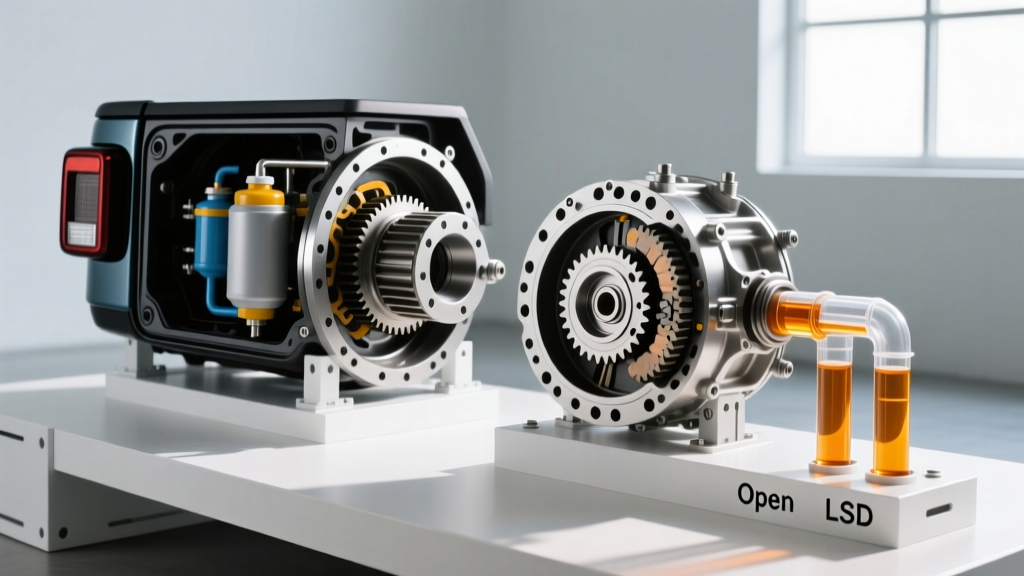
- Limited Slip Additive: If your Tacoma is equipped with a mechanical Limited Slip Differential (LSD) like the Auburn or Eaton units found in TRD Off-Road packages, you must add a friction modifier (e.g., 4 oz of Torco Limited Slip Additive) to prevent clutch chatter during low-speed cornering. Open differentials do not require this.
The 500-Mile Break-In Protocol
Ring and pinion gears generate immense heat during their initial mating process. If you tow a trailer or hit the trails immediately after a rebuild, you will scorch the fluid and glaze the gear faces.
- Initial Fill: Pump the 75W-90 fluid until it weeps out of the fill hole.
- First Drive: Drive on paved roads for 15-20 minutes. Keep speeds under 45 MPH. The differential housing will become hot to the touch; this is normal.
- Cool Down: Allow the axle to cool completely.
- The 500-Mile Drain: At exactly 500 miles, drain the break-in fluid. You will notice it looks dark and contains fine metallic dust. This is the lapping compound and microscopic metal shedding from the new gears. Replace the crush washer on the drain plug and refill with fresh synthetic 75W-90.
By adhering strictly to these tolerances, torque specifications, and fluid break-in protocols, your Tacoma rear differential will deliver tens of thousands of miles of silent, reliable operation, whether you are crawling Moab or commuting on the highway.