Introduction: Rebuilding the Toyota 8.4-Inch Electronic Locker
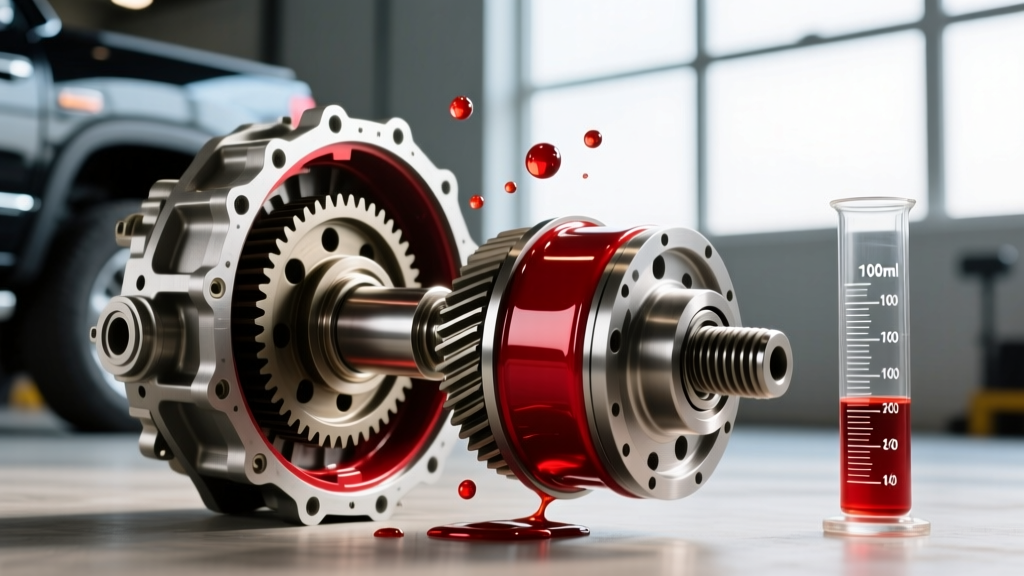
The Toyota Tacoma TRD Off-Road is legendary for its trail capability, largely thanks to the robust Toyota 8.4-inch (212mm) rear axle. However, even the most durable drivetrain components require maintenance. If you are hearing whining noises, experiencing fluid leaks from the axle seals, or noticing delayed engagement from your tacoma rear differential locker, a complete differential rebuild procedure is necessary. Unlike standard open differentials, the TRD electronic locking unit utilizes a mechanical dog-clutch collar and a shift motor actuator, adding a layer of complexity to the teardown and assembly process.
This step-by-step how-to guide will walk you through the complete rebuild procedure for the Tacoma rear differential locker. We will cover precise bearing preload settings, backlash adjustments, and critically, the exact differential fluid chemistry required to keep the dog-clutch mechanism functioning flawlessly in 2026 and beyond.
Essential Tools and OEM Part Numbers
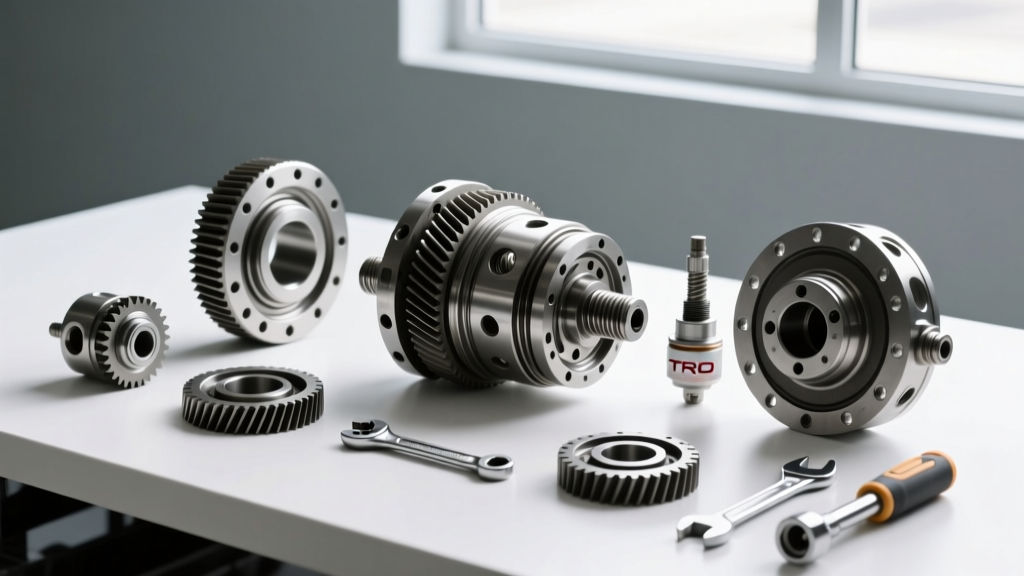
Before draining a single drop of gear oil, you must gather the correct tools and components. Setting up hypoid gears requires precision measuring instruments; guessing will result in rapid gear wear and catastrophic failure.
- Measuring Tools: Dial indicator with magnetic base, inch-pound torque wrench (beam or digital), and calipers.
- Bearing Kit: Koyo or Timken master rebuild kit (includes pinion depth shim, crush sleeve, pinion seal, carrier bearings, and races).
- Locker Components: TRD Locker Actuator Motor (Part # 41450-04010) - inspect and replace if the internal limit switches are failing.
- Consumables: Toyota Thread Lock 243 (or Red Loctite 272) for ring gear bolts, new crush sleeve, new pinion nut, and RTV silicone or OEM axle gasket.
Step 1: Teardown and Actuator Removal
Begin by safely supporting the vehicle and removing the rear axle shafts. This is a critical prerequisite; you cannot remove the differential carrier with the axle shafts installed, as they will block the carrier bearing caps.
Extracting the TRD Locker Motor
The Tacoma rear differential locker features an external electronic actuator bolted to the right side of the differential housing. Carefully disconnect the wiring harness. Remove the three 12mm bolts securing the actuator motor. Expert Tip: Do not force the motor out. The shift fork engages with a groove on the locking collar. Gently rotate the motor housing while pulling outward to disengage the fork without bending it. Inspect the shift fork pads and the dog-clutch collar for excessive wear or rounded edges. If the collar teeth are chipped, the locker will slip under load, and the collar must be replaced.
Step 2: Case Cleaning and Inspection
Once the carrier is removed, mark the bearing caps and the carrier housing with a punch or paint pen. Never mix up the bearing caps or install them on the wrong side. The caps are line-bored from the factory with the housing; swapping them will crush the bearings or cause severe misalignment.
Clean the housing thoroughly with brake cleaner. Inspect the internal magnets. A fine, glitter-like paste on the magnets is normal wear. However, if you find large metal shards, chipped gear teeth, or a metallic sludge that resembles gold paint (indicating brass synchronizer or shift fork wear), you must investigate the root cause before reassembly.
Step 3: Setting Pinion Depth and Preload
The pinion gear setup is the most demanding part of any differential rebuild procedure. The pinion depth is controlled by a shim located between the inner pinion bearing and the pinion head.
- Install the Inner Bearing: Press the new inner pinion bearing onto the pinion gear with the correct depth shim.
- Set Pinion Preload: Install the pinion into the housing with the outer bearing, seal, and flange. Tighten the pinion nut gradually. You are aiming for a specific rotating torque, not just a final nut torque. According to Yukon Gear & Axle installation guidelines, the target pinion preload for new bearings is 18 to 24 inch-pounds. For reused bearings, target 15 to 20 inch-pounds.
- Crush Sleeve Warning: The Tacoma uses a crush sleeve to maintain pinion bearing tension. If you overtighten the pinion nut and exceed the 24 in-lb preload, you must install a brand-new crush sleeve and start over. Never back off the pinion nut to reduce preload.
Step 4: Locker Mechanism and Backlash Adjustment
With the pinion set, install the differential carrier housing the ring gear and the locker dog-clutch assembly. The Tacoma electronic locker relies on precise backlash (the clearance between the ring and pinion gear teeth) to function without binding.
Thread the side bearing adjuster nuts into the carrier bearing caps. Use your dial indicator mounted to the housing, with the probe resting on the drive side of a ring gear tooth. Rotate the adjuster nuts to achieve a backlash specification of 0.005 to 0.007 inches. Ensure the carrier bearing preload is set by tightening the adjuster nuts until you feel a slight drag when rotating the carrier, then lock the adjuster nuts in place with the locking tabs.
Torque the carrier bearing cap bolts to 58 ft-lbs. Finally, install the ring gear bolts using a high-strength threadlocker and torque them to 90 ft-lbs in a star pattern.
Step 5: Differential Fluid Selection and Fill Procedure
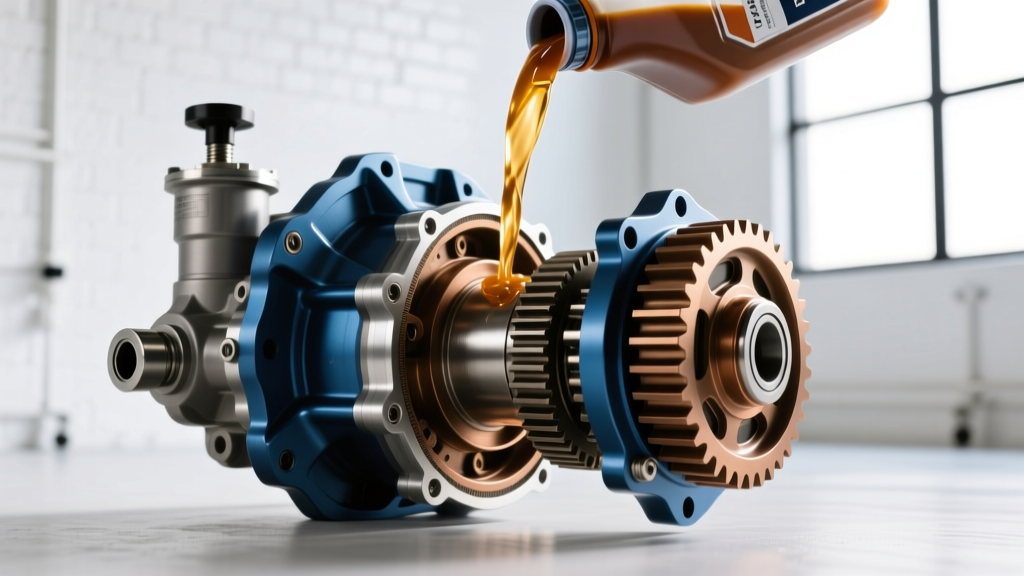
Because this article falls under our differential fluid maintenance expertise, we must address a massive point of failure for DIY mechanics: using the wrong gear oil in a locking differential. The chemistry of your diff fluid directly impacts the mechanical engagement of the TRD locker.
The Friction Modifier Trap
Many aftermarket 75W-90 GL-5 gear oils are marketed as 'Limited Slip' fluids, meaning they contain friction modifier additives designed to prevent clutch-pack chatter in traditional LSDs (like the Ford 8.8 or Chrysler 8.25). Do not use friction-modified fluid in your Tacoma rear differential locker.
The TRD locker does not use clutch packs; it uses a mechanical dog-clutch collar that locks the side gears directly to the carrier. Friction modifiers reduce the coefficient of friction on the metal surfaces. In a dog-clutch system, this can cause the locking collar to slip, fail to fully engage, or bind when attempting to disengage on the trail. You need a pure, high-quality GL-5 hypoid gear oil without clutch-pack additives.
Recommended Fluid Specifications
- OEM Choice: Toyota Genuine Hypoid Gear Oil LSD 75W-85 (Part # 08885-81010). Despite the 'LSD' naming convention in Toyota's catalog, this fluid is formulated to be compatible with both their Torsen-style LSDs and their mechanical dog-clutch lockers.
- Aftermarket Synthetic: AMSOIL Severe Gear 75W-90 or Red Line 75W90 NS (Non-Slip). As noted in AMSOIL technical bulletins, synthetic GL-5 fluids offer superior shear stability and extreme pressure (EP) protection for the high-offset hypoid gears found in the Toyota 8.4-inch axle.
The Fill Procedure
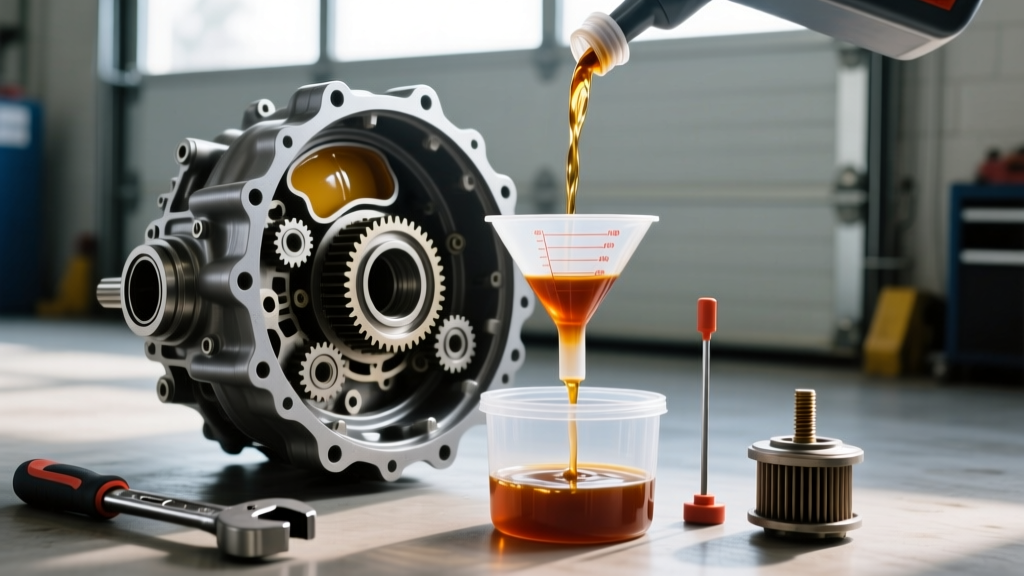
The Toyota 8.4-inch rear differential has a total fluid capacity of approximately 3.2 quarts (3.0 liters). Always remove the fill plug first before removing the drain plug. There is nothing worse than draining your axle only to find the fill plug is seized or stripped. Clean the magnetic drain plug, reinstall it with a new crush washer, and torque to 36 ft-lbs. Using a high-quality fluid transfer pump, slowly fill the axle with your chosen 75W-85 or 75W-90 GL-5 fluid until it begins to weep out of the bottom of the fill hole. Reinstall the fill plug and torque to 36 ft-lbs.
Toyota 8.4-Inch Differential Torque and Clearance Specs
| Component | Specification / Torque |
|---|---|
| Ring Gear to Carrier Bolts | 90 ft-lbs (with Threadlocker) |
| Carrier Bearing Cap Bolts | 58 ft-lbs |
| Pinion Companion Flange Nut | 110 - 120 ft-lbs (Adjust for Preload) |
| Pinion Bearing Preload (New) | 18 - 24 in-lbs |
| Pinion Bearing Preload (Used) | 15 - 20 in-lbs |
| Ring and Pinion Backlash | 0.005 - 0.007 inches |
| Drain / Fill Plug Torque | 36 ft-lbs (New Crush Washer) |
| Fluid Capacity | 3.2 Quarts (3.0 Liters) |
Common Failure Modes to Avoid
When browsing TacomaWorld technical forums, the most frequently reported post-rebuild issues stem from improper actuator timing and fluid contamination. If the TRD locker motor is not aligned correctly with the shift collar during installation, the internal limit switch will not register a 'locked' state, causing the dashboard indicator light to flash indefinitely. Always test the locker actuation on the bench using a 12V power source before bolting the axle shafts back in.
Additionally, failing to use a high-quality GL-5 fluid with adequate EP (Extreme Pressure) additives will lead to pitting on the hypoid gear teeth. The sliding friction of the Tacoma's ring and pinion generates massive localized heat; standard GL-4 fluids or automotive engine oils will instantly fail, resulting in a whining axle and destroyed gear sets within a few thousand miles.
Conclusion
Rebuilding a Tacoma rear differential locker is a highly rewarding DIY project that saves hundreds of dollars in dealership labor costs while ensuring your rig is ready for the trail. By adhering strictly to inch-pound preload measurements, verifying your backlash with a dial indicator, and selecting a pure GL-5 gear oil devoid of clutch-pack friction modifiers, your Toyota 8.4-inch axle will deliver years of reliable, whisper-quiet service. Regular differential fluid changes every 30,000 miles—or immediately after deep water fording—will protect your investment and keep your TRD locker engaging on command.