Understanding the Subaru R180 Differential
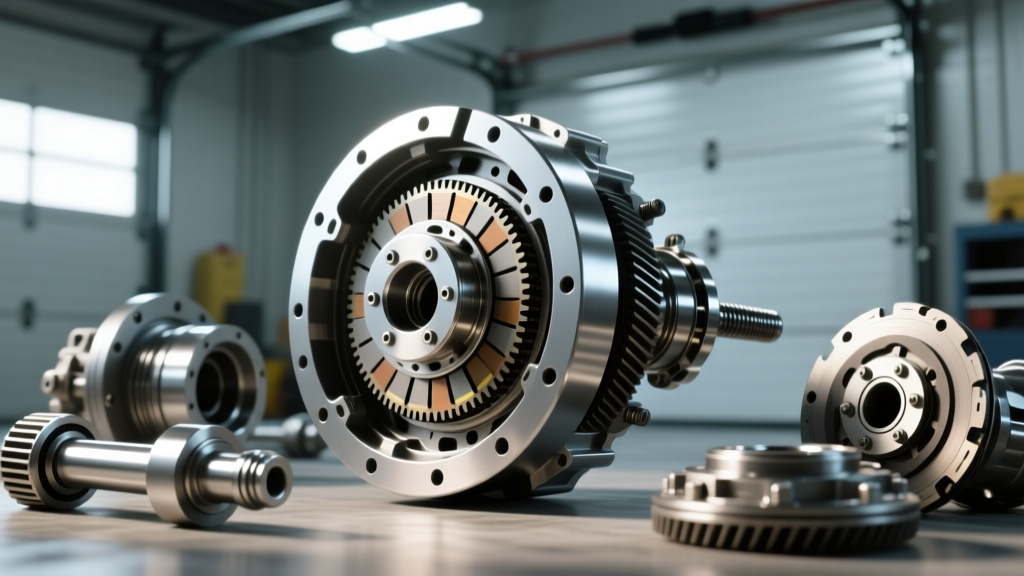
If you are diving into the world of Subaru drivetrain swaps or rebuilding a high-horsepower WRX STI rear end, you have likely encountered the legendary R180. Originally designed by Nissan for heavy-duty applications like the Skyline and Z-cars, the Subaru R180 differential became the gold standard for Subaru enthusiasts needing to handle serious torque. While the base WRX uses the smaller R160, the STI and many aftermarket big-turbo builds rely on the robust R180 housing and ring gear.
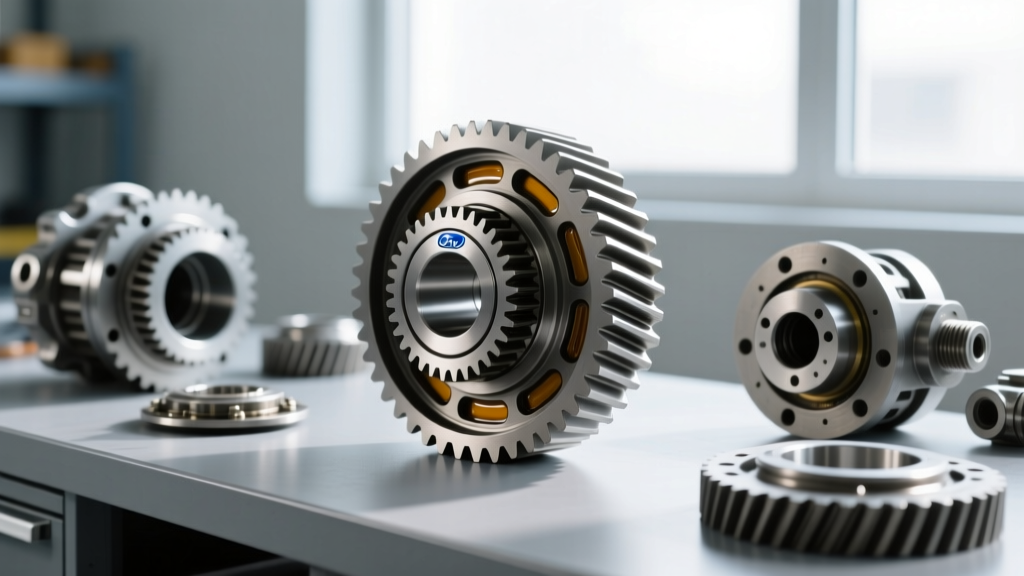
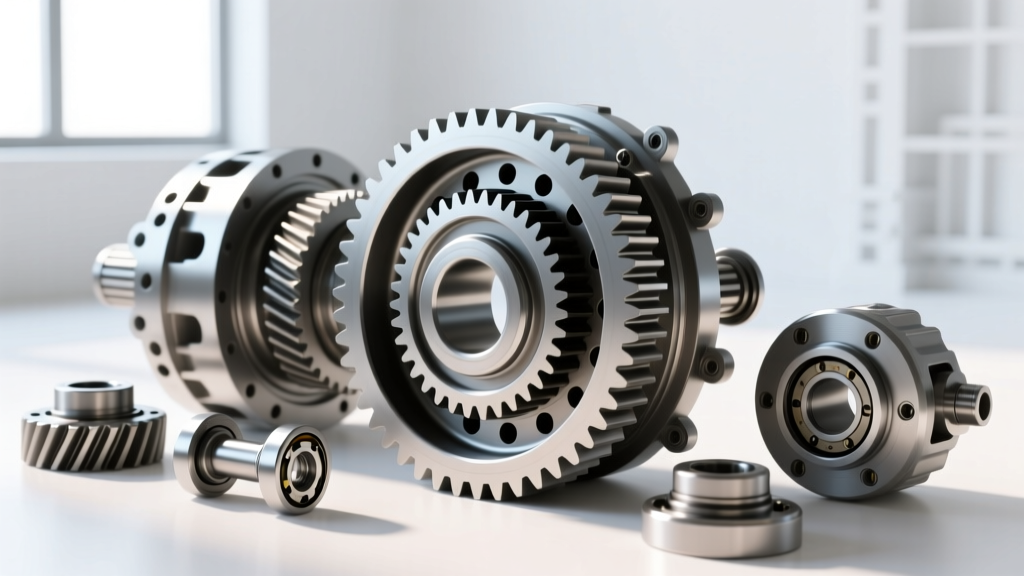
Setting up the ring and pinion gear set inside this housing is often viewed as a dark art reserved for veteran transmission builders. However, with the right tools, a methodical approach, and a solid understanding of the underlying physics, even a dedicated beginner can achieve a factory-perfect gear setup. This guide will demystify the process, breaking down the core concepts, exact specifications, and the critical fluid break-in procedures required to make your new gears last.
The Four Pillars of Gear Setup
Before turning a single wrench, you must understand the four measurements that dictate the lifespan and noise level of your differential. If any of these are off by even a thousandth of an inch, your gears will whine, overheat, or shatter under load.
- Pinion Depth: This is the distance from the centerline of the ring gear to the face of the pinion gear. It is adjusted using shims placed between the pinion bearing and the pinion shaft. Incorrect depth results in poor tooth contact and rapid wear.
- Backlash: The amount of rotational 'play' or clearance between the ring gear and the pinion gear teeth. Too tight, and the gears will bind and overheat; too loose, and they will clunk and chip under acceleration.
- Pinion Bearing Preload: The rotational friction applied to the pinion bearings. This keeps the bearings seated and prevents the pinion shaft from wobbling at high RPMs.
- Side Bearing Preload: The pressure applied to the carrier bearings (which hold the ring gear). This ensures the ring gear does not deflect away from the pinion under heavy torque.
Essential Tools and Pro-Tips for Beginners
You cannot eyeball a gear setup. Precision requires specific tools. According to installation guidelines from Yukon Gear & Axle, attempting a setup without a dial indicator is a guarantee of failure. Here is your mandatory shopping list:
- Dial Indicator with Magnetic Base: Must read in 0.001-inch increments to measure backlash accurately.
- Inch-Pound Torque Wrench: A standard foot-pound torque wrench is useless for measuring bearing preload. You need a beam-style or click-type inch-pound wrench (0-50 in-lbs range).
- Setup Bearings: Pro-Tip: Never use your brand-new, expensive pinion bearings for the trial-and-error setup process. Take a pair of old bearings and have a machine shop hone the inner diameter out by a few thousandths of an inch so they slip on and off the pinion shaft by hand. This saves hours of prying and pulling.
- Gear Marking Compound: Yellow ochre or Prussian blue. Do not use standard grease; it is too thin to show a readable contact pattern.
- Dead-Blow Hammer and Brass Drift: For seating bearings and carriers without damaging the machined surfaces.
Step-by-Step Ring and Pinion Setup Process
Step 1: Setting Pinion Depth
Your new ring and pinion set will come with a pinion head that has a specific etching (e.g., '+2', '-1', or '0'). This number indicates the deviation from the nominal factory depth. Using your honed setup bearings, install the pinion shaft into the R180 housing with your calculated shim pack. Tighten the pinion nut temporarily and check the pattern. If the pattern is biased toward the toe or heel, you must adjust the pinion depth shim thickness until the contact patch is perfectly centered on the tooth face.
Step 2: Establishing Pinion Bearing Preload
Once the depth is perfect, you must set the preload. The Subaru R180 typically uses a crush sleeve to achieve this. Warning: A crush sleeve is a one-time-use item. Every time you tighten the pinion nut, the sleeve compresses. If you over-tighten, you must replace the sleeve and start over. Many modern builders opt for a solid pinion spacer (available from aftermarket suppliers like Drivetrain Specialty) combined with precision shims, which eliminates the guesswork and risk of over-crushing. The target rotating torque for new bearings is typically 10 to 14 inch-pounds.
Step 3: Backlash and Side Bearing Preload
Install the ring gear onto the differential carrier using new ring gear bolts (torqued to 65-75 ft-lbs with red Loctite). Place the carrier into the R180 housing. The R180 uses threaded side adjusters to set backlash and side preload. Mount your dial indicator perpendicular to the ring gear teeth. Rotate the ring gear back and forth while holding the pinion stationary. Adjust the side nuts until you achieve the target backlash (usually 0.005 to 0.007 inches). Once backlash is set, tighten both side adjusters equally to apply side bearing preload without altering your backlash measurement.
Decoding the Gear Contact Pattern
Reading the marking compound is where the magic happens. Apply a thin, even coat to 4-5 teeth on the ring gear. Apply moderate resistance to the ring gear (using a rag or a pry bar on the carrier bolts) while rotating the pinion shaft. You must check both the Drive Side (convex side, acceleration) and the Coast Side (concave side, deceleration).
| Pattern Issue | Visual Symptom | Required Correction |
|---|---|---|
| Face Contact (High) | Pattern is at the top edge of the tooth | Decrease Pinion Depth Shim (Move Pinion Away) |
| Flank Contact (Low) | Pattern is at the bottom root of the tooth | Increase Pinion Depth Shim (Move Pinion Closer) |
| Toe Contact | Pattern is biased toward the inner edge of the ring gear | Decrease Backlash (Move Ring Gear Closer to Pinion) |
| Heel Contact | Pattern is biased toward the outer edge of the ring gear | Increase Backlash (Move Ring Gear Away from Pinion) |
Note: Under load, gears deflect. A perfect setup on the bench will show a pattern that is slightly biased toward the toe and flank, which centers out perfectly when 400 horsepower is applied to the axles.
R180 Target Specifications Reference
While always defer to the specific paperwork included with your aftermarket gear set (as Yukon, Richmond, and OEM Subaru specs can vary slightly), these are the generally accepted baseline specifications for a Subaru R180 rear differential rebuild:
- Target Backlash: 0.13mm - 0.18mm (0.0051" - 0.0071")
- Pinion Bearing Preload (New Bearings): 1.0 - 1.5 Nm (9 - 13 in-lbs)
- Pinion Bearing Preload (Used Bearings): 0.5 - 0.8 Nm (4 - 7 in-lbs)
- Ring Gear Bolt Torque: 90 Nm (66 ft-lbs) with Threadlocker
- Side Bearing Cap Bolt Torque: 65 Nm (48 ft-lbs)
Final Assembly and Diff-Fluid Break-In Procedure
Because this setup involves fresh, freshly machined gear steel, the differential fluid you choose and the break-in procedure you follow are just as critical as the mechanical setup. The initial run-in period generates microscopic metallic shavings as the ring and pinion teeth mate and polish one another.
For the Subaru R180, you will need approximately 1.2 to 1.5 liters of fluid, depending on your specific axle housing and cover design. You must use a high-quality 75W-90 GL-5 gear oil. If your R180 houses a Subaru clutch-type Limited Slip Differential (LSD), you must also add the appropriate friction modifier to prevent chattering during low-speed cornering. If you are running a Torsen helical LSD or an open differential, standard GL-5 without modifiers is perfect. Top-tier choices for 2026 include Motul Gear 300 75W-90 or Red Line 75W-90 ShockProof for heavily abused track cars.
The 500-Mile Break-In Rule
Do not install your freshly built R180, fill it with fluid, and immediately launch the car on a drag strip or mountain road. The community consensus on forums like NASIOC's Powertrain Section is strict: drive the vehicle normally for the first 15-20 miles to allow the fluid to circulate and the gears to begin mating. Then, let the differential cool completely. For the next 480 miles, avoid sustained highway speeds and heavy loads. At exactly 500 miles, drain the differential fluid. You will likely find a fine, glittery metallic paste on the drain plug magnet. This is normal. Refill with fresh 75W-90 GL-5 fluid, and your ring and pinion setup is officially sealed for a lifetime of reliable, whine-free operation.