Understanding the Subaru Front Differential Architecture
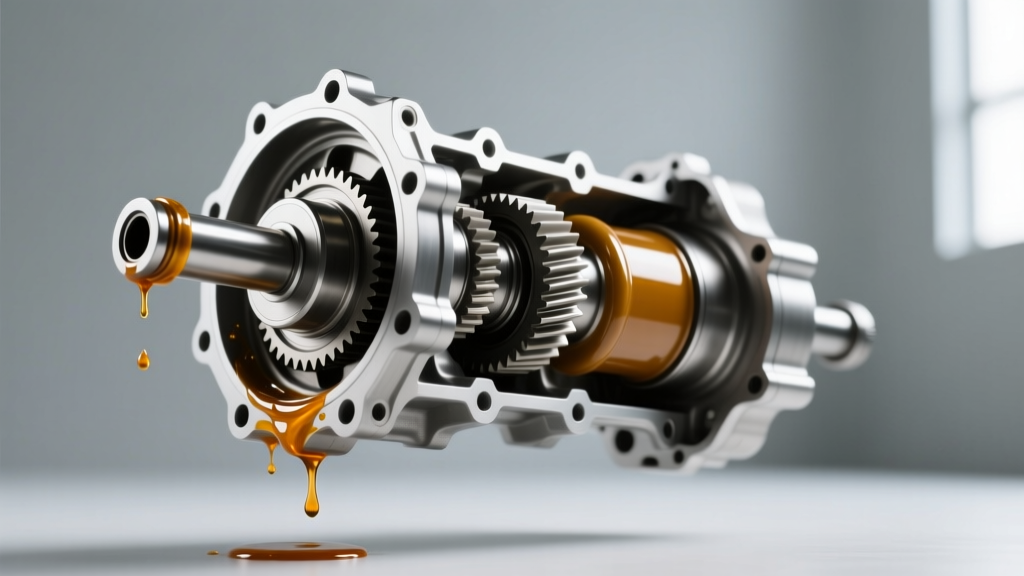
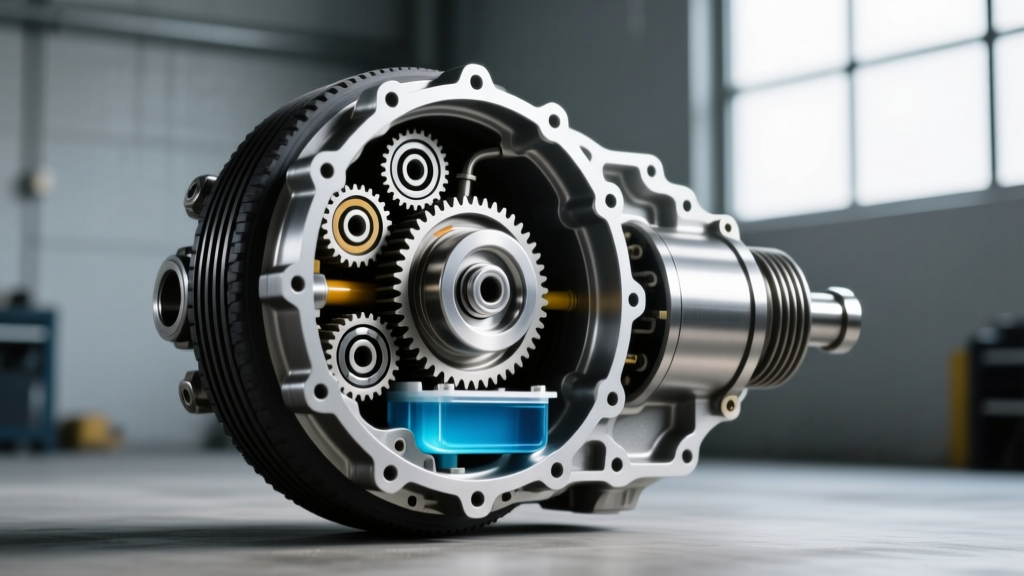
Unlike traditional solid-axle trucks or rear-wheel-drive sports cars, the Subaru front differential is intricately integrated into the front transaxle housing. Whether you are working on the legendary TY85 5-speed manual, the robust 6-speed (TY856), or an older automatic transaxle, the front ring and pinion assembly shares the main transmission case or bolts directly to the front bellhousing section. Rebuilding this assembly is not merely a matter of swapping bearings; it requires precision measurement, an understanding of symmetrical AWD load dynamics, and strict adherence to factory tolerances.
As of 2026, with many Subaru WRX, STI, and Forester models crossing the 150,000-mile threshold, front differential whine and catastrophic gear failure are becoming increasingly common. This step-by-step guide will walk you through the complete teardown, measurement, and rebuild procedure for the Subaru front differential, ensuring your ring and pinion operate silently and reliably for another 100,000 miles.
Diagnosing Pre-Rebuild Failure Modes
Before tearing into the transaxle, confirm that the noise is isolated to the front differential and not the center viscous coupling, transfer gears, or wheel bearings.
- Acceleration Whine: Typically indicates wear on the drive side of the ring and pinion teeth. Often caused by insufficient pinion depth or degraded gear oil.
- Deceleration Whine: Points to coast-side wear. This is a classic symptom of excessive ring gear backlash or pinion bearing preload loss.
- Load Reversal Clunk: A sharp metallic knock when shifting from forward to reverse, or lifting off the throttle, usually signifies worn side gears, excessive backlash, or a failing center differential coupling transferring shock loads to the front ring gear.
Critical Warning: Subaru transmission bearing caps are line-bored at the factory with the main case. They are NOT interchangeable. If you are removing the front differential bearing caps from the transaxle case, you must mark them with a paint pen or stamping kit to ensure they return to their exact original location and orientation. Mixing up line-bored caps will destroy your new bearings within 50 miles.
Tools and Parts Required for the Rebuild
A successful Subaru front differential rebuild requires specialized measuring tools. Do not attempt this with standard garage tools alone.
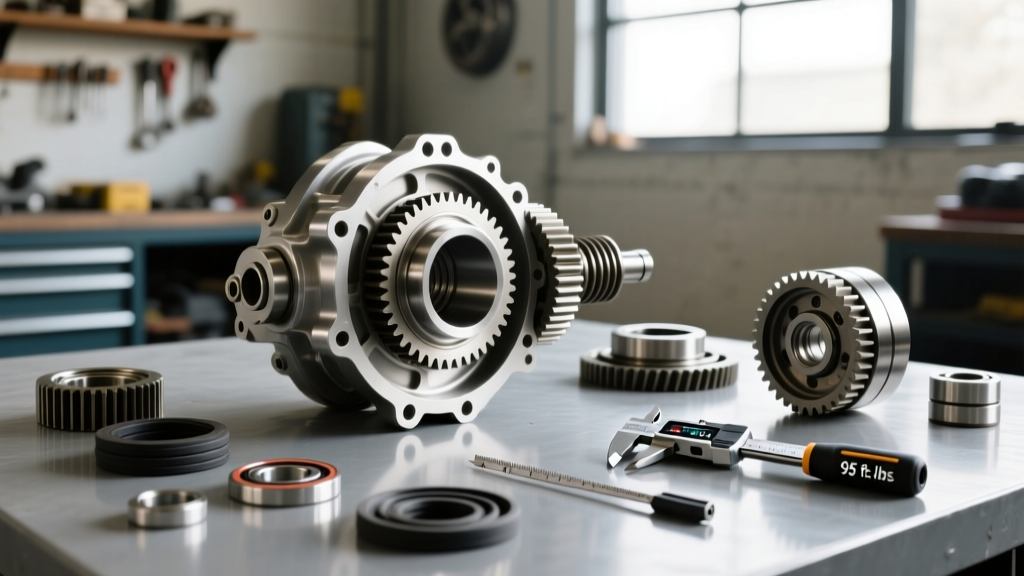
- Measuring Tools: Dial indicator with magnetic base (0.0001 in. resolution), inch-pound torque wrench (for bearing preload), 0-150 ft-lbs torque wrench, digital calipers, and micrometers.
- Setup Tools: Bearing press, pinion seal driver, gear marking compound (yellow ochre or white lithium grease), and a brass drift.
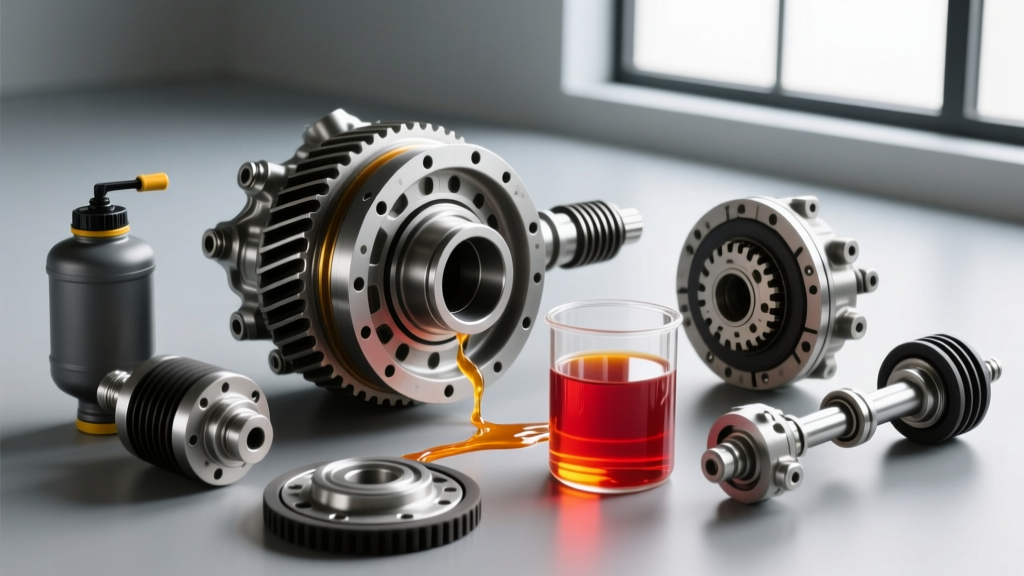
- Consumables: High-temp threadlocker (Red Loctite 272 for ring gear bolts), new pinion crush sleeve (or shim kit depending on exact year), new pinion seal, and OEM side bearing adjuster O-rings.
2026 Sourcing Guide: OEM vs. Aftermarket
When sourcing components for your Subaru front differential, stick to OEM suppliers. Subaru utilizes Koyo (JTEKT) and NTN bearings from the factory. Buying aftermarket generic bearing kits often results in incorrect shim thicknesses and poor metallurgy. You can source genuine Koyo bearings and OEM Subaru crush sleeves through specialized vendors like RallySport Direct or directly via Subaru Techinfo parts catalogs. Expect to spend between $180 and $250 for a comprehensive front diff bearing and seal kit, and upwards of $850 if you need a replacement OEM ring and pinion gear set.
Crucial Torque Specifications and Clearances
Keep this data table on your workbench. These specifications apply to the majority of Subaru 5MT and 6MT front differential assemblies. Always cross-reference with your specific year's Factory Service Manual (FSM).
| Component / Measurement | Specification | Notes |
|---|---|---|
| Pinion Lock Nut | 145 - 160 ft-lbs | Use new nut; apply threadlocker |
| Ring Gear Bolts | 70 - 75 ft-lbs | Red Loctite 272 required |
| Pinion Bearing Preload (New) | 10 - 15 in-lbs | Measured with inch-lb torque wrench |
| Pinion Bearing Preload (Used) | 5 - 8 in-lbs | Reusing original bearings |
| Ring Gear Backlash | 0.005 - 0.007 in. | Measure at 4 equidistant points |
| Side Bearing Adjuster Lock Tab | 18 - 22 ft-lbs | Bend tab after final adjustment |
Step 1: Extraction and Teardown
Assuming the transmission is already removed from the vehicle and the front differential housing is accessible (or the main case is split for internal 5MT access), begin the teardown.
- Remove the Bearing Caps: Unbolt the front differential side bearing caps. Remember the line-boring warning! Mark them 'Left/Right' and 'Front/Back' immediately.
- Extract the Assembly: Carefully lift the ring gear and differential carrier assembly out of the case. Note the position of the side bearing adjuster nuts. You will need to measure the distance between the adjuster nuts and the carrier to use as a baseline for reassembly.
- Remove the Ring Gear: Unbolt the ring gear from the differential carrier. Clean all old Loctite off the mating surfaces and bolt holes using a wire wheel and brake cleaner. The mating surface must be surgically clean to prevent runout.
- Press Off Bearings: Use a hydraulic press to remove the side bearings and the pinion bearings. Inspect the pinion shaft splines and the needle bearing surface for scoring or brinelling.
Step 2: Pinion Depth and Bearing Preload Setup
The pinion depth dictates how deeply the pinion gear meshes into the ring gear. This is adjusted via a shim located behind the inner pinion bearing race.
- Measure and Shim: If you are reusing the original ring and pinion, retain the original depth shim. If installing a new gear set, the new pinion shaft will have a laser-etched deviation code (e.g., '+2' or '-1'). You must add or subtract this value from the original shim thickness using your micrometer.
- Set Pinion Preload: Install the inner bearing, the depth shim, and the pinion shaft into the housing. Install the outer bearing and the new crush sleeve. Install the pinion flange and the new lock nut.
- Crush the Sleeve: This requires significant force. Tighten the pinion lock nut incrementally while checking the rotational torque with your inch-pound torque wrench. You are aiming for 10-15 in-lbs of drag for new bearings. Do not overshoot. If you exceed 15 in-lbs, the crush sleeve is over-compressed and you must replace it and start over.
Step 3: Ring Gear Backlash and Pattern Verification
With the pinion set, mount the ring gear to the carrier using new bolts coated in Red Loctite, torqued to 72 ft-lbs in a star pattern. Press the new side bearings onto the carrier.
- Install the Carrier: Place the carrier back into the transaxle case and reinstall the line-bored bearing caps.
- Adjust Backlash: Thread the side bearing adjuster nuts into the case. Using your dial indicator mounted to the case, position the probe perpendicular to the ring gear teeth. Rotate the adjuster nuts to achieve 0.005 to 0.007 in. of backlash. Ensure the side bearing preload is maintained by tightening both adjusters equally in opposite directions.
- Check Runout: Measure ring gear runout at four equidistant points. It must not exceed 0.002 in. If it does, remove the ring gear, rotate it 90 degrees on the carrier, and re-torque.
Step 4: Reading the Gear Contact Pattern
Before locking down the adjuster tabs, you must verify the gear contact pattern. Apply a thin, even coat of yellow gear marking compound to the coast and drive sides of three adjacent ring gear teeth. Apply moderate rotational resistance to the carrier while turning the pinion flange.
Consult the NASIOC Transmission Technical Forum for community-verified pattern examples, but follow these general rules:
- Ideal Pattern: The contact patch should be centered vertically on the tooth face and slightly biased toward the heel (the inner, thicker end of the tooth). It should cover about 50-60% of the tooth length.
- Toe Contact (Too Deep): If the pattern is pushed to the outer edge (toe) of the tooth, the pinion is too far away from the ring gear centerline. Fix: Decrease the pinion depth shim thickness.
- Heel Contact (Too Shallow): If the pattern is heavily concentrated on the inner edge (heel), the pinion is too deep. Fix: Increase the pinion depth shim thickness.
- Face Contact (Backlash Too Tight): Pattern is high on the tooth. Fix: Increase backlash.
- Flank Contact (Backlash Too Loose): Pattern is low on the tooth root. Fix: Decrease backlash.
Step 5: Final Reassembly and Fluid Fill
Once the pattern is verified and backlash is locked in, bend the side bearing adjuster lock tabs securely into the grooves of the adjuster nuts. Reinstall the center differential assembly (viscous coupling or Torsen unit) into the front ring gear carrier, ensuring the internal splines engage smoothly without forcing them.
Seal the transaxle case halves using Subaru OEM ThreeBond 1215 (or equivalent high-grade RTV). Torque all case perimeter bolts to 18 ft-lbs.
Fluid Selection and Capacity
The Subaru front differential shares its lubrication with the manual transmission gears (on 5MT/6MT models). The total system capacity is approximately 3.7 Liters. For optimal shear stability and hypoid gear protection, fill the transaxle with a high-quality 75W-90 GL-5 gear oil. In 2026, top-tier choices include Motul Gear 300 75W-90 or Red Line 75W90 NS (if your specific center diff requires non-slip-modifier fluid to prevent viscous coupling shudder). Always verify GL-5 certification to protect the high-sulfur requirements of the hypoid ring and pinion gears.
By adhering strictly to these measurement protocols and utilizing OEM-grade components, your rebuilt Subaru front differential will deliver the silent, reliable torque distribution that the Symmetrical AWD system is famous for.